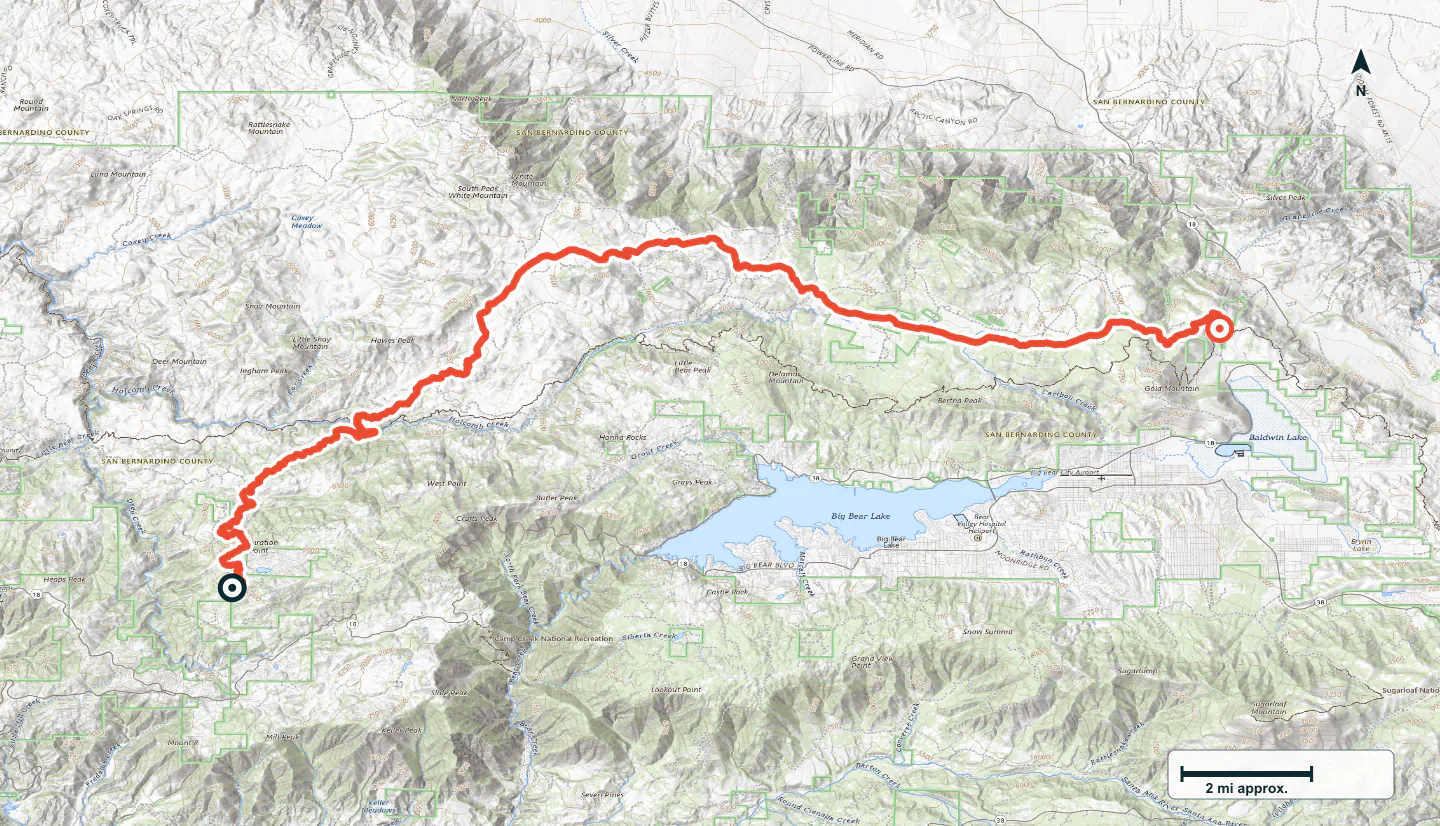

ADVENTURE ROUTE COLLECTION · CALIFORNIA
Big Bear: Forest Roads to Rock Trails
Use eight routes near Big Bear Lake. Start on simple forest roads. Add loose rock, steeper climbs, and larger obstacles only when you are ready.
WHY IT FITS
Why this progression can fit your trip.
The routes share one mountain base area. You can repeat an easy road, stop after any stage, or move to a harder route without a long transfer.
ROUTE PROGRESSION
Add one skill at a time.
Drive only the stages that fit your vehicle, experience, weather, and current access. A later stage is not a required finish.
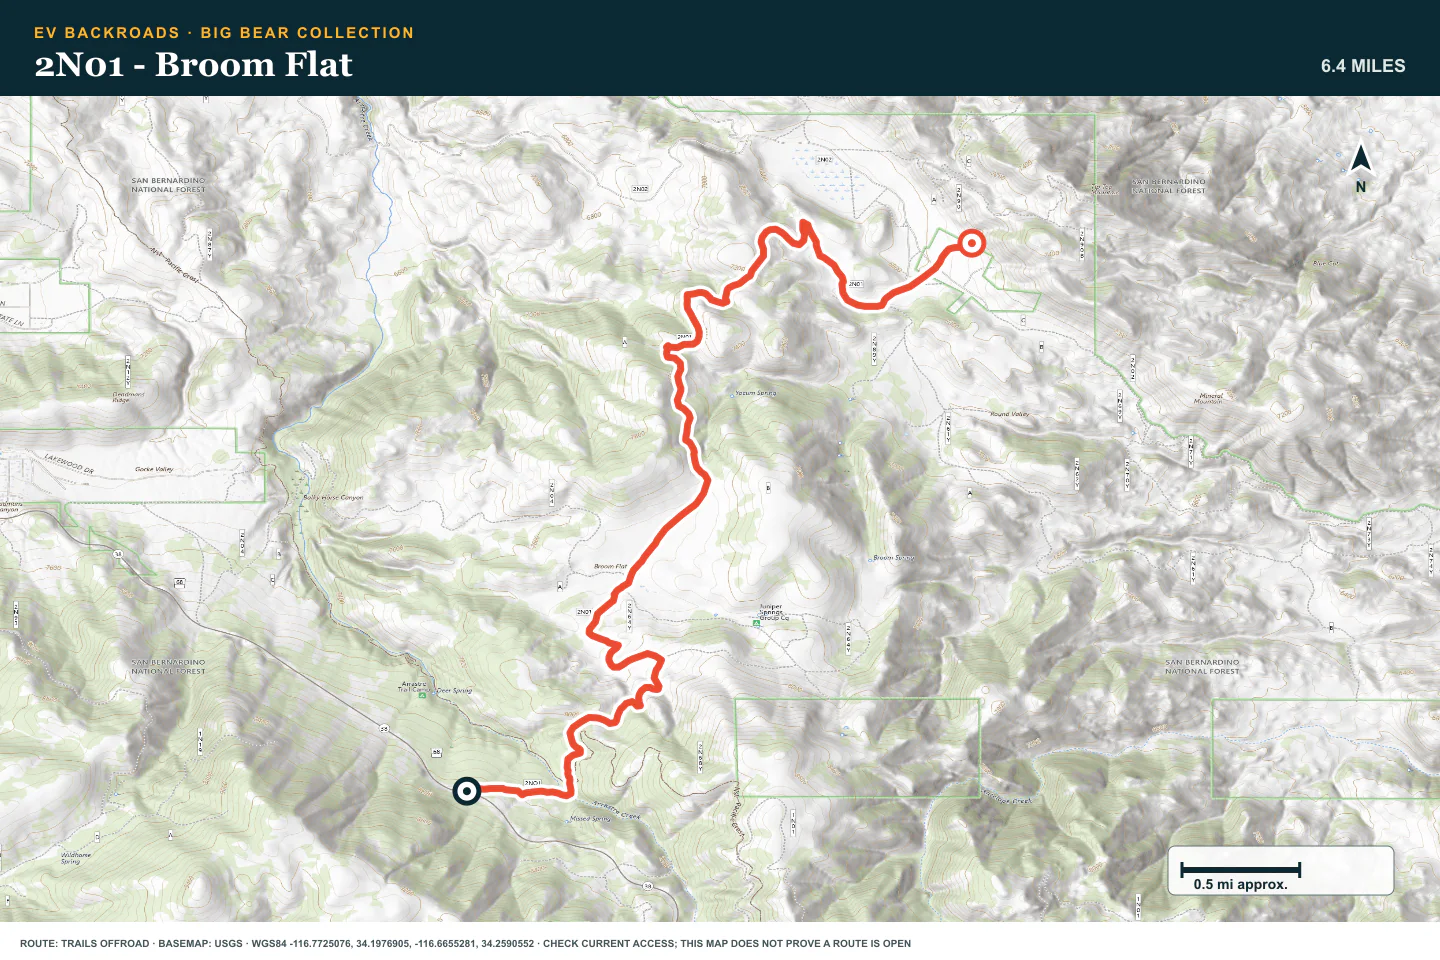
2N01 - Broom Flat
- Route distance
- 6.4 mi
- Allow
- 1–2 hours
Start on an easy forest road. Check tire pressure, map controls, and braking before you choose a longer route.
Access note: Source snapshot: Open. Check the live source before travel.
TOPOGRAPHIC PROFILE
2N01 - Broom Flat, from start to finish
- Climb
- +250 ft
- Descent
- −1,414 ft
Elevation sampled from AWS Terrain Tiles along the published route. Small terrain and GPS differences are normal.
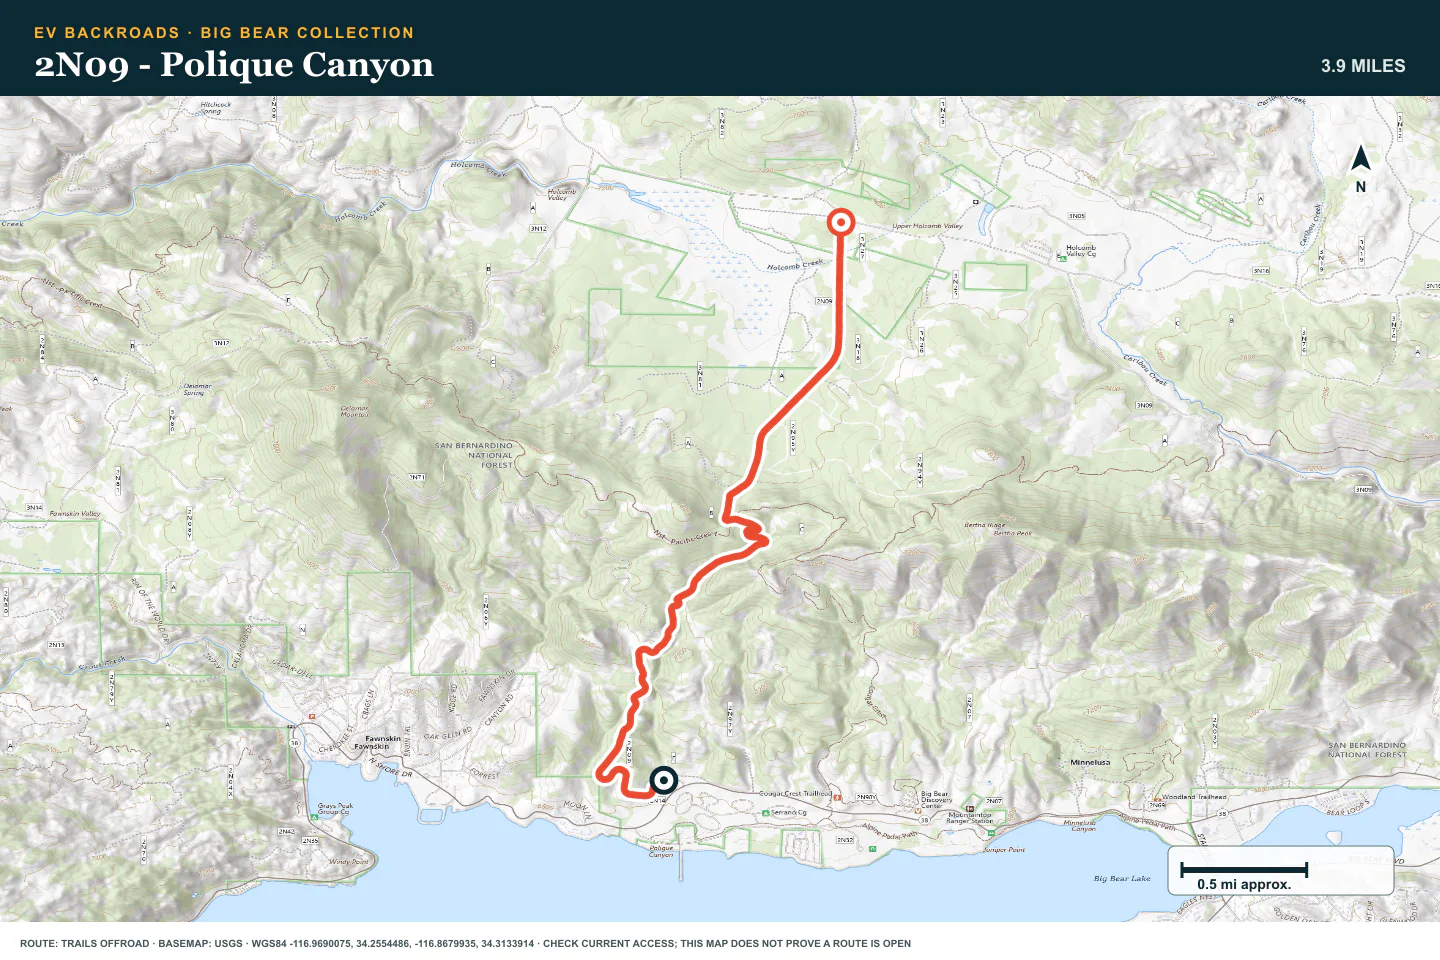
2N09 - Polique Canyon
- Route distance
- 3.9 mi
- Allow
- 1–2 hours
Add a canyon road with changing soil and short rough sections. Use low speed where the surface changes.
Access note: Source snapshot: Open. Check the live source before travel.
TOPOGRAPHIC PROFILE
2N09 - Polique Canyon, from start to finish
- Climb
- +789 ft
- Descent
- −326 ft
Elevation sampled from AWS Terrain Tiles along the published route. Small terrain and GPS differences are normal.
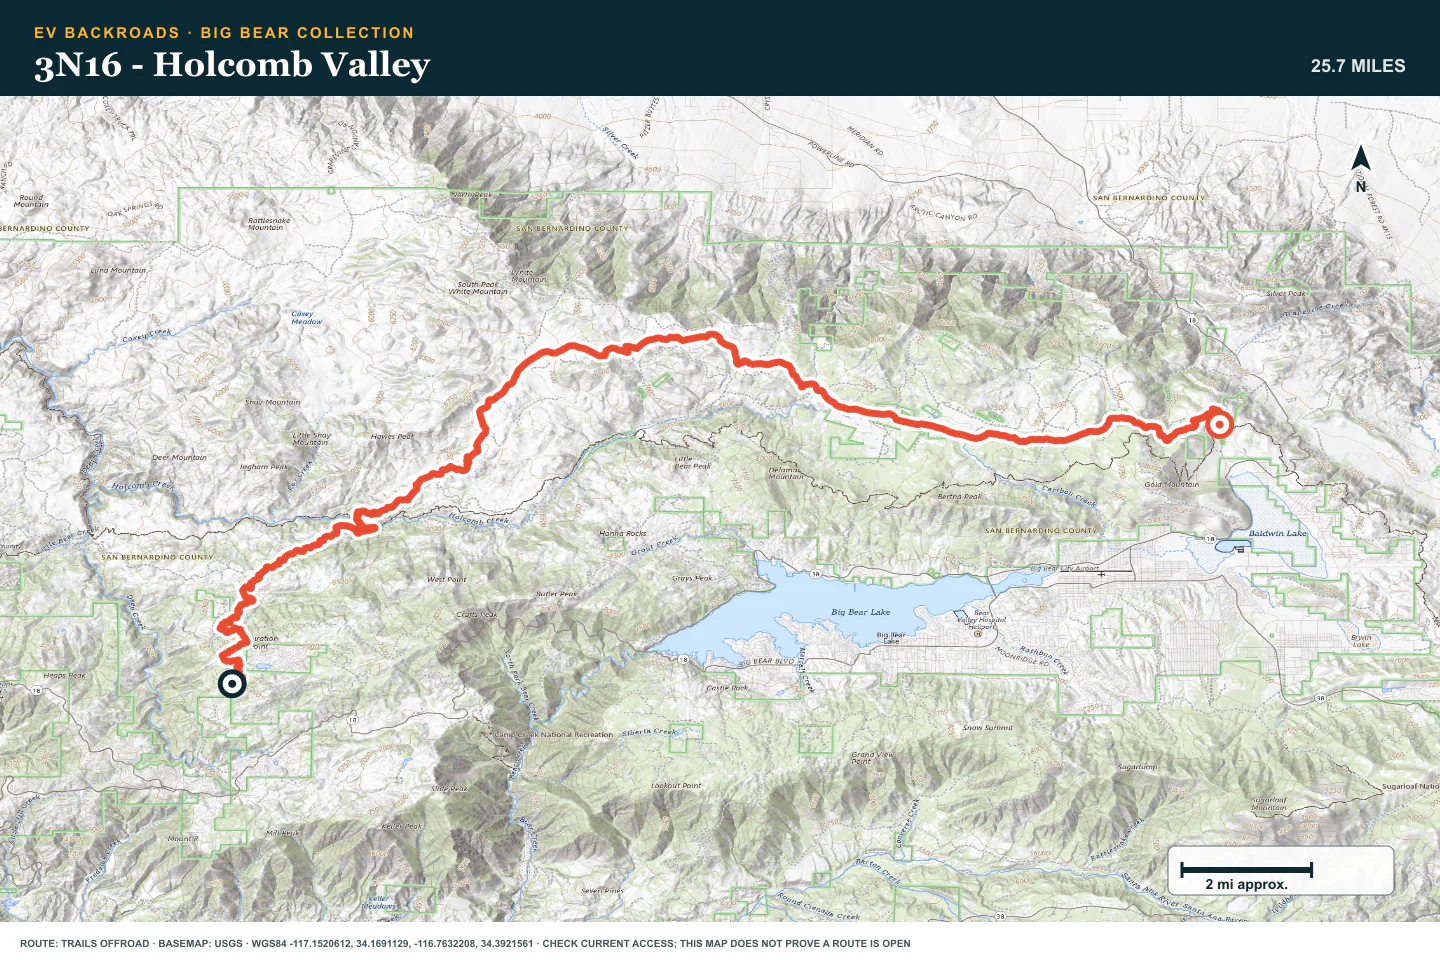
3N16 - Holcomb Valley
- Route distance
- 25.7 mi
- Allow
- 2–3 hours
Use the historic valley road to practice junction checks and controlled travel through a busier recreation area.
Access note: Source snapshot: Open. Check the live source before travel.
TOPOGRAPHIC PROFILE
3N16 - Holcomb Valley, from start to finish
- Climb
- +2,495 ft
- Descent
- −2,307 ft
Elevation sampled from AWS Terrain Tiles along the published route. Small terrain and GPS differences are normal.
Burns Canyon
- Route distance
- 19.1 mi
- Allow
- Half day
Add a longer mountain crossing. Confirm the full exit and keep enough energy for a slow return.
Access note: Source snapshot: Open. Check the live source before travel.
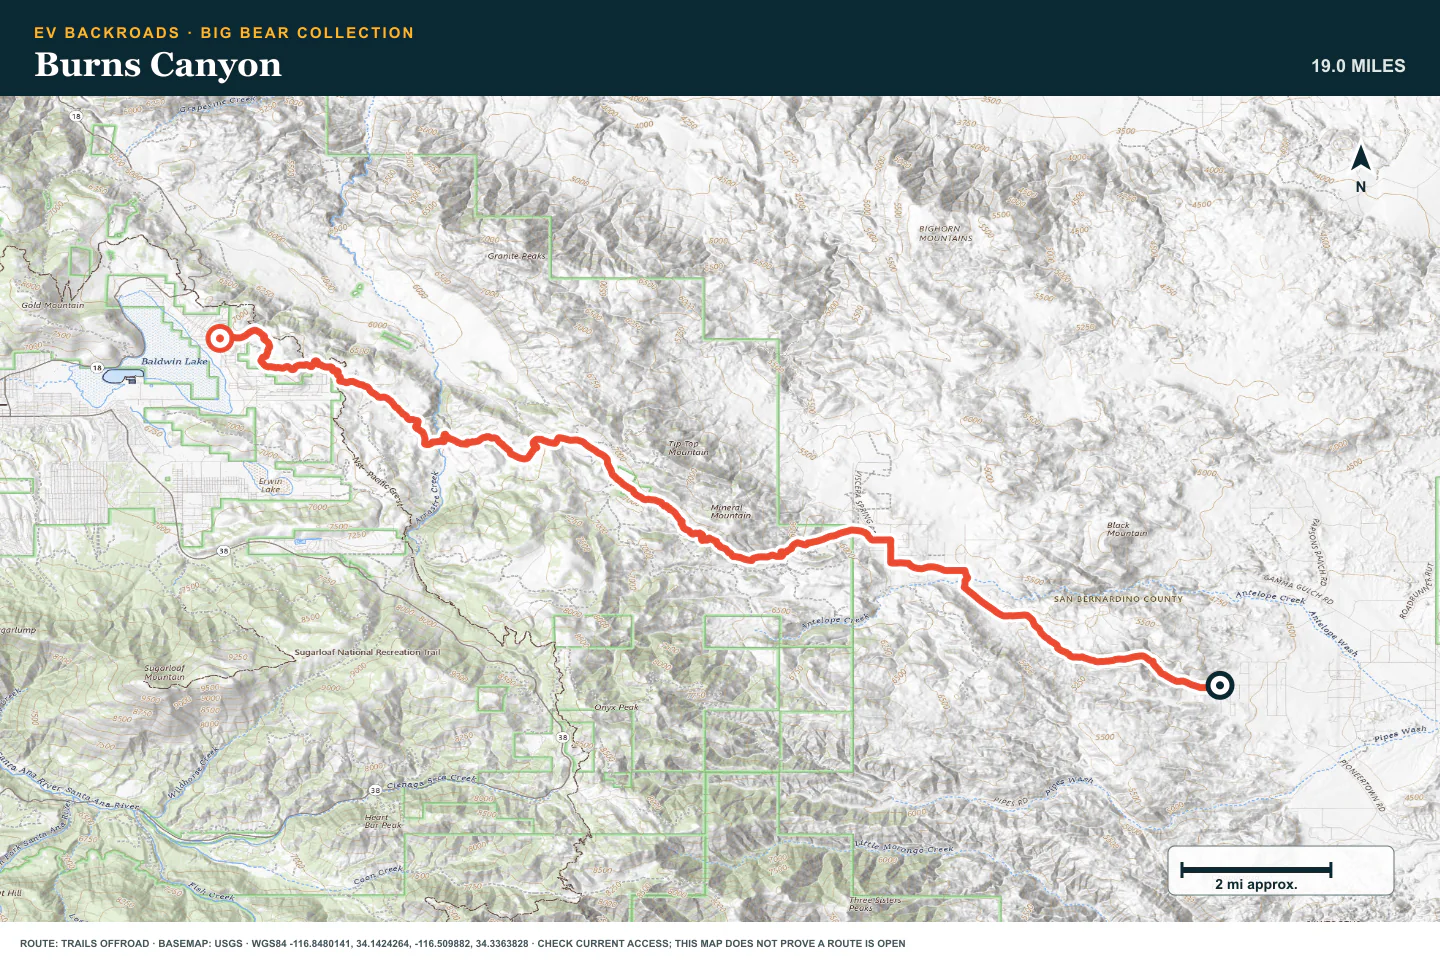
TOPOGRAPHIC PROFILE
Burns Canyon, from start to finish
- Climb
- +3,074 ft
- Descent
- −909 ft
Elevation sampled from AWS Terrain Tiles along the published route. Small terrain and GPS differences are normal.
3N32 - Union Flat
- Route distance
- 1.4 mi
- Allow
- 2–3 hours
Move to rougher ground. Walk loose or washed sections before you drive them.
Access note: Source snapshot: Open. Check the live source before travel.
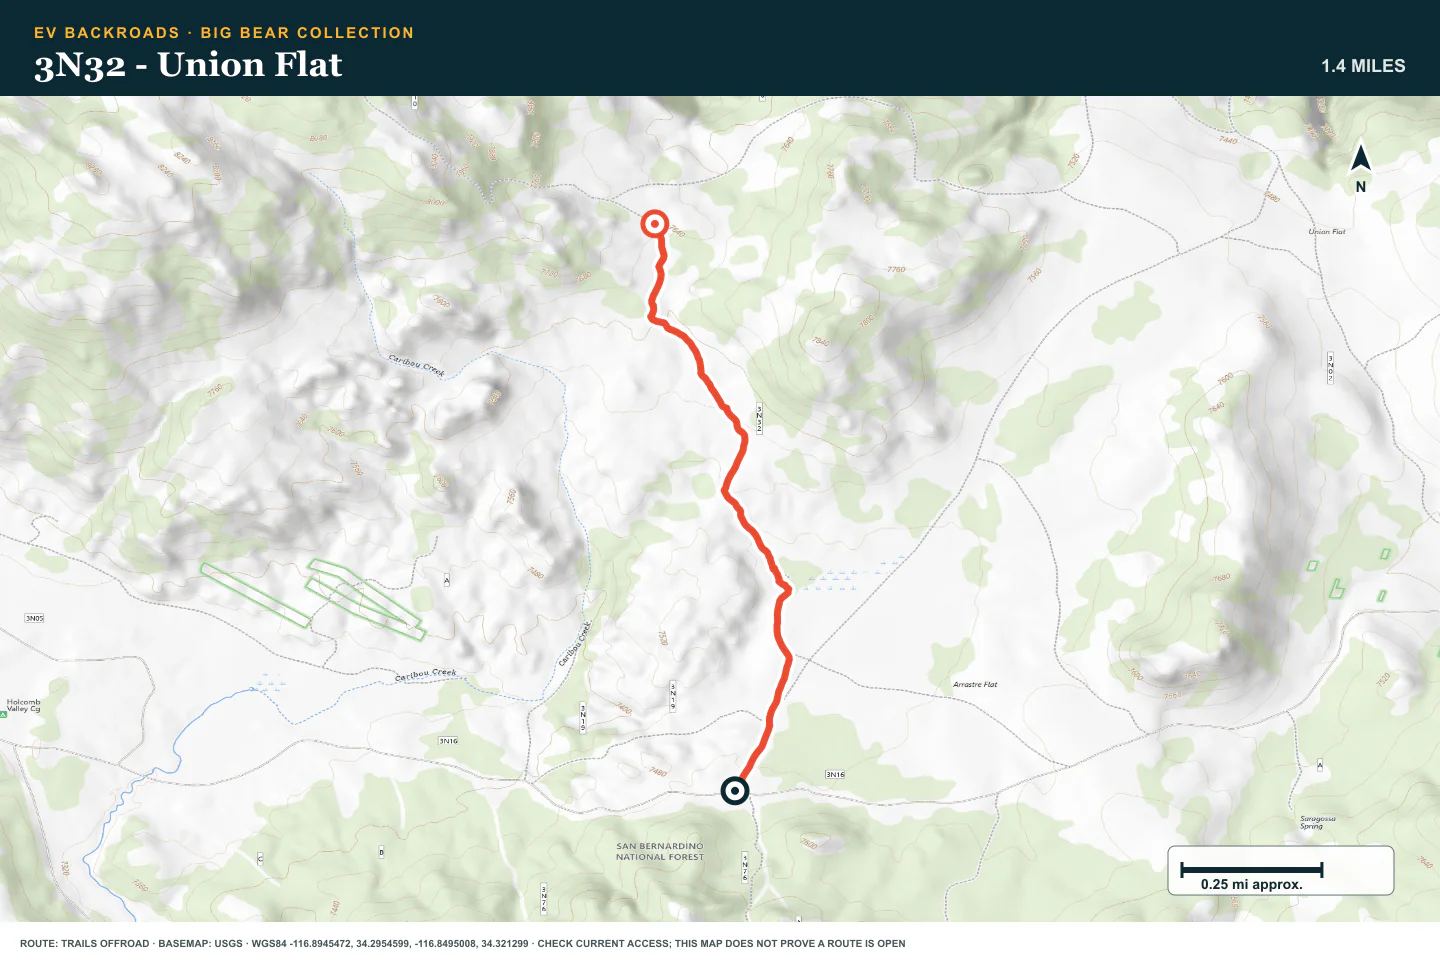
TOPOGRAPHIC PROFILE
3N32 - Union Flat, from start to finish
- Climb
- +206 ft
- Descent
- −48 ft
Elevation sampled from AWS Terrain Tiles along the published route. Small terrain and GPS differences are normal.
Rattlesnake Canyon
- Route distance
- 16.3 mi
- Allow
- Half day
Use this route only when dry and open. Stop before sand, rock, or a wash needs momentum.
Access note: Source snapshot: Open. Check the live source before travel.
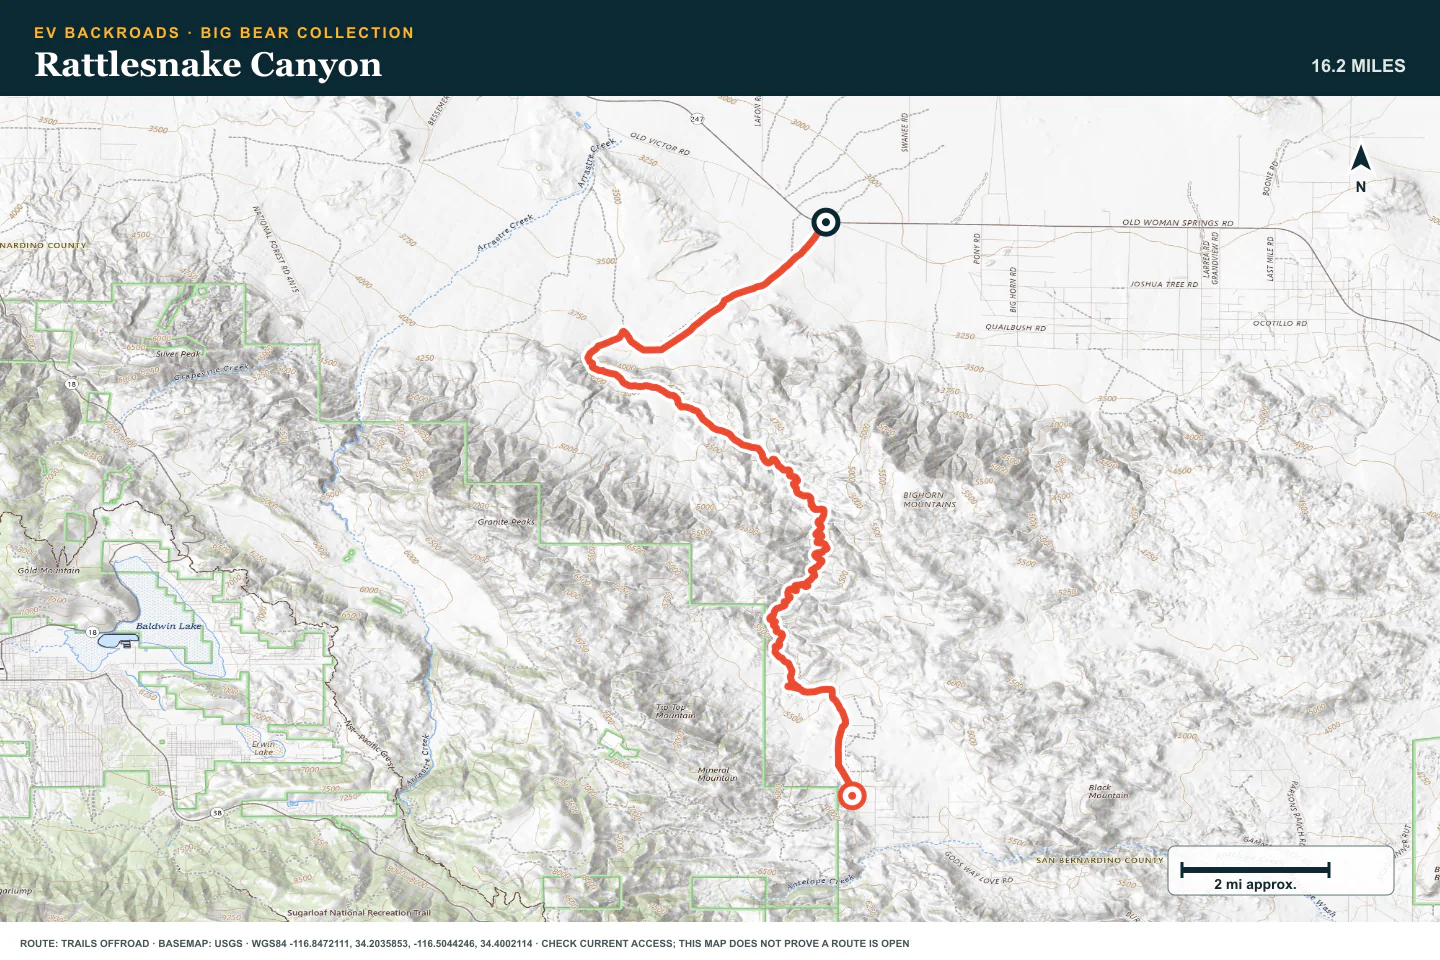
TOPOGRAPHIC PROFILE
Rattlesnake Canyon, from start to finish
- Climb
- +2,681 ft
- Descent
- −70 ft
Elevation sampled from AWS Terrain Tiles along the published route. Small terrain and GPS differences are normal.
3N69 – Gold Mountain
- Route distance
- 4.5 mi
- Allow
- Half day
Use Gold Mountain only with suitable tires, clearance, and recovery points. Walk each major rock section.
Access note: Source snapshot: Open. Check the live source before travel.
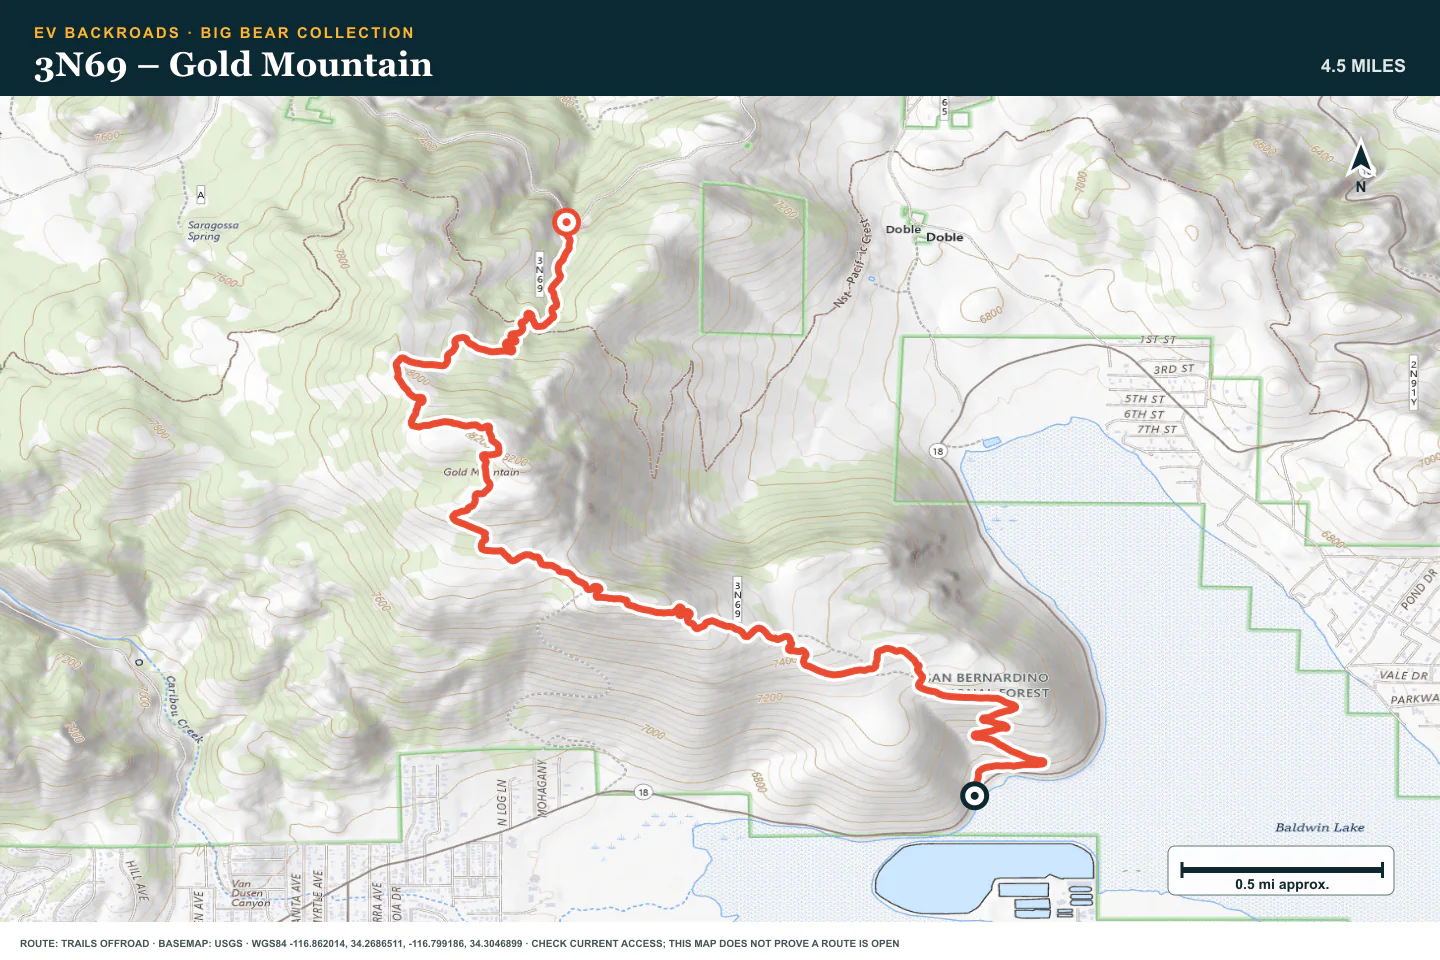
TOPOGRAPHIC PROFILE
3N69 – Gold Mountain, from start to finish
- Climb
- +1,514 ft
- Descent
- −849 ft
Elevation sampled from AWS Terrain Tiles along the published route. Small terrain and GPS differences are normal.
3N10 – John Bull
- Route distance
- 4.6 mi
- Allow
- Half day
Keep John Bull as the expert stage. Use a suitable vehicle, an experienced group, and a complete recovery plan.
Access note: Source snapshot: Open. Check the live source before travel.
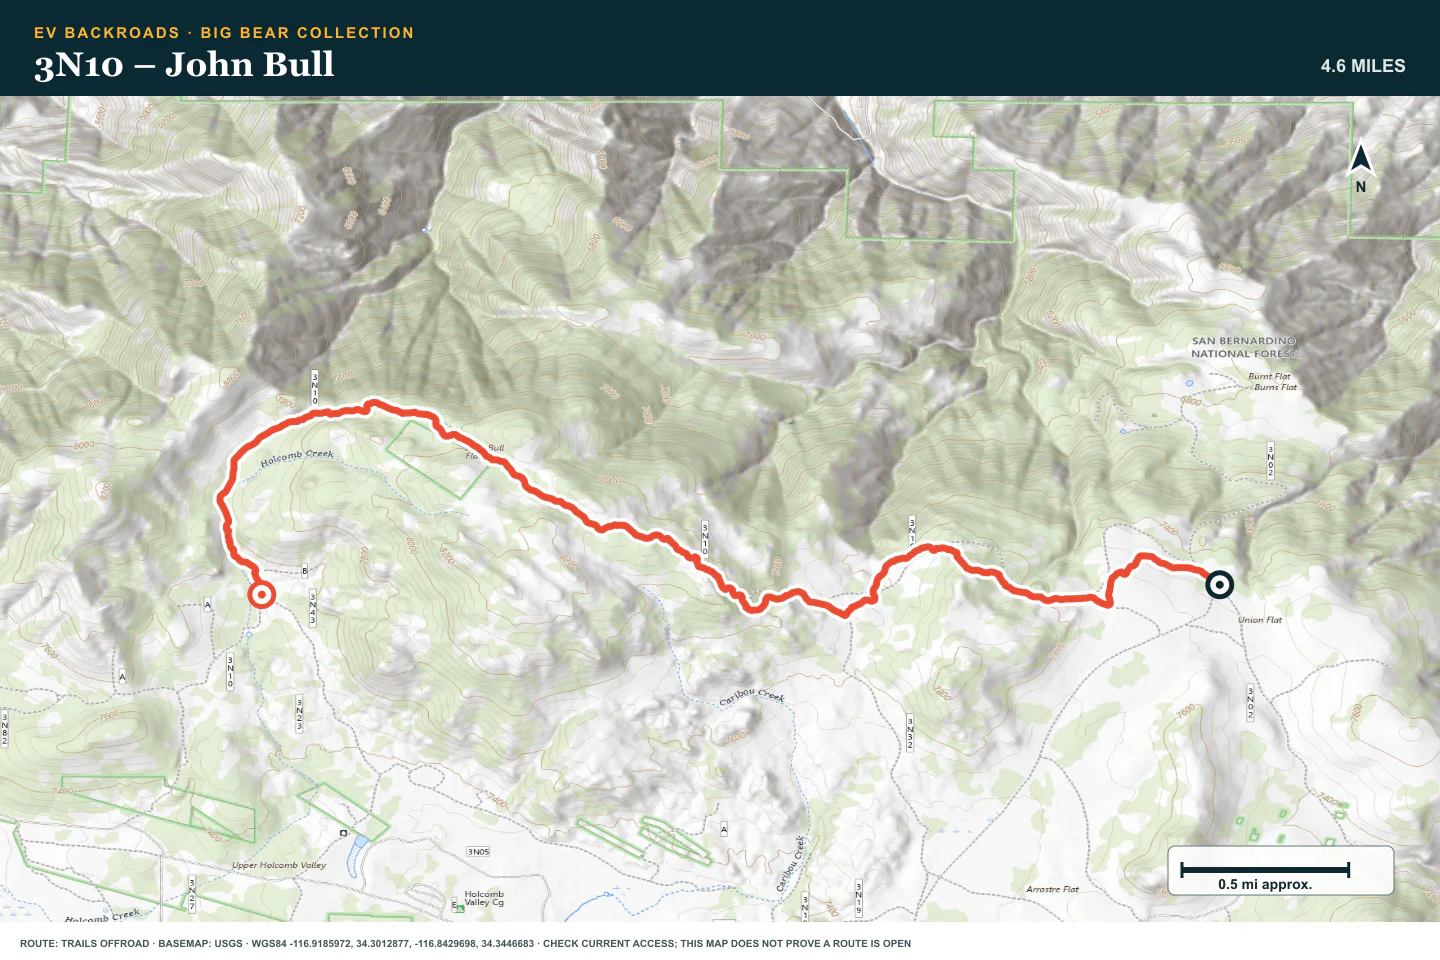
TOPOGRAPHIC PROFILE
3N10 – John Bull, from start to finish
- Climb
- +841 ft
- Descent
- −754 ft
Elevation sampled from AWS Terrain Tiles along the published route. Small terrain and GPS differences are normal.
ROUTE READINESS
Do seven checks before you leave pavement.
surface
Forest dirt, loose rock, ruts, and larger rock obstacles
clearance
Standard clearance for early roads; technical clearance for later stages
remoteness
Services are near the lake, but recovery on a trail can take time
charging
Verify a working charger before the mountain climb
cell Coverage
Download each route before you leave town
weather
Do not use a closed, snowy, or saturated road
turnaround
Stop before the next obstacle needs wheelspin or vehicle contact
BEFORE YOU GO
Make these decisions while you have a signal.
- Check San Bernardino National Forest orders
- Download the selected route and return to charging
- Set a tire, battery, and daylight limit
TURN AROUND WHEN
Follow the limits that you set.
- Snow or mud hides the firm road
- The vehicle touches rock
- The next obstacle exceeds the last controlled stage
CARRY
Prepare for common problems.
- Tire repair kit and compressor
- Traction boards and rated recovery gear
- Water, warm layers, and offline maps
OPEN THE LIVE MAP
Check the drive home.
See the route with open chargers and road-distance charging gaps. Planned stations do not change current coverage.