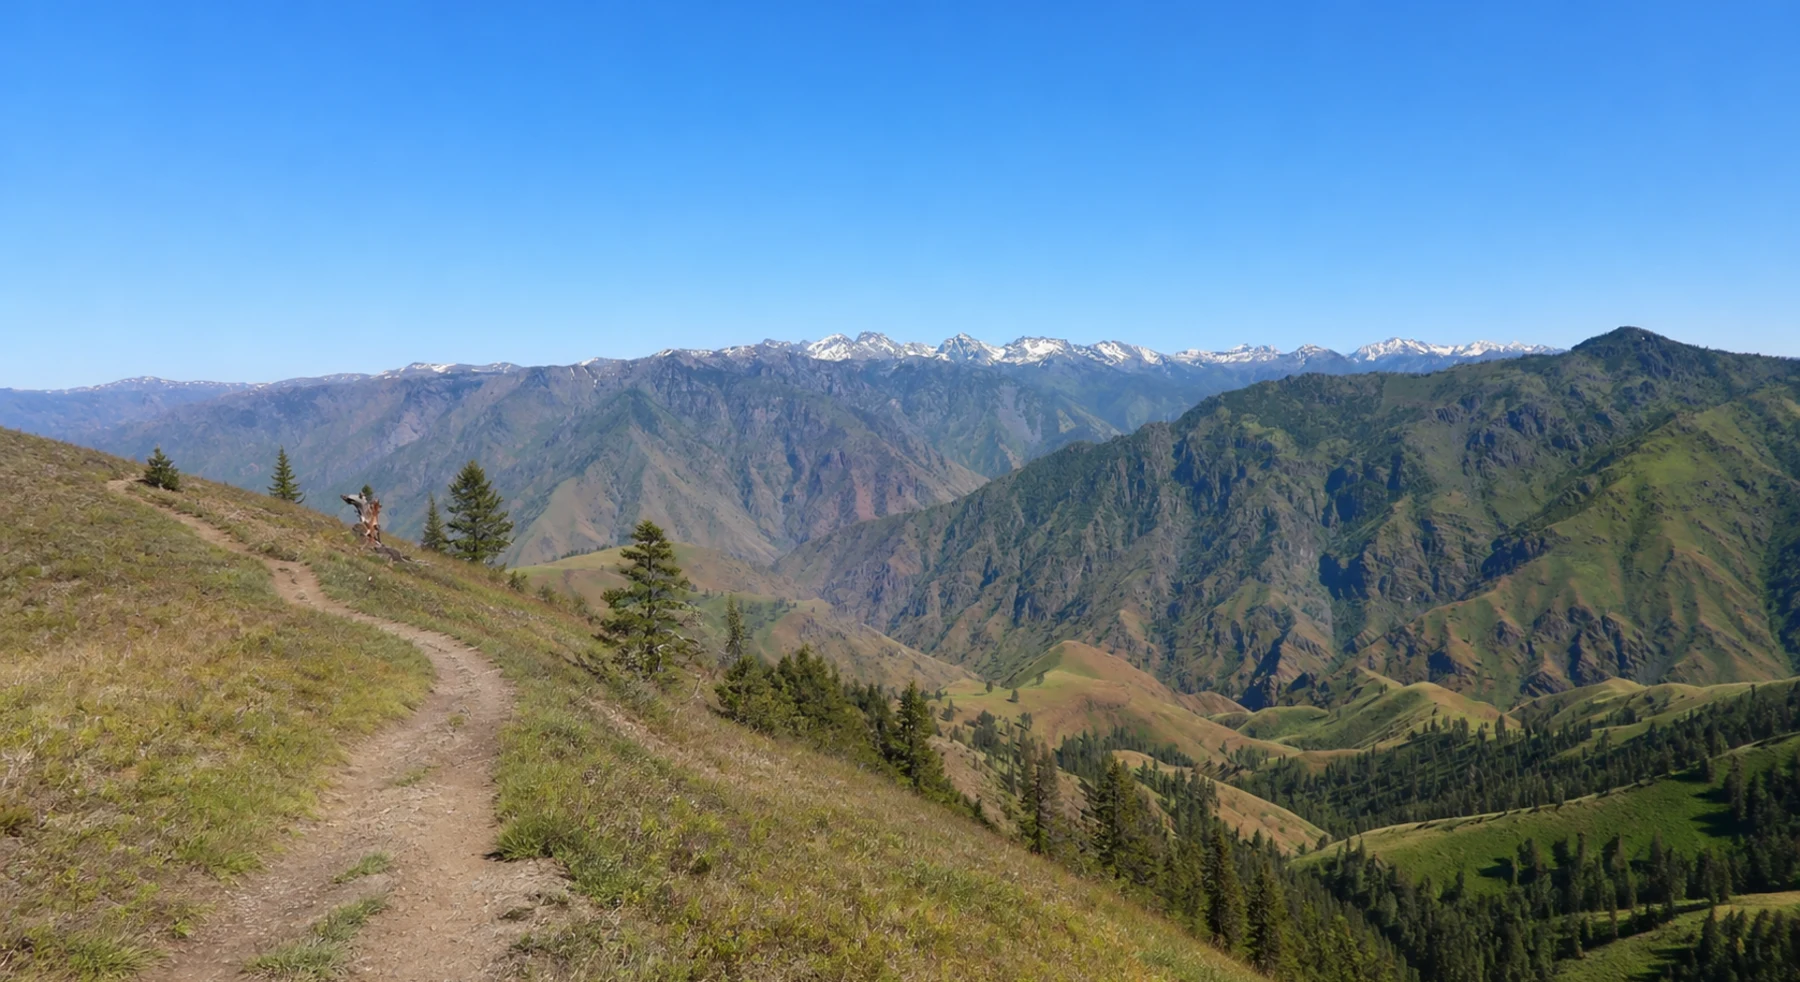

ADVENTURE ROUTE COLLECTION · OREGON + IDAHO
Hells Canyon and Bitterroots: Remote Road Progression
Use four Hells Canyon routes before the long Idaho corridors. Add remote lookouts, multi-day travel, and service-free ridge miles in clear steps.
WHY IT FITS
Why this progression can fit your trip.
The Hells Canyon routes share one base area. They let you test energy, tires, and communication before Magruder Corridor and Lolo Motorway.
ROUTE PROGRESSION
Add one skill at a time.
Drive only the stages that fit your vehicle, experience, weather, and current access. A later stage is not a required finish.
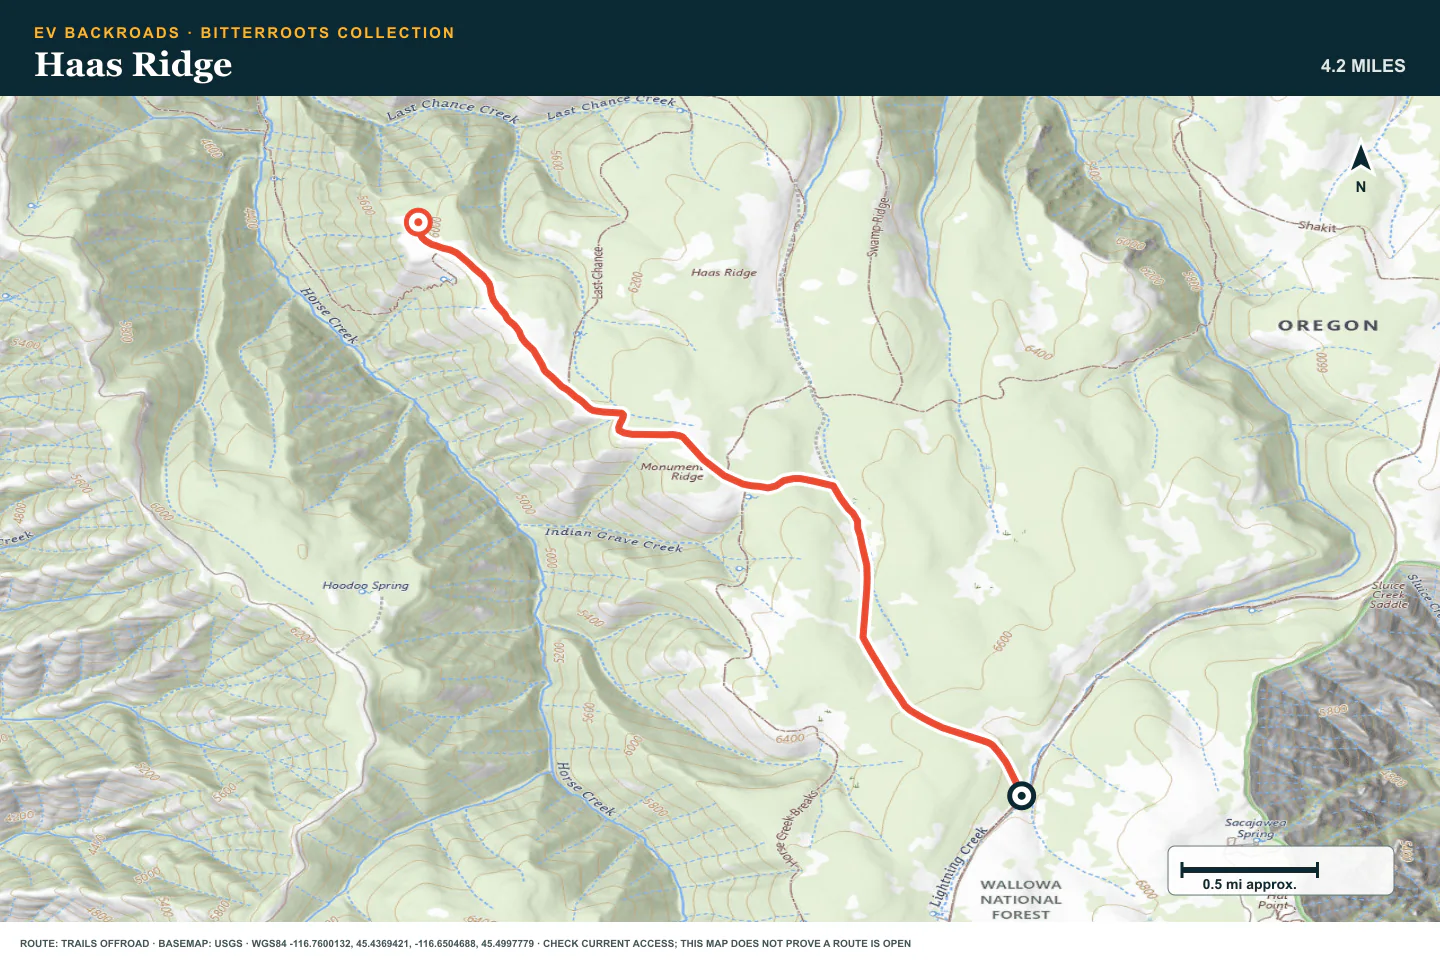
Haas Ridge
- Route distance
- 4.3 mi
- Allow
- Half day
Start on a ridge road near Hells Canyon. Use written battery and daylight checkpoints from the first mile.
Access note: Source snapshot: Open. Check the live source before travel.
TOPOGRAPHIC PROFILE
Haas Ridge, from start to finish
- Climb
- +161 ft
- Descent
- −760 ft
Elevation sampled from AWS Terrain Tiles along the published route. Small terrain and GPS differences are normal.
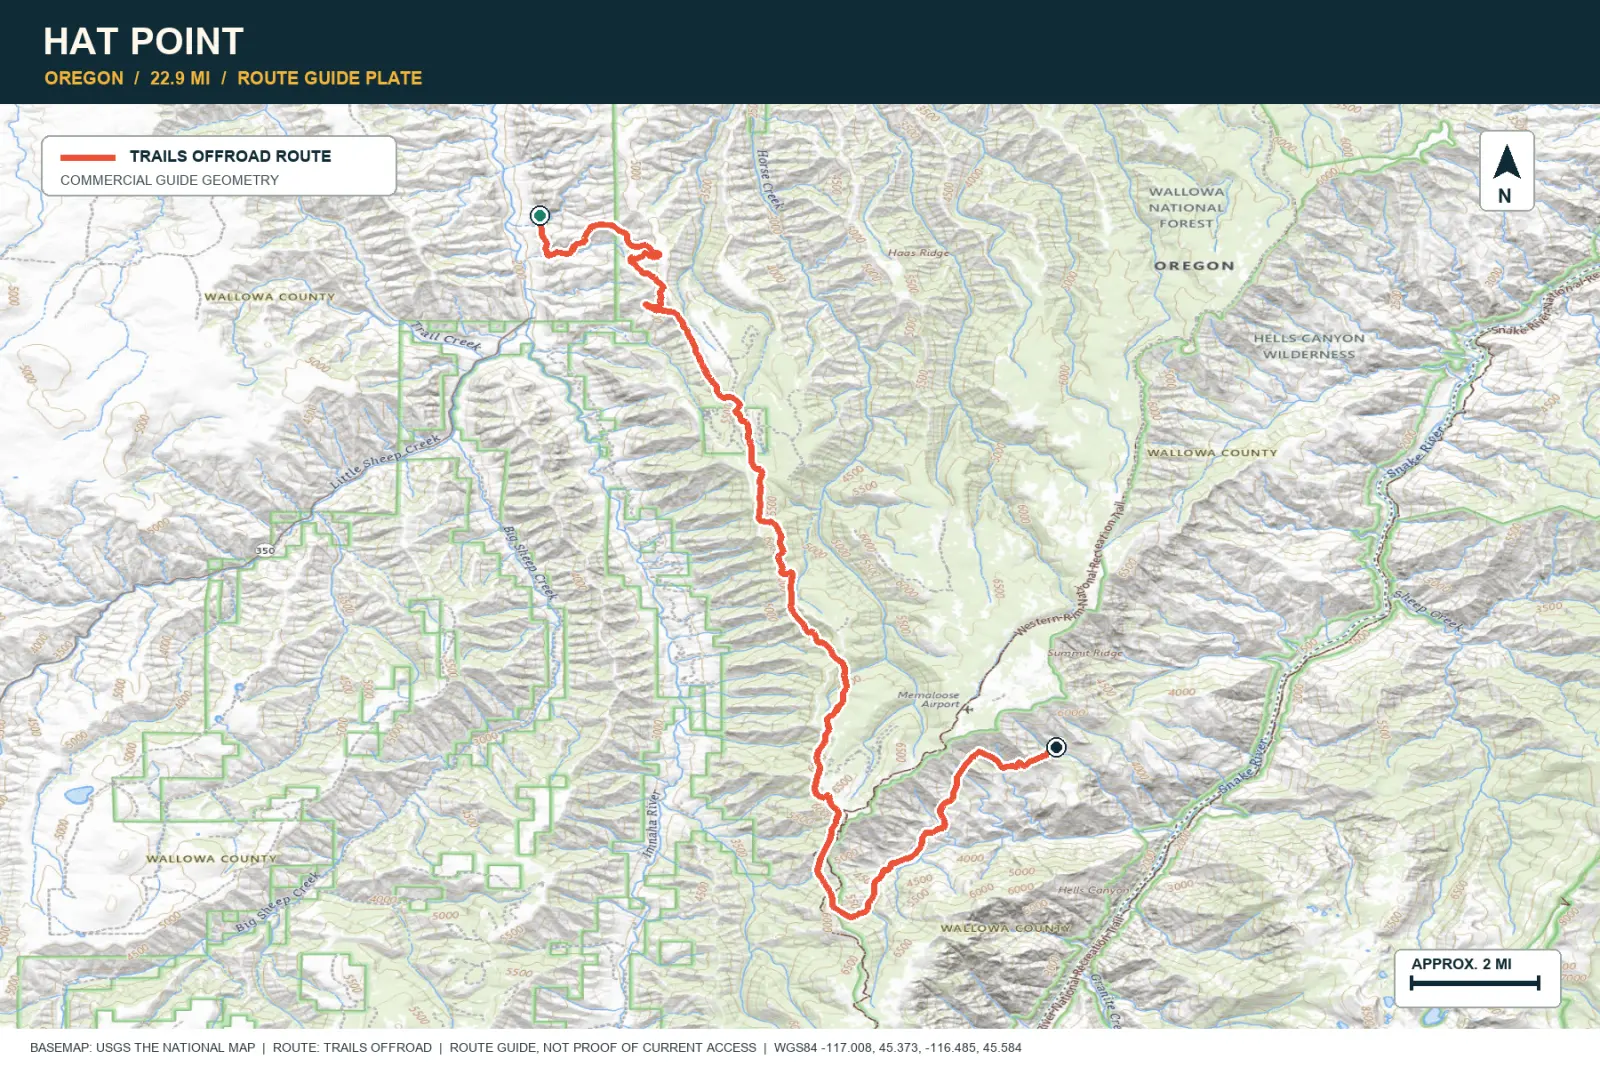
Hat Point
- Route distance
- 22.9 mi
- Allow
- Full day
Use the out-and-back to practice energy and time checkpoints before a long service-free traverse.
TOPOGRAPHIC PROFILE
Hat Point, from start to finish
- Climb
- +5,471 ft
- Descent
- −605 ft
Elevation sampled from AWS Terrain Tiles along the published route. Small terrain and GPS differences are normal.
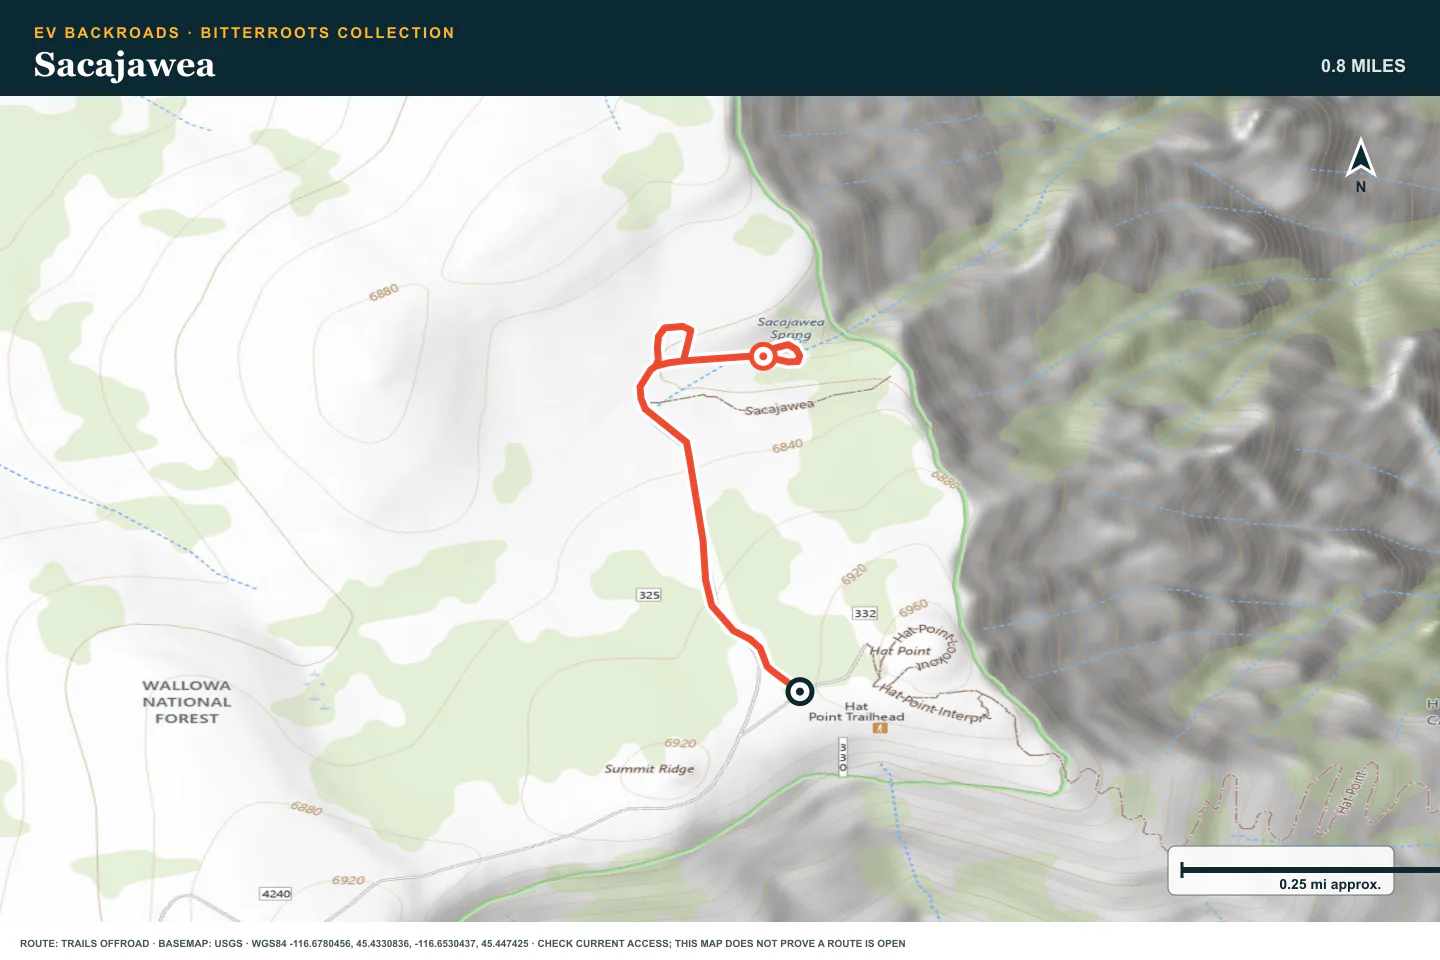
Sacajawea
- Route distance
- 0.8 mi
- Allow
- Half day
Add a nearby ridge route with more navigation decisions. Stop when the legal route or road edge is unclear.
Access note: Source snapshot: Open. Check the live source before travel.
TOPOGRAPHIC PROFILE
Sacajawea, from start to finish
- Climb
- +9 ft
- Descent
- −168 ft
Elevation sampled from AWS Terrain Tiles along the published route. Small terrain and GPS differences are normal.
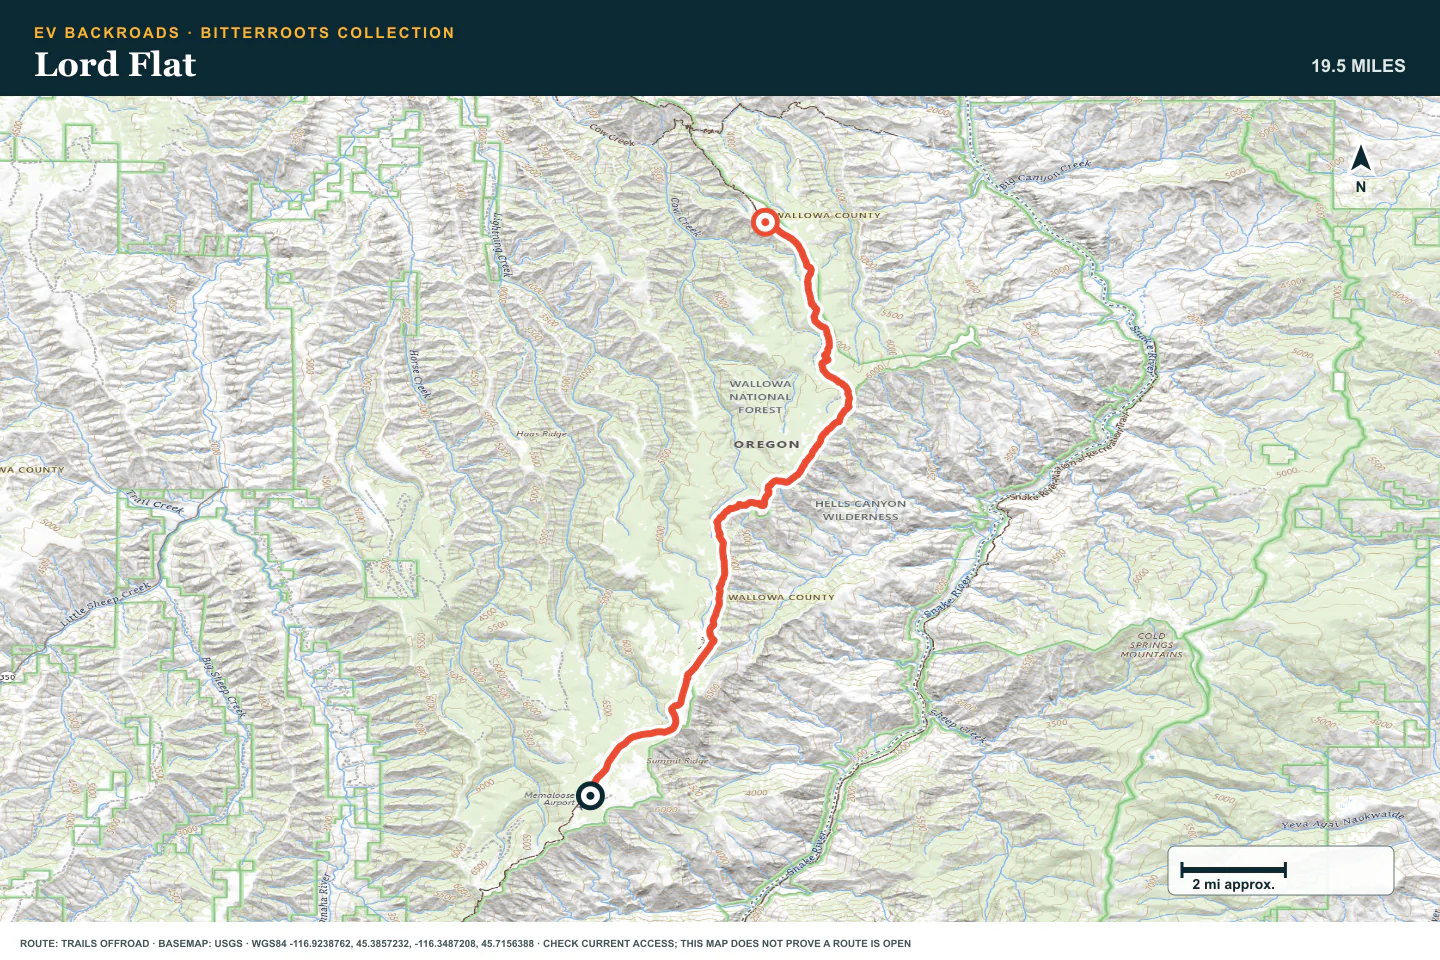
Lord Flat
- Route distance
- 19.5 mi
- Allow
- Full day
Use this longer Hells Canyon stage only when the earlier routes feel routine. Carry a complete tire and communication plan.
Access note: Source snapshot: Open. Check the live source before travel.
TOPOGRAPHIC PROFILE
Lord Flat, from start to finish
- Climb
- +1,010 ft
- Descent
- −1,961 ft
Elevation sampled from AWS Terrain Tiles along the published route. Small terrain and GPS differences are normal.
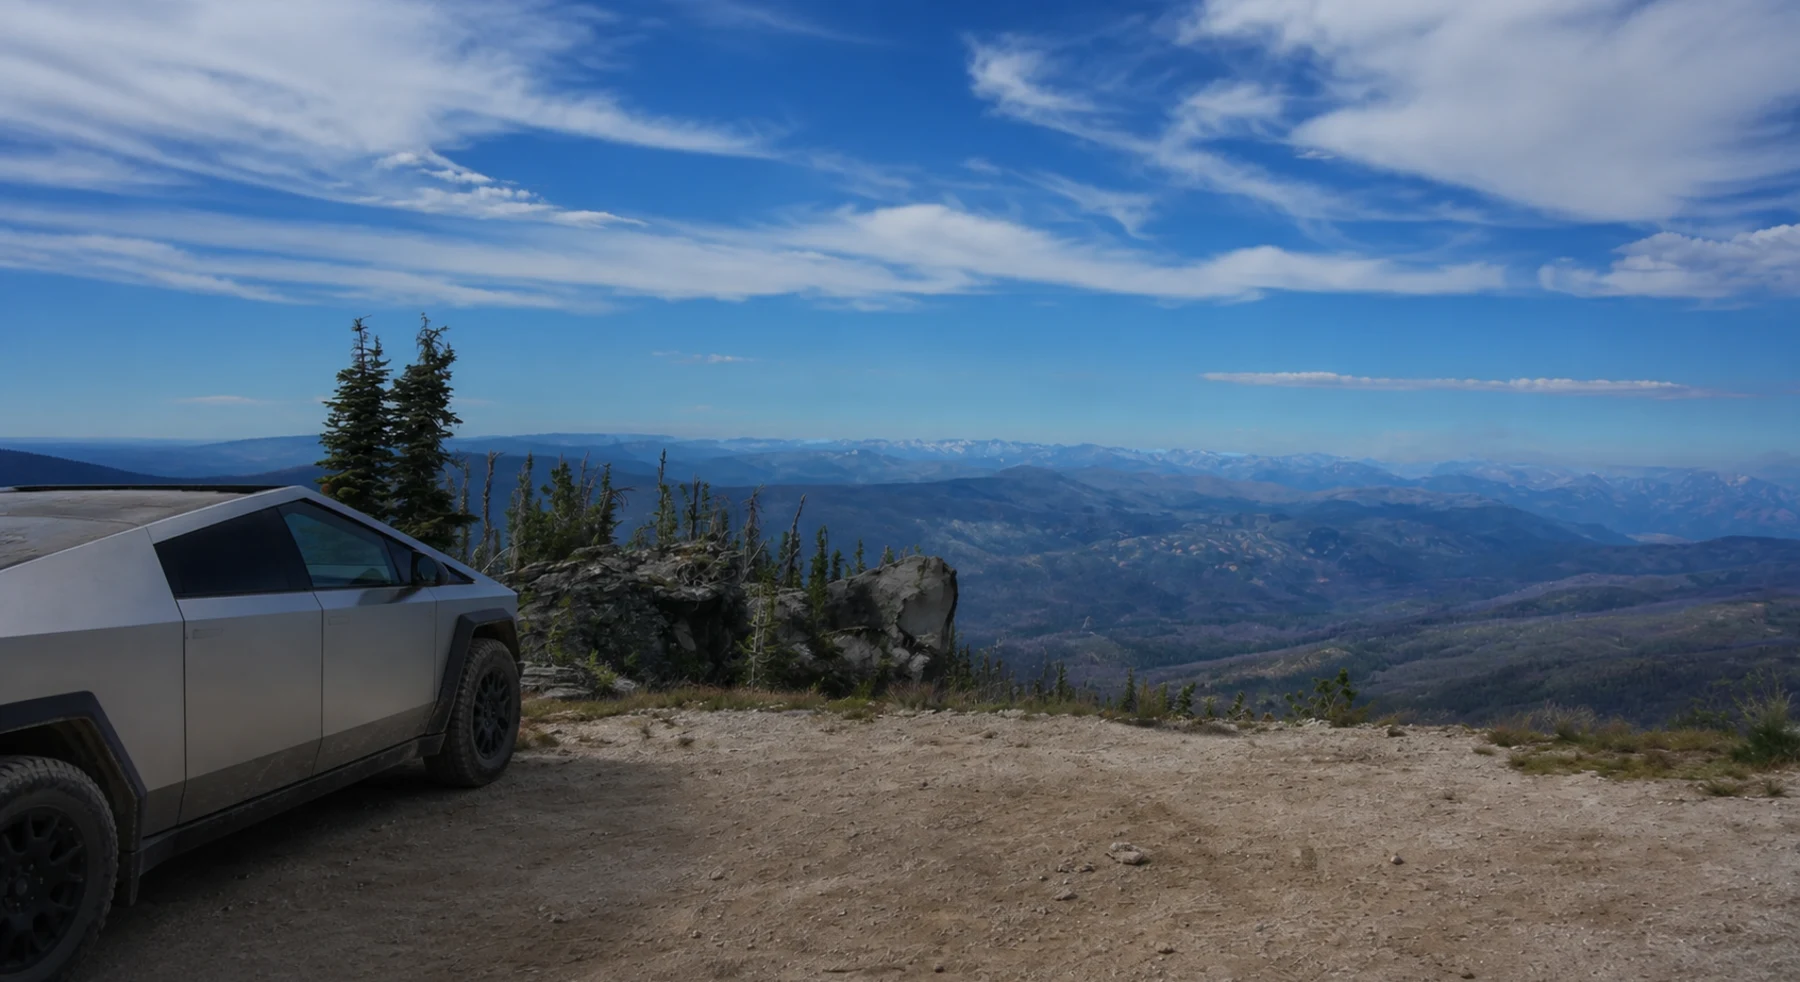
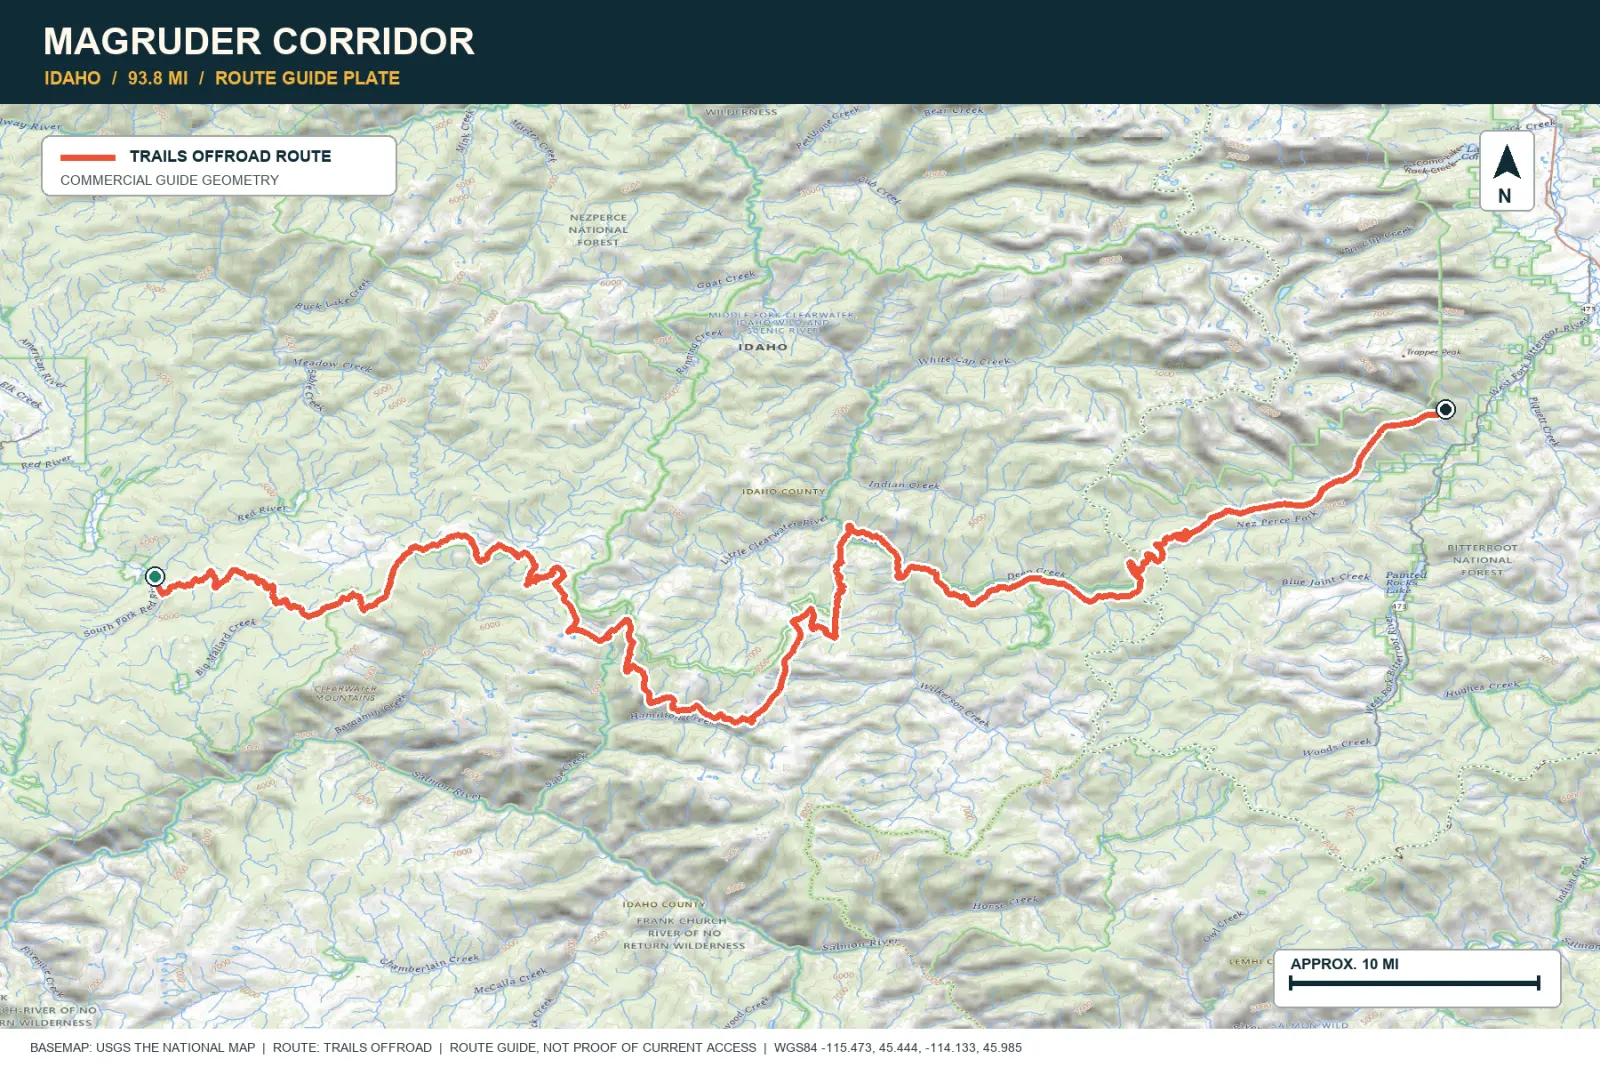
Magruder Corridor
- Route distance
- 93.8 mi
- Allow
- 2–3 days
Add a long wilderness corridor with few services. Confirm both exits and carry a complete tire and communication plan.
TOPOGRAPHIC PROFILE
Magruder Corridor, from start to finish
- Climb
- +9,388 ft
- Descent
- −9,487 ft
Elevation sampled from AWS Terrain Tiles along the published route. Small terrain and GPS differences are normal.
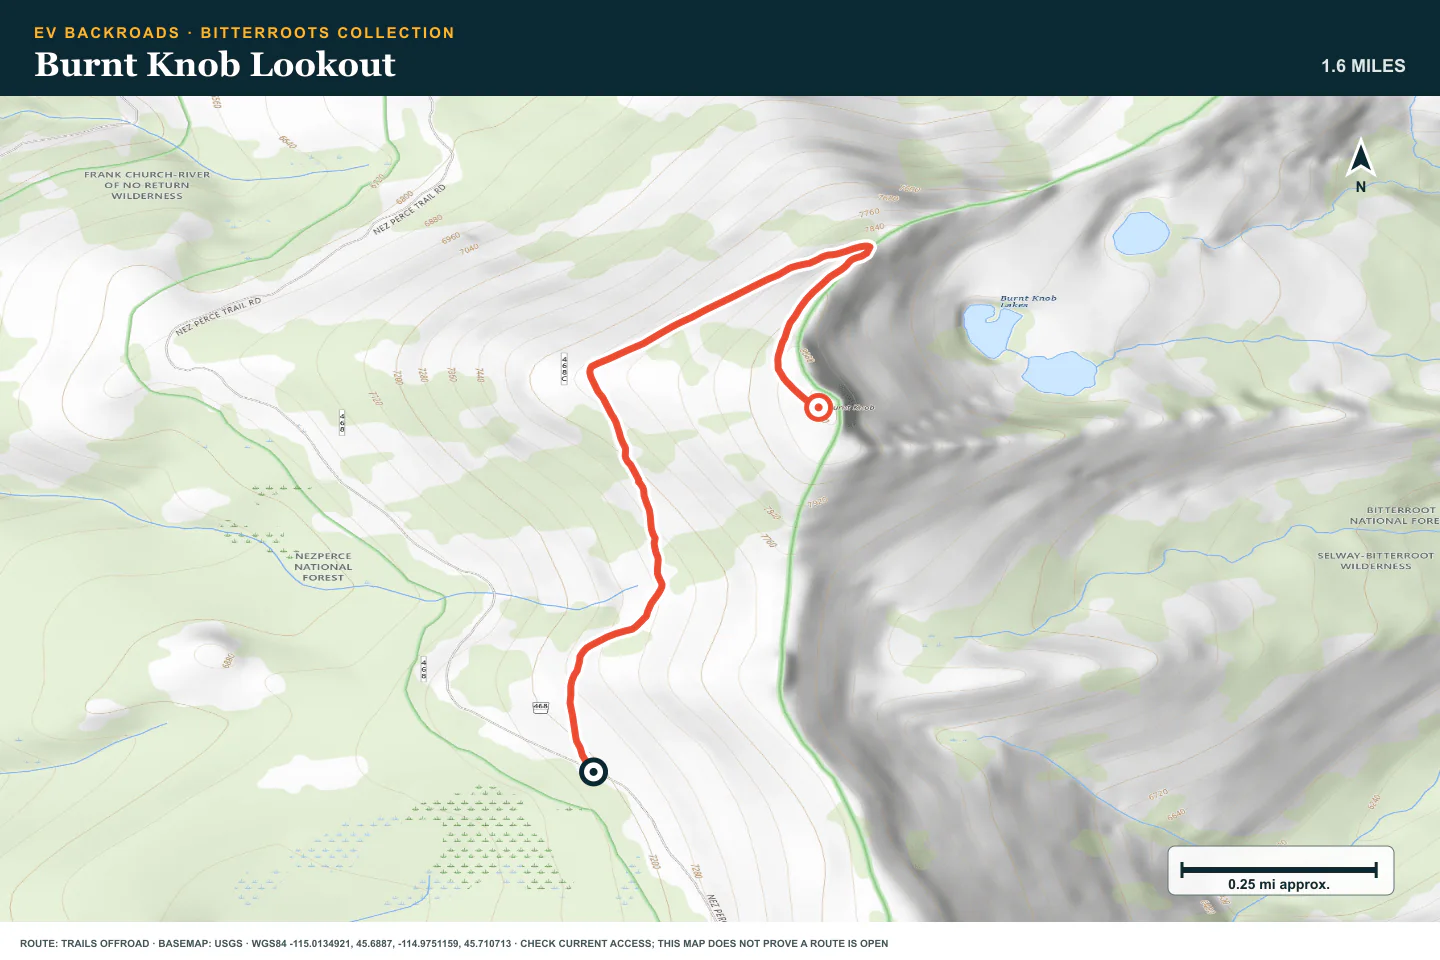
Burnt Knob Lookout
- Route distance
- 1.6 mi
- Allow
- Half day
Use this corridor side trip only when time, weather, and battery reserves remain strong.
Access note: Source snapshot: Open. Check the live source before travel.
TOPOGRAPHIC PROFILE
Burnt Knob Lookout, from start to finish
- Climb
- +984 ft
- Descent
- −11 ft
Elevation sampled from AWS Terrain Tiles along the published route. Small terrain and GPS differences are normal.
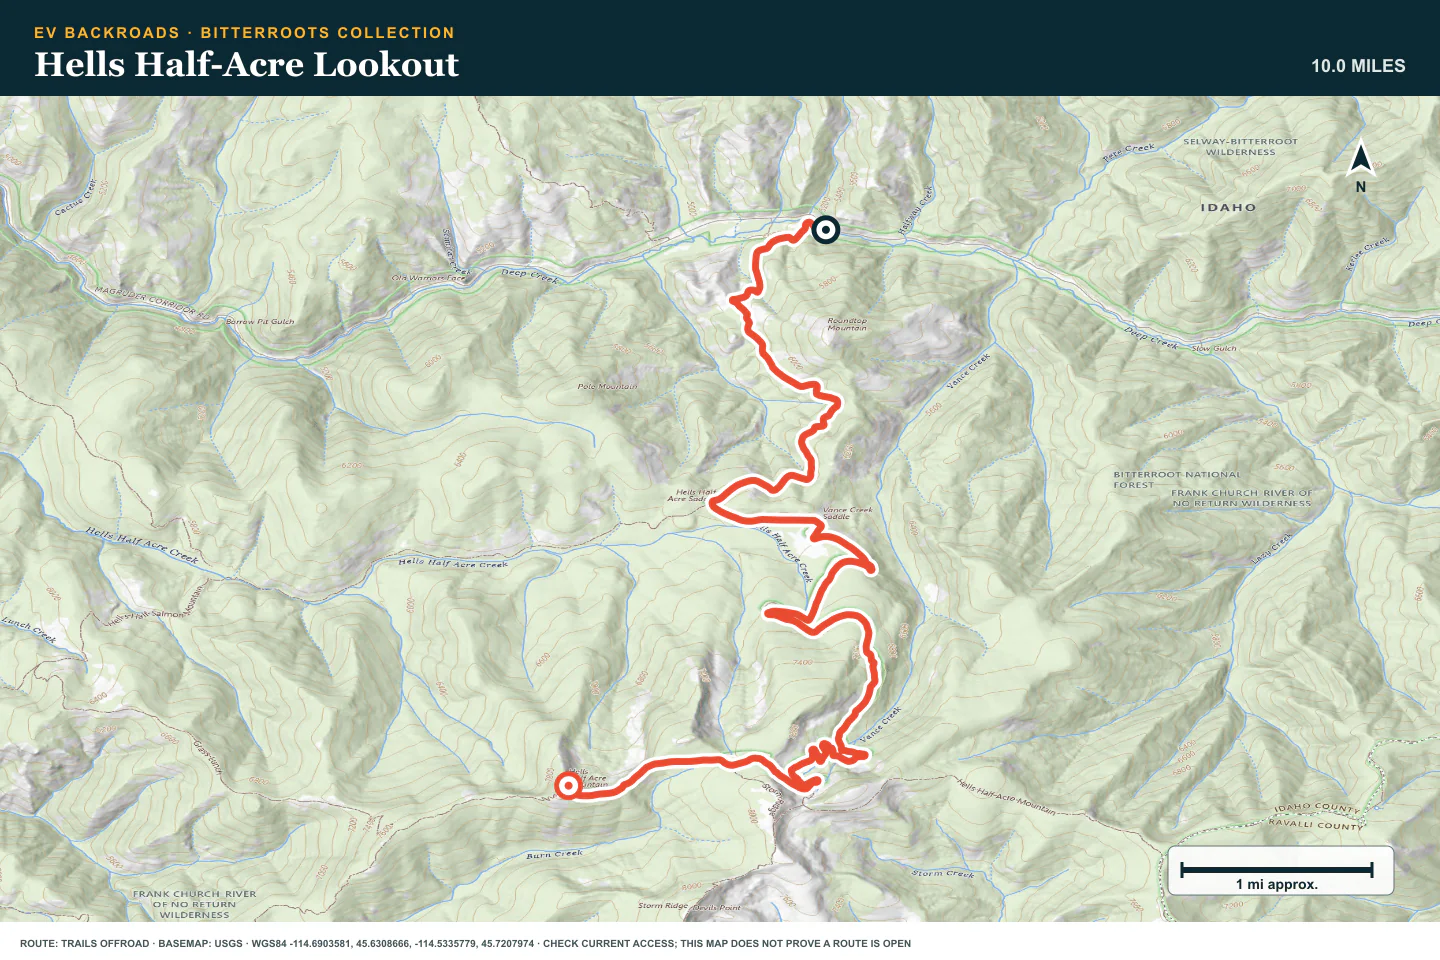
Hells Half-Acre Lookout
- Route distance
- 10.1 mi
- Allow
- Half day
Add another lookout route after you confirm its seasonal access. Keep the return to the main corridor protected.
Access note: Source snapshot: Seasonal Closure. Check the live source before travel.
TOPOGRAPHIC PROFILE
Hells Half-Acre Lookout, from start to finish
- Climb
- +3,158 ft
- Descent
- −78 ft
Elevation sampled from AWS Terrain Tiles along the published route. Small terrain and GPS differences are normal.
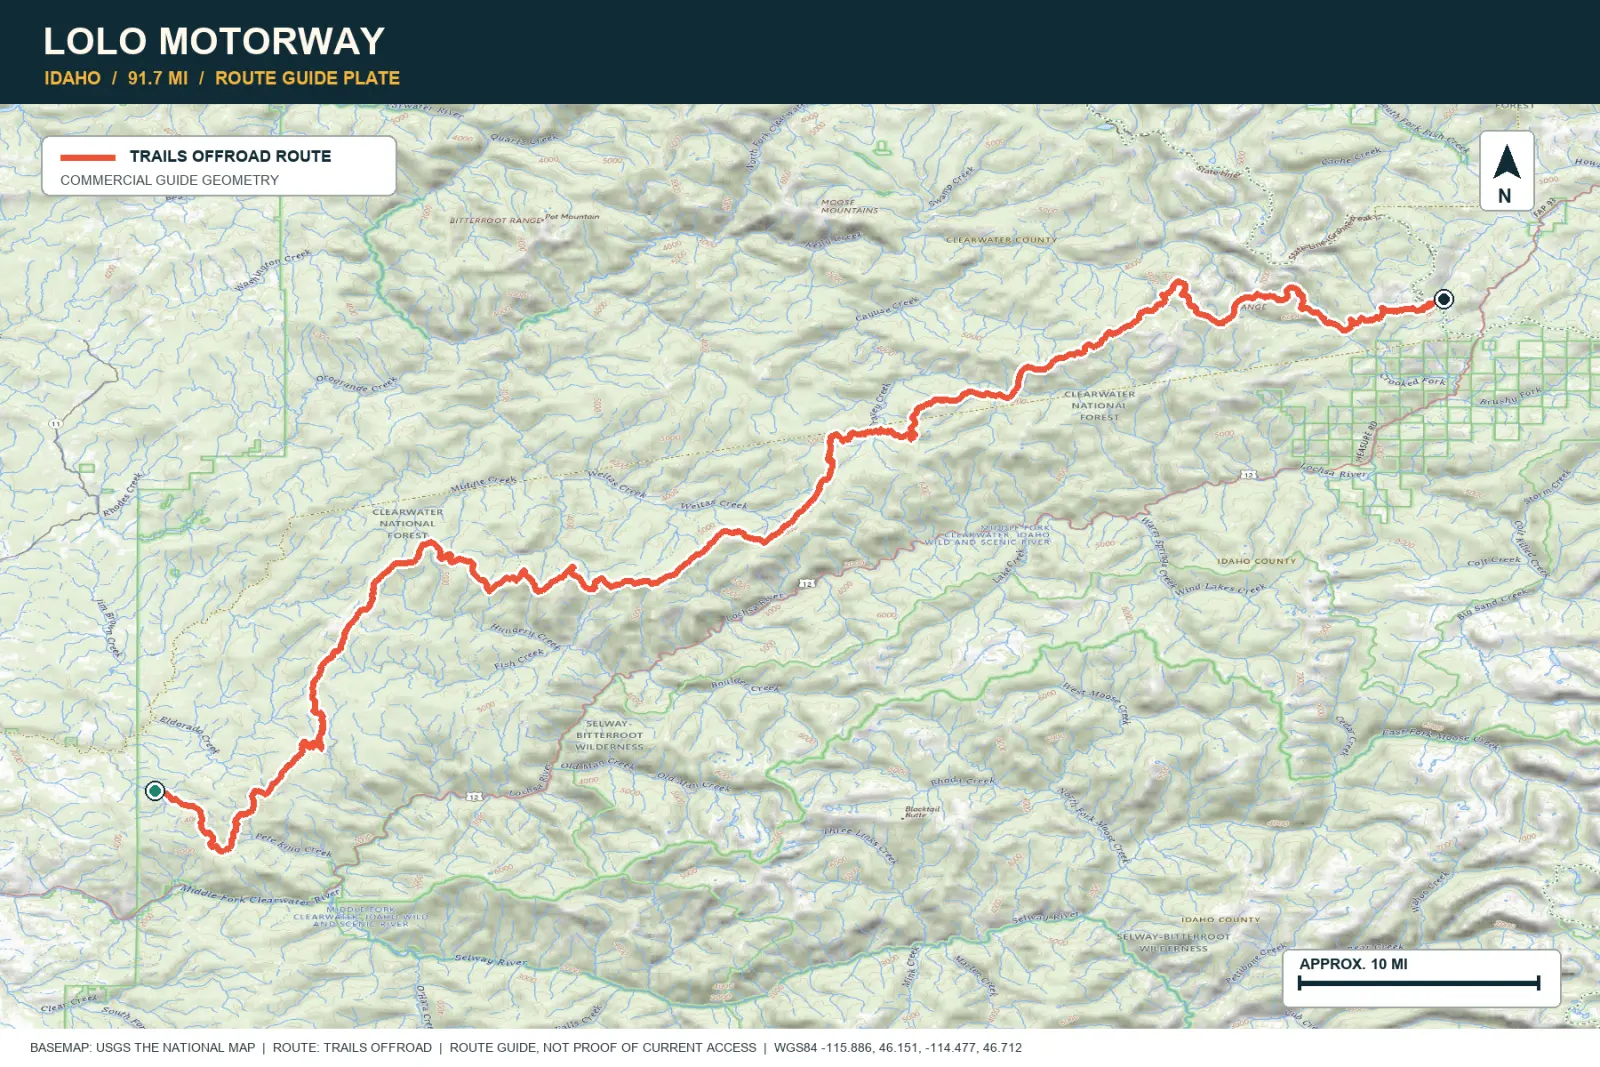
Lolo Motorway
- Route distance
- 91.7 mi
- Allow
- 2 days
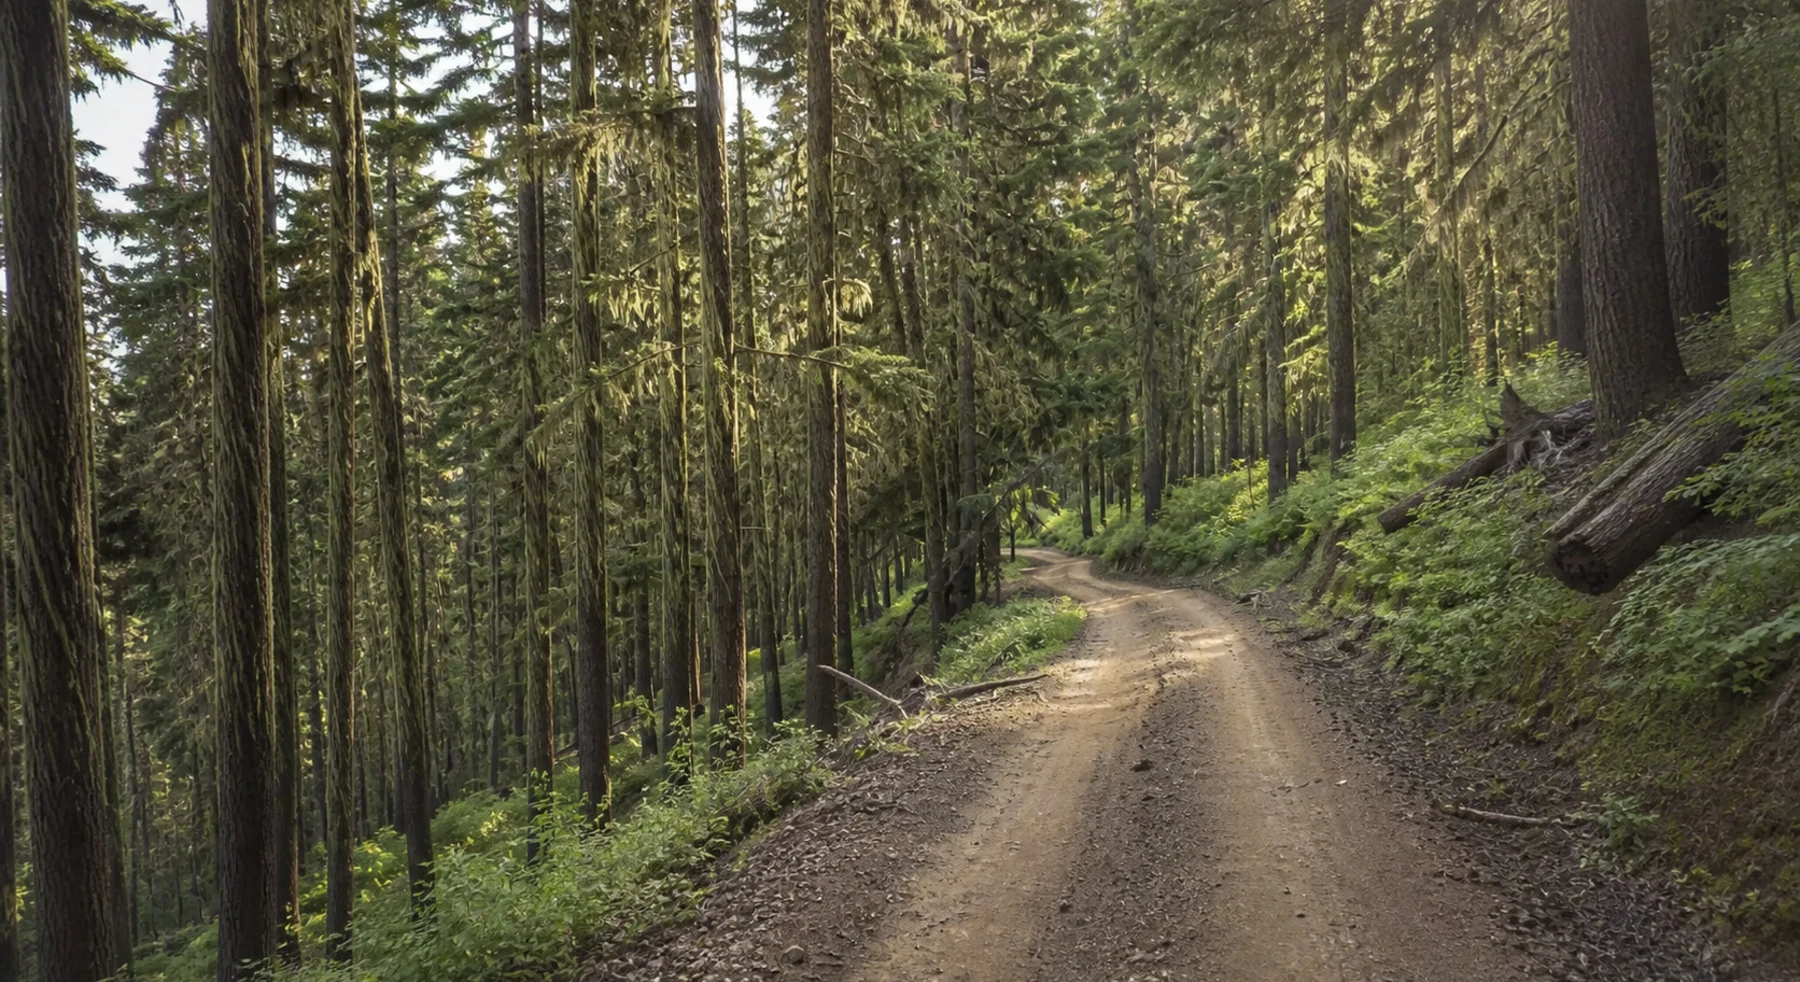
Use Lolo only when long remote travel feels routine. Expect slow ridge miles and few easy exits.
TOPOGRAPHIC PROFILE
Lolo Motorway, from start to finish
- Climb
- +7,314 ft
- Descent
- −5,545 ft
Elevation sampled from AWS Terrain Tiles along the published route. Small terrain and GPS differences are normal.
ROUTE READINESS
Do seven checks before you leave pavement.
surface
Long mountain dirt roads with rough and washed sections
clearance
Extra clearance and a complete tire plan
remoteness
Later stages cross very large service-free areas
charging
Confirm both ends and every overnight charging plan directly
cell Coverage
Use offline maps and satellite communication
weather
Fire, smoke, storms, and snow control the plan
turnaround
Use written time, battery, tire, and weather checkpoints
BEFORE YOU GO
Make these decisions while you have a signal.
- Check forest access, fire, smoke, and washout notices
- Confirm chargers and lodging outlets directly
- Share the route and overdue plan
TURN AROUND WHEN
Follow the limits that you set.
- A required exit or charger is not confirmed
- Smoke or weather removes the safe return window
- Tire damage spends the only complete spare plan
CARRY
Prepare for common problems.
- Full-size spare or equivalent tire plan
- Satellite communicator
- Food, water, and shelter for a delayed return
OPEN THE LIVE MAP
Check the drive home.
See the route with open chargers and road-distance charging gaps. Planned stations do not change current coverage.