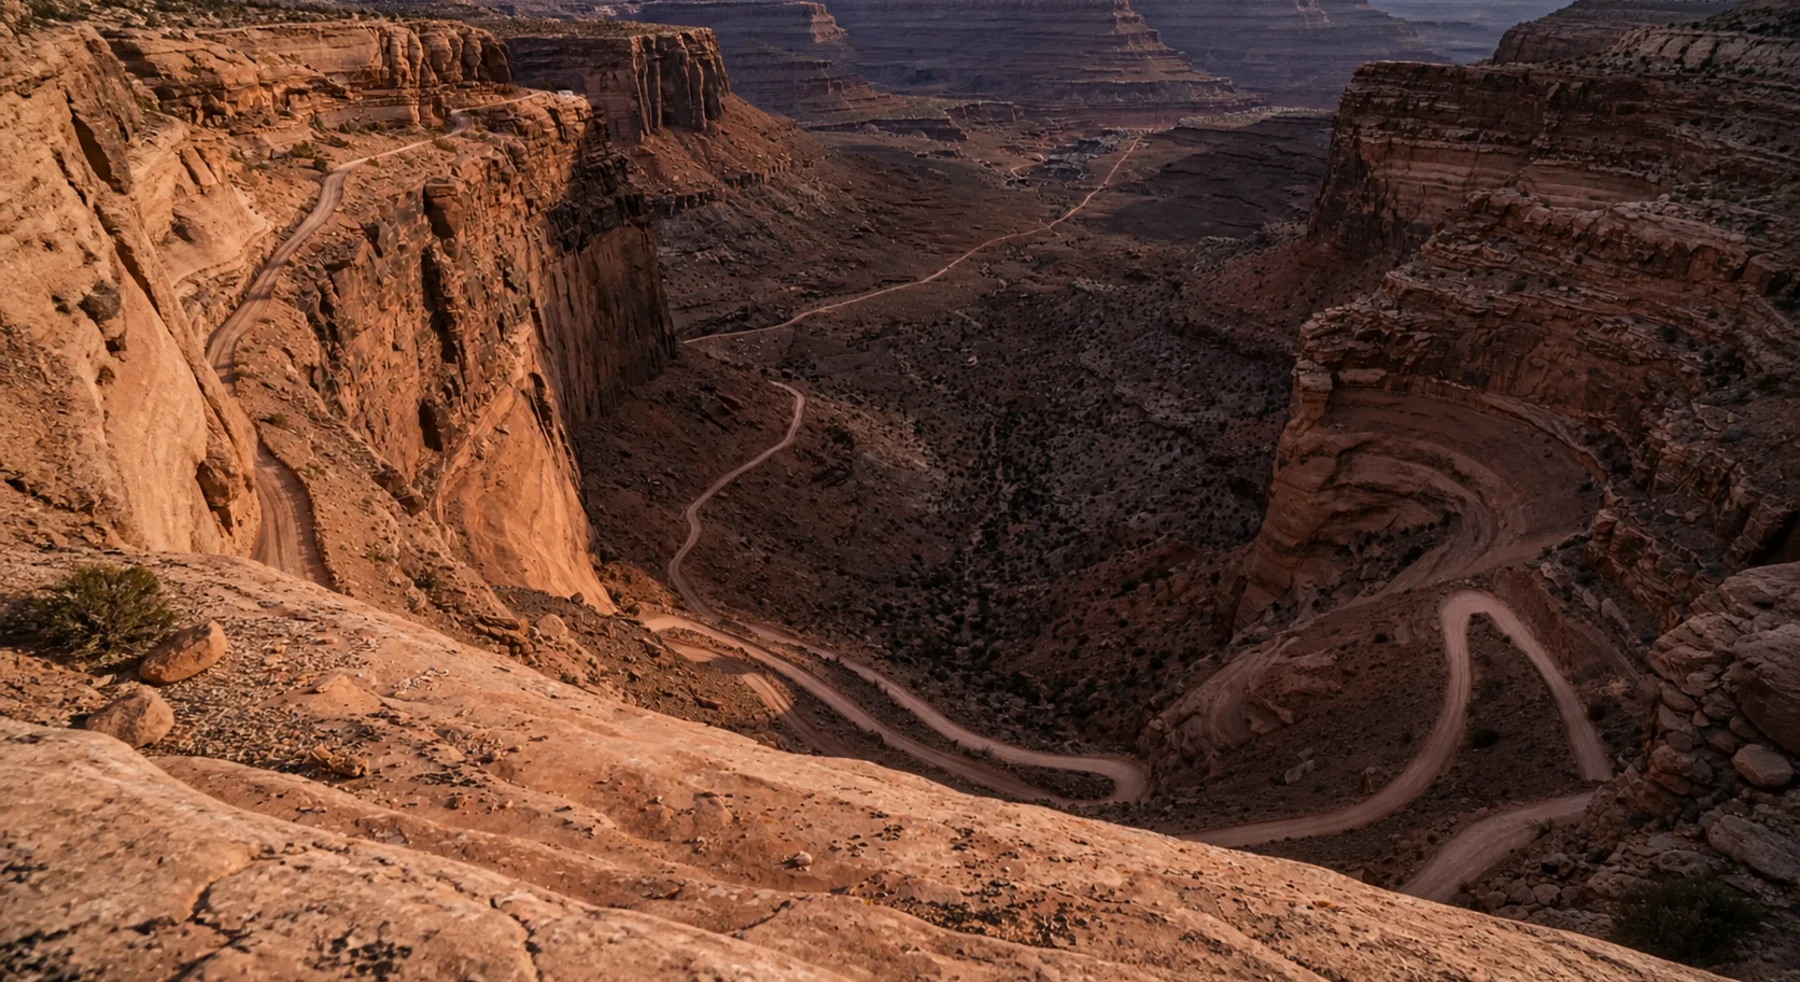

ADVENTURE ROUTE COLLECTION · UTAH
Moab: Easy Roads to Harder Lines
Build a Moab week from calm creek roads to steep slickrock. Stop at the stage that fits your vehicle, skill, and comfort.
WHY IT FITS
Why this progression can fit your trip.
The pack starts with scenic dirt and shallow crossings. Each later route adds one clear demand: exposure, a longer day, steep grades, slickrock control, or larger ledges.
This is a progression, not a checklist.
Start with the first route. Add the next route only when the previous drive felt controlled. You do not have to finish every stage. A good Moab trip ends with battery, daylight, and confidence in reserve.
Use one base camp.
Stay near Moab. Return to a verified charger after each route. Review tire condition, energy use, and driver fatigue before you choose the next stage.
Walk the hard line first.
Stop in a safe place. Check the ledge, the exit, and the space under the vehicle. Use a spotter when the driver cannot see a tire or an edge. Do not follow another vehicle into a line that does not fit your vehicle.
ROUTE PROGRESSION
Add one skill at a time.
Drive only the stages that fit your vehicle, experience, weather, and current access. A later stage is not a required finish.
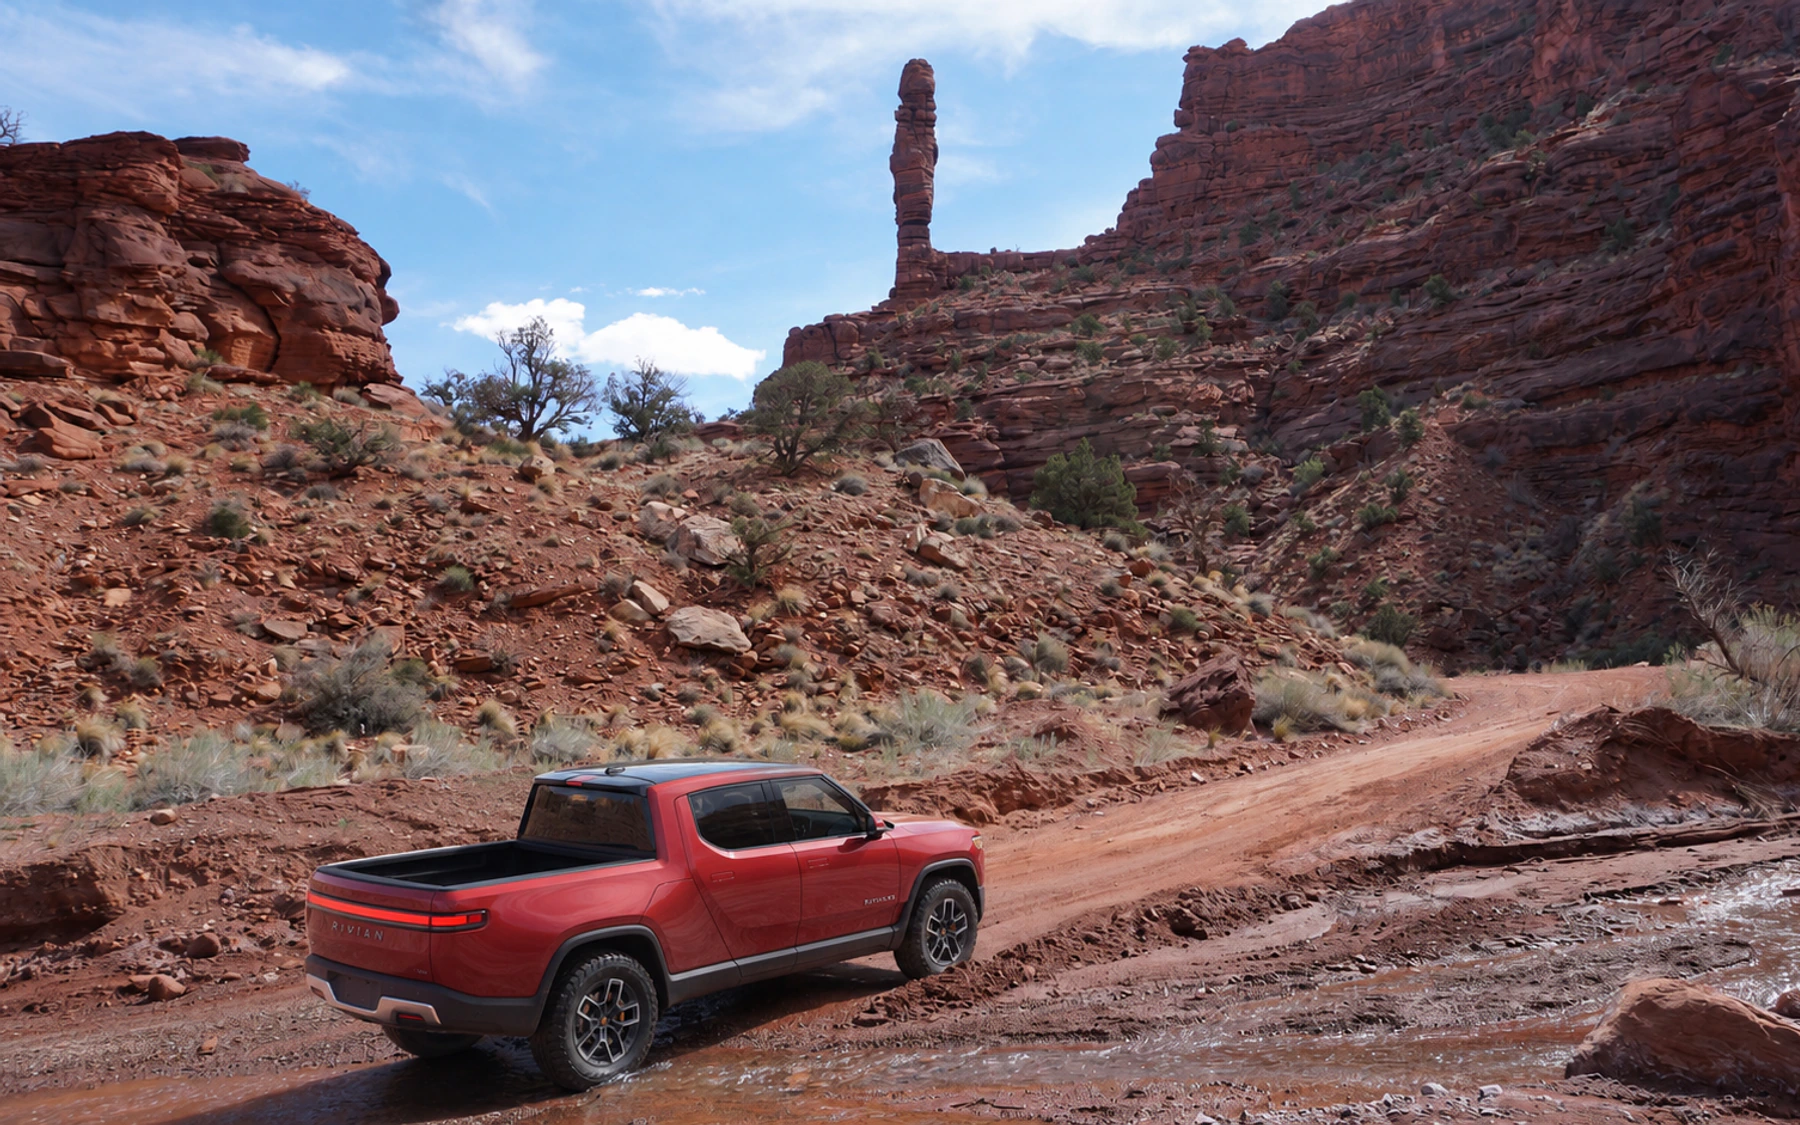
Onion Creek
- Route distance
- 10.5 mi
- Allow
- 2–3 hours
Follow a narrow canyon road through many shallow creek crossings. Use it to learn slow speed, tire placement, and how the EV responds on wet rock and firm dirt.
Access note: Water depth and the road surface can change after rain. Do not enter when flash flooding is possible.
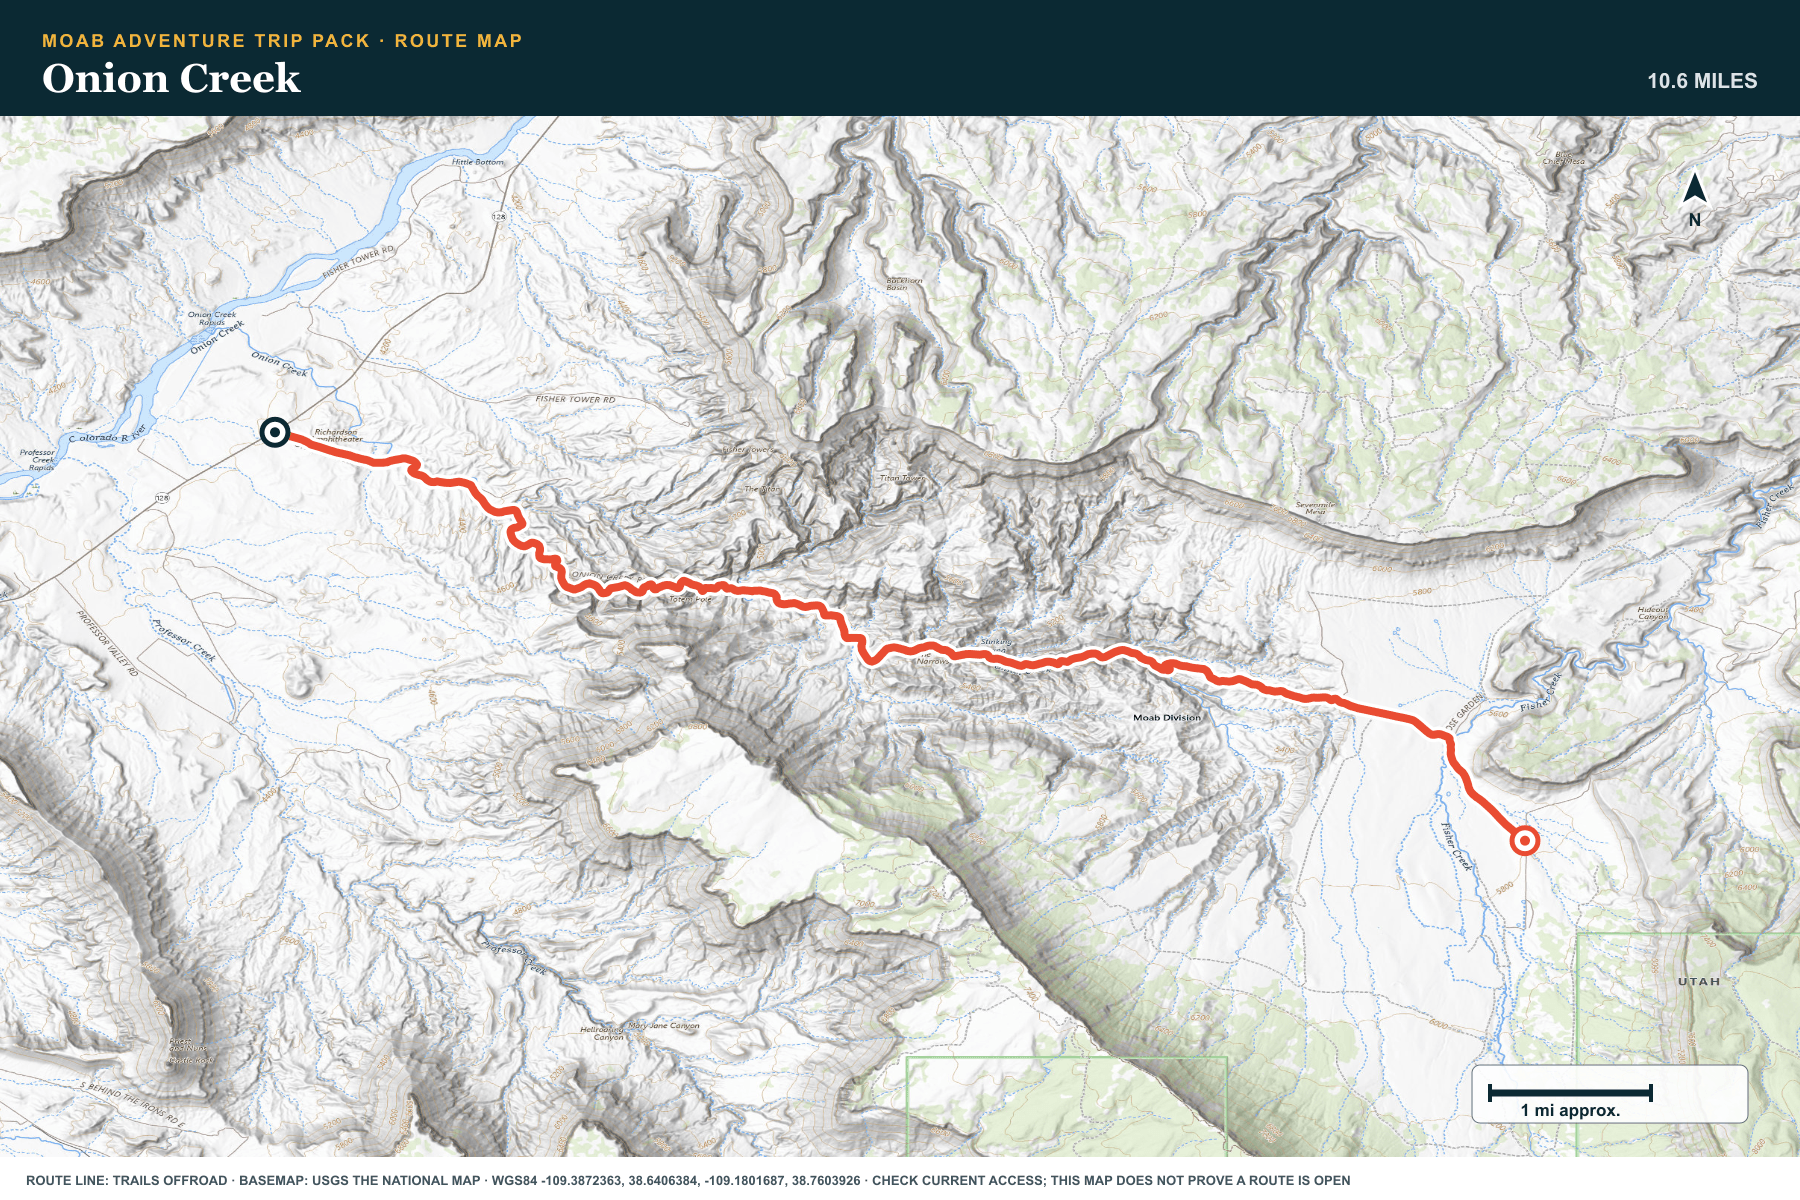
TOPOGRAPHIC PROFILE
Onion Creek, from start to finish
- Climb
- +1,648 ft
- Descent
- −101 ft
Elevation sampled from AWS Terrain Tiles along the published route. Small terrain and GPS differences are normal.
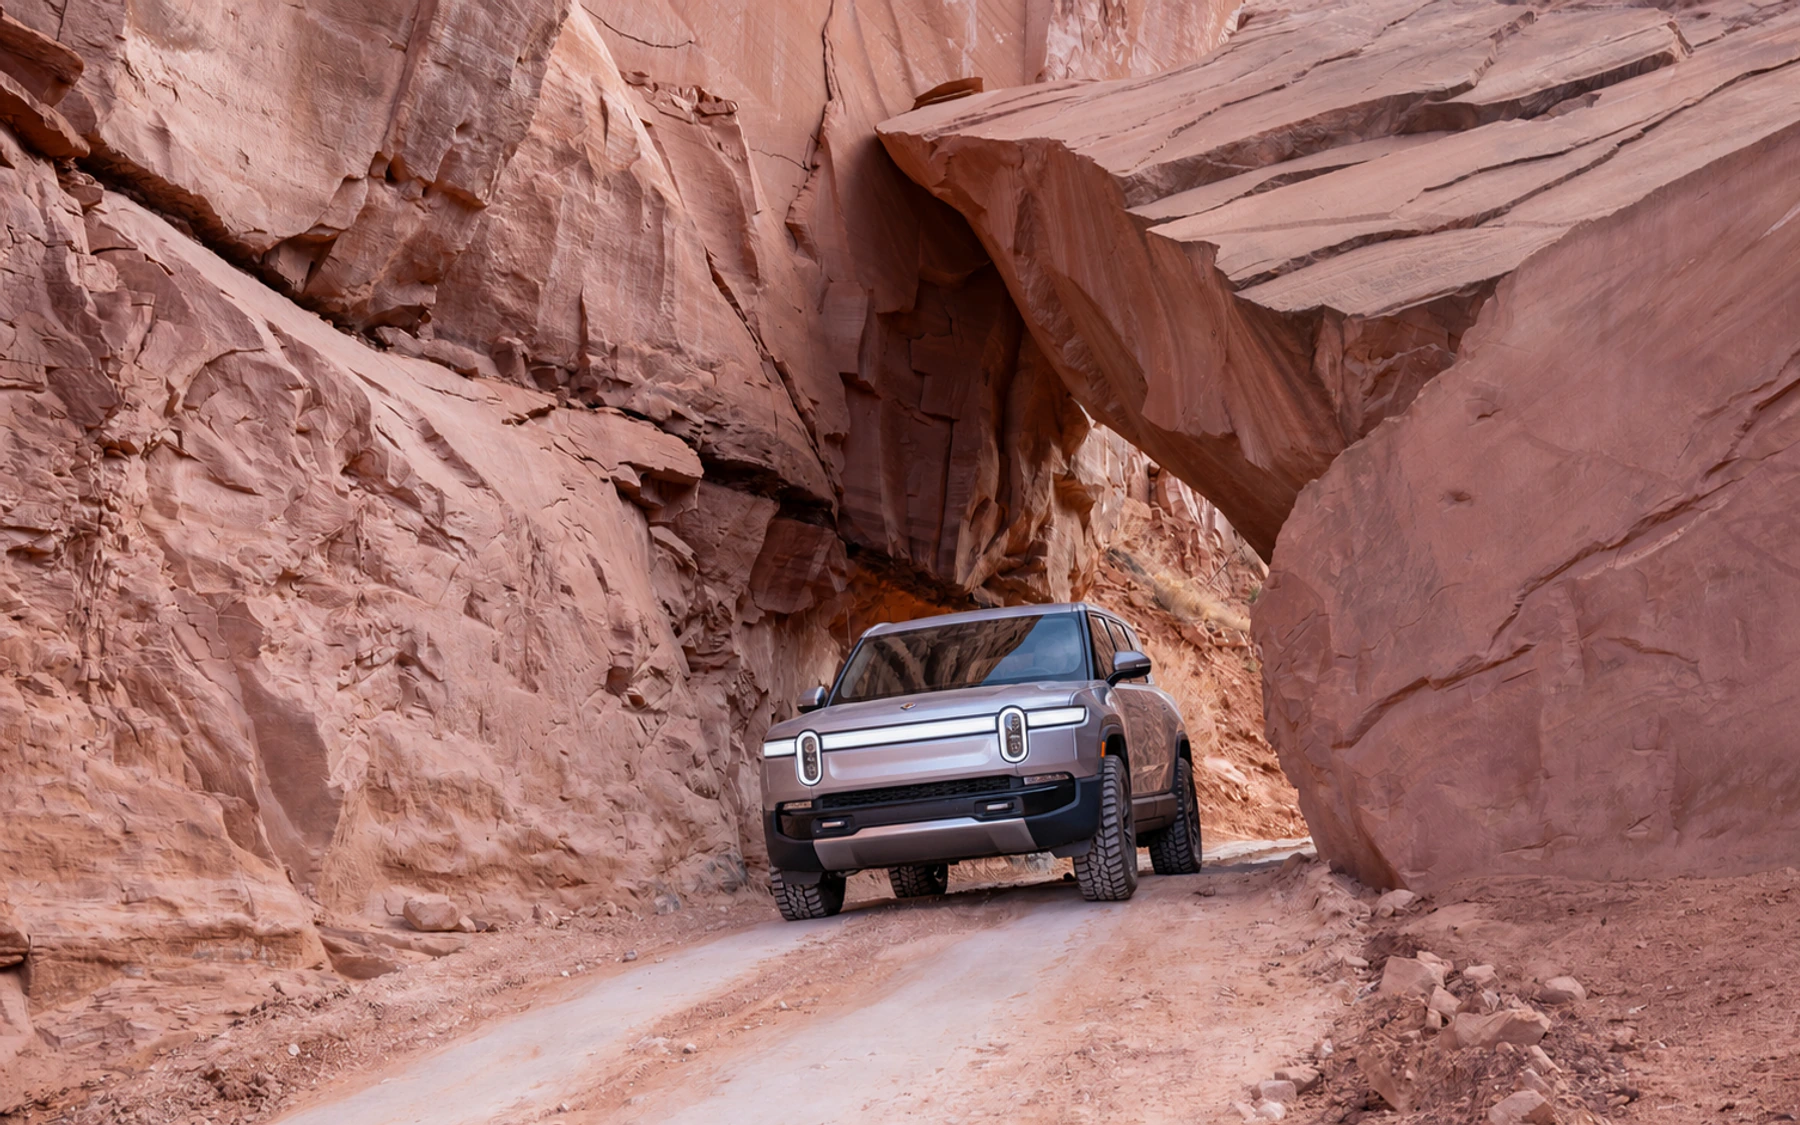
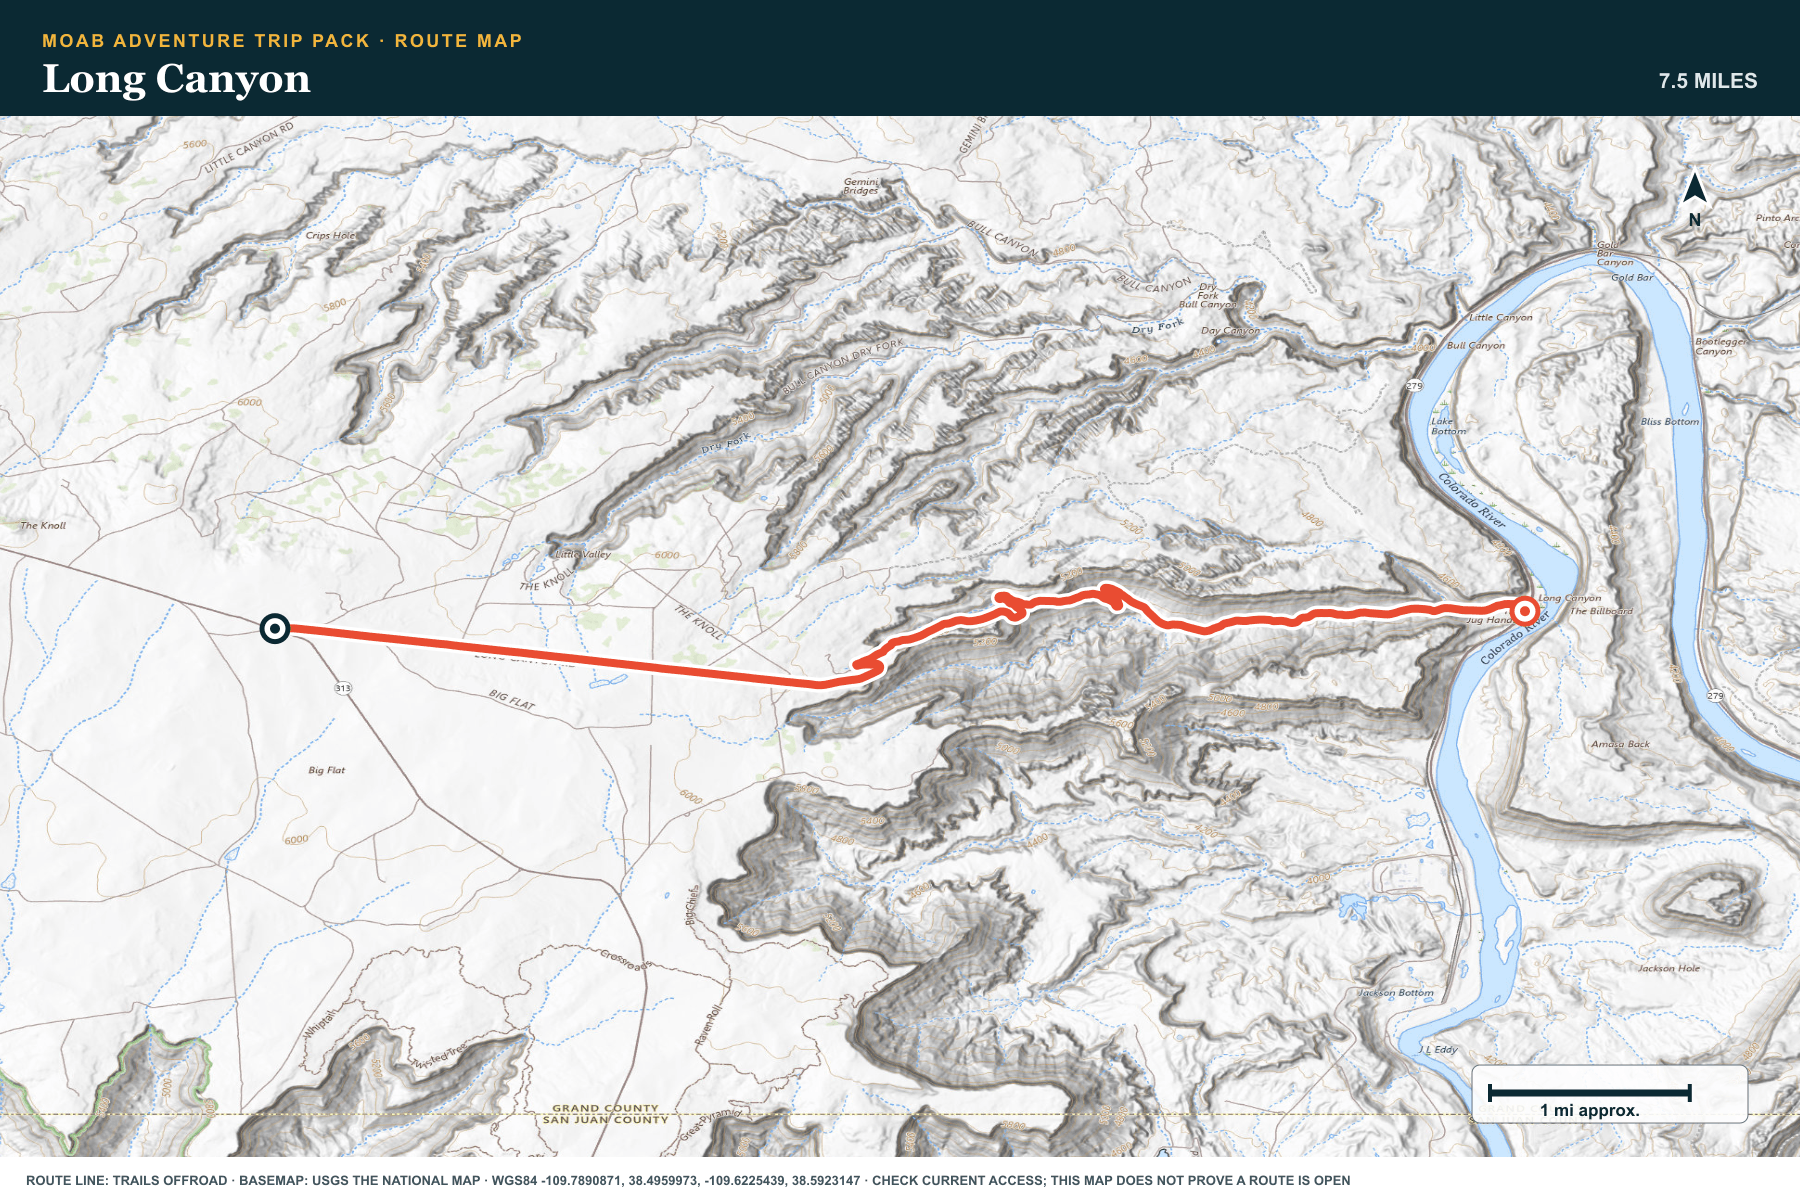
Long Canyon
- Route distance
- 7.5 mi
- Allow
- 1½–2½ hours
Drive a short through-route with a steep grade, broad canyon views, and a rock tunnel. The road adds exposure and braking control without making the day long.
Access note: Storm damage can change the grade and the rock tunnel. Check a recent report before entry.
TOPOGRAPHIC PROFILE
Long Canyon, from start to finish
- Climb
- +97 ft
- Descent
- −2,238 ft
Elevation sampled from AWS Terrain Tiles along the published route. Small terrain and GPS differences are normal.
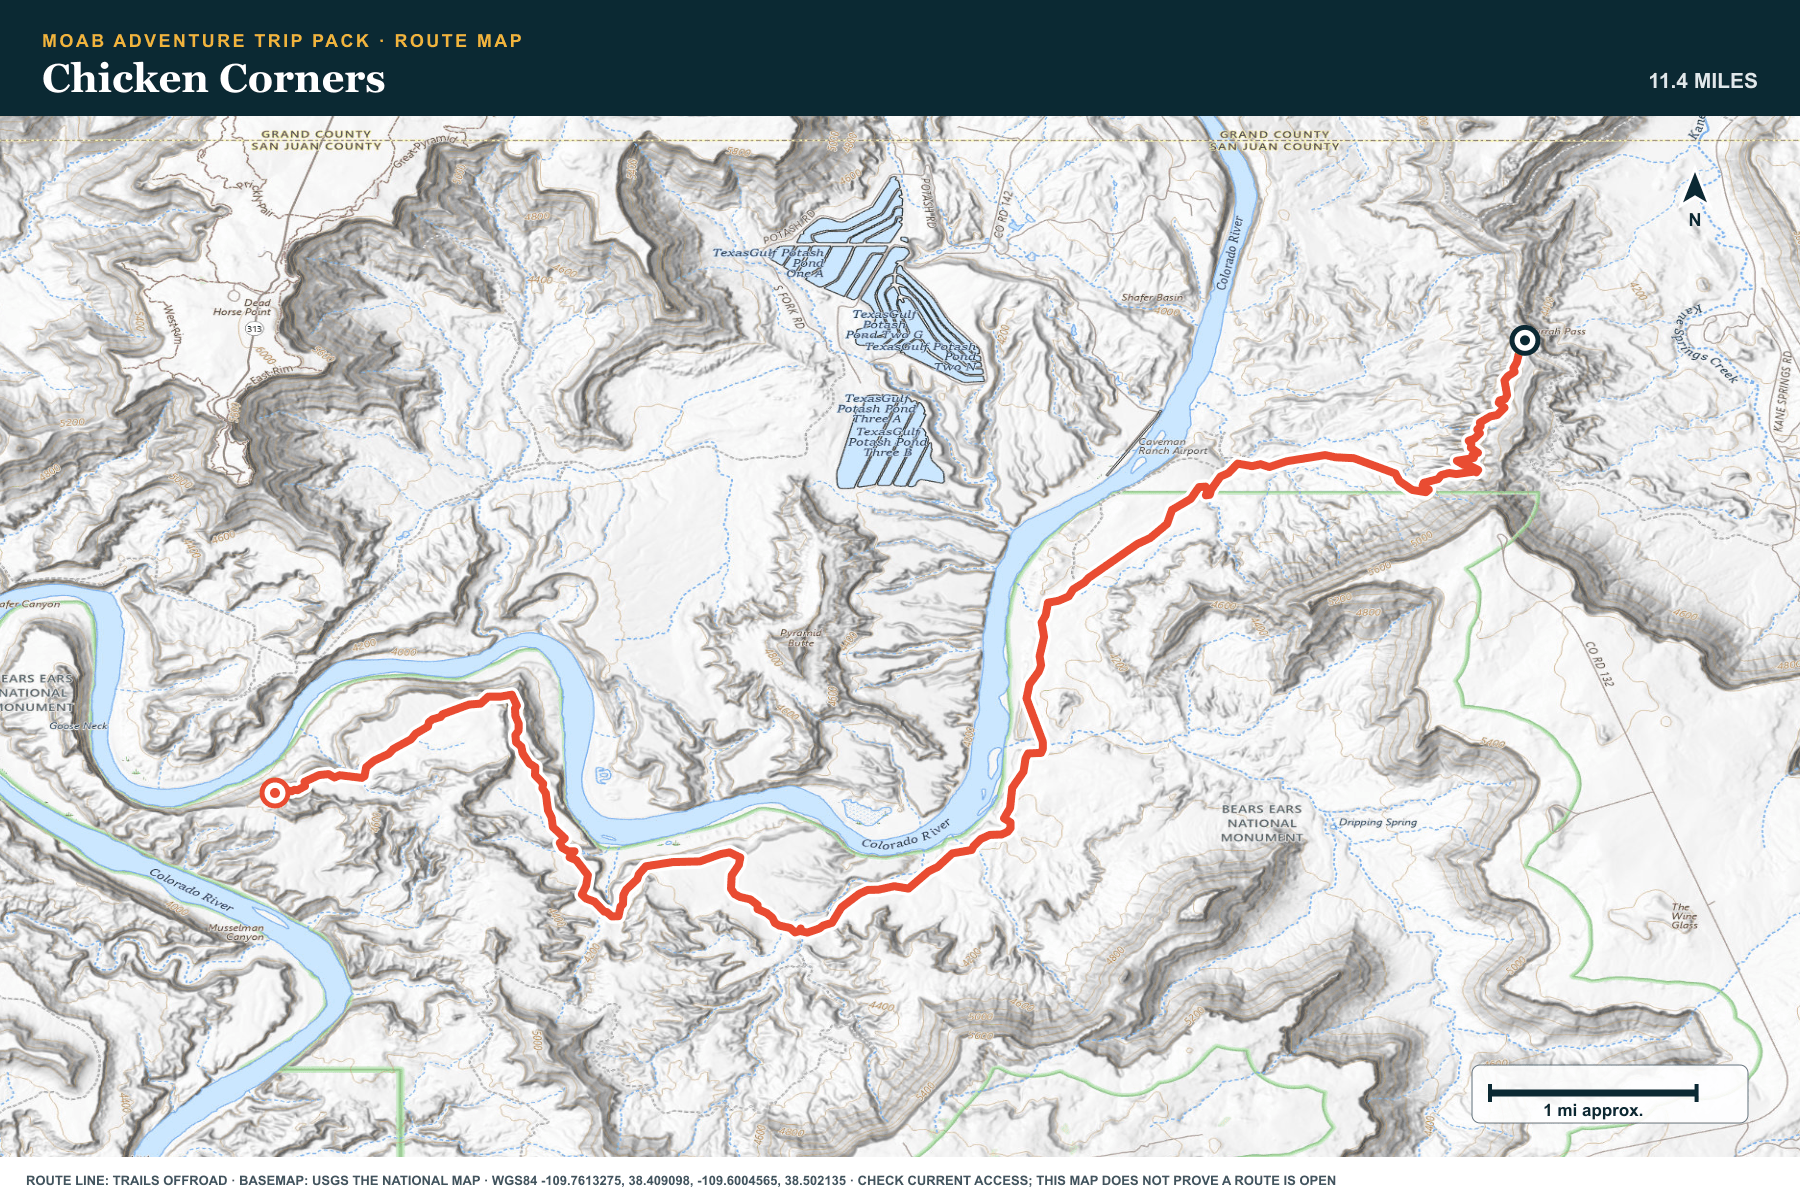
Chicken Corners
- Route distance
- 11.4 mi
- Allow
- 4–6 hours from Moab
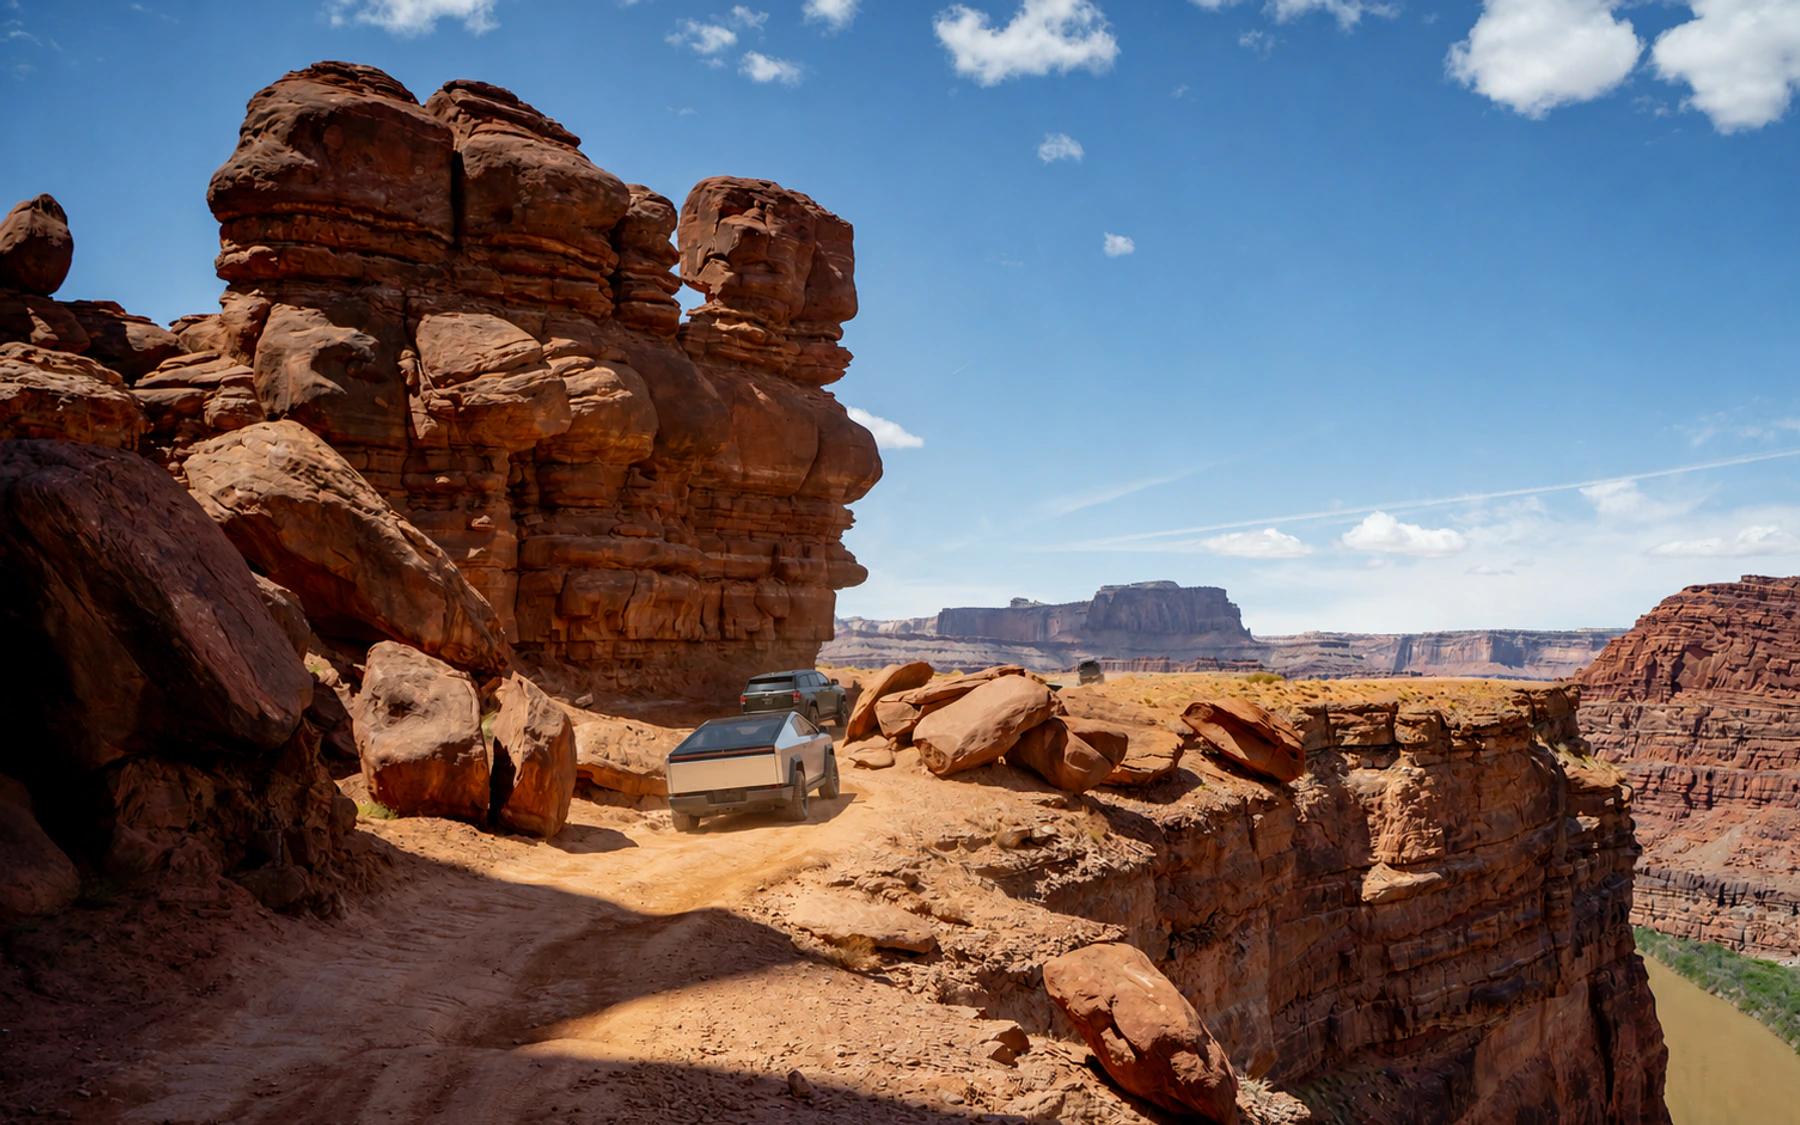
Follow Kane Springs Canyon, climb Hurrah Pass, and continue on benches above the Colorado River. The route is an out-and-back, so every mile out is also a mile home.
Access note: The route can change after storms. Confirm access and keep enough time and energy to return the same way.
TOPOGRAPHIC PROFILE
Chicken Corners, from start to finish
- Climb
- +738 ft
- Descent
- −1,066 ft
Elevation sampled from AWS Terrain Tiles along the published route. Small terrain and GPS differences are normal.
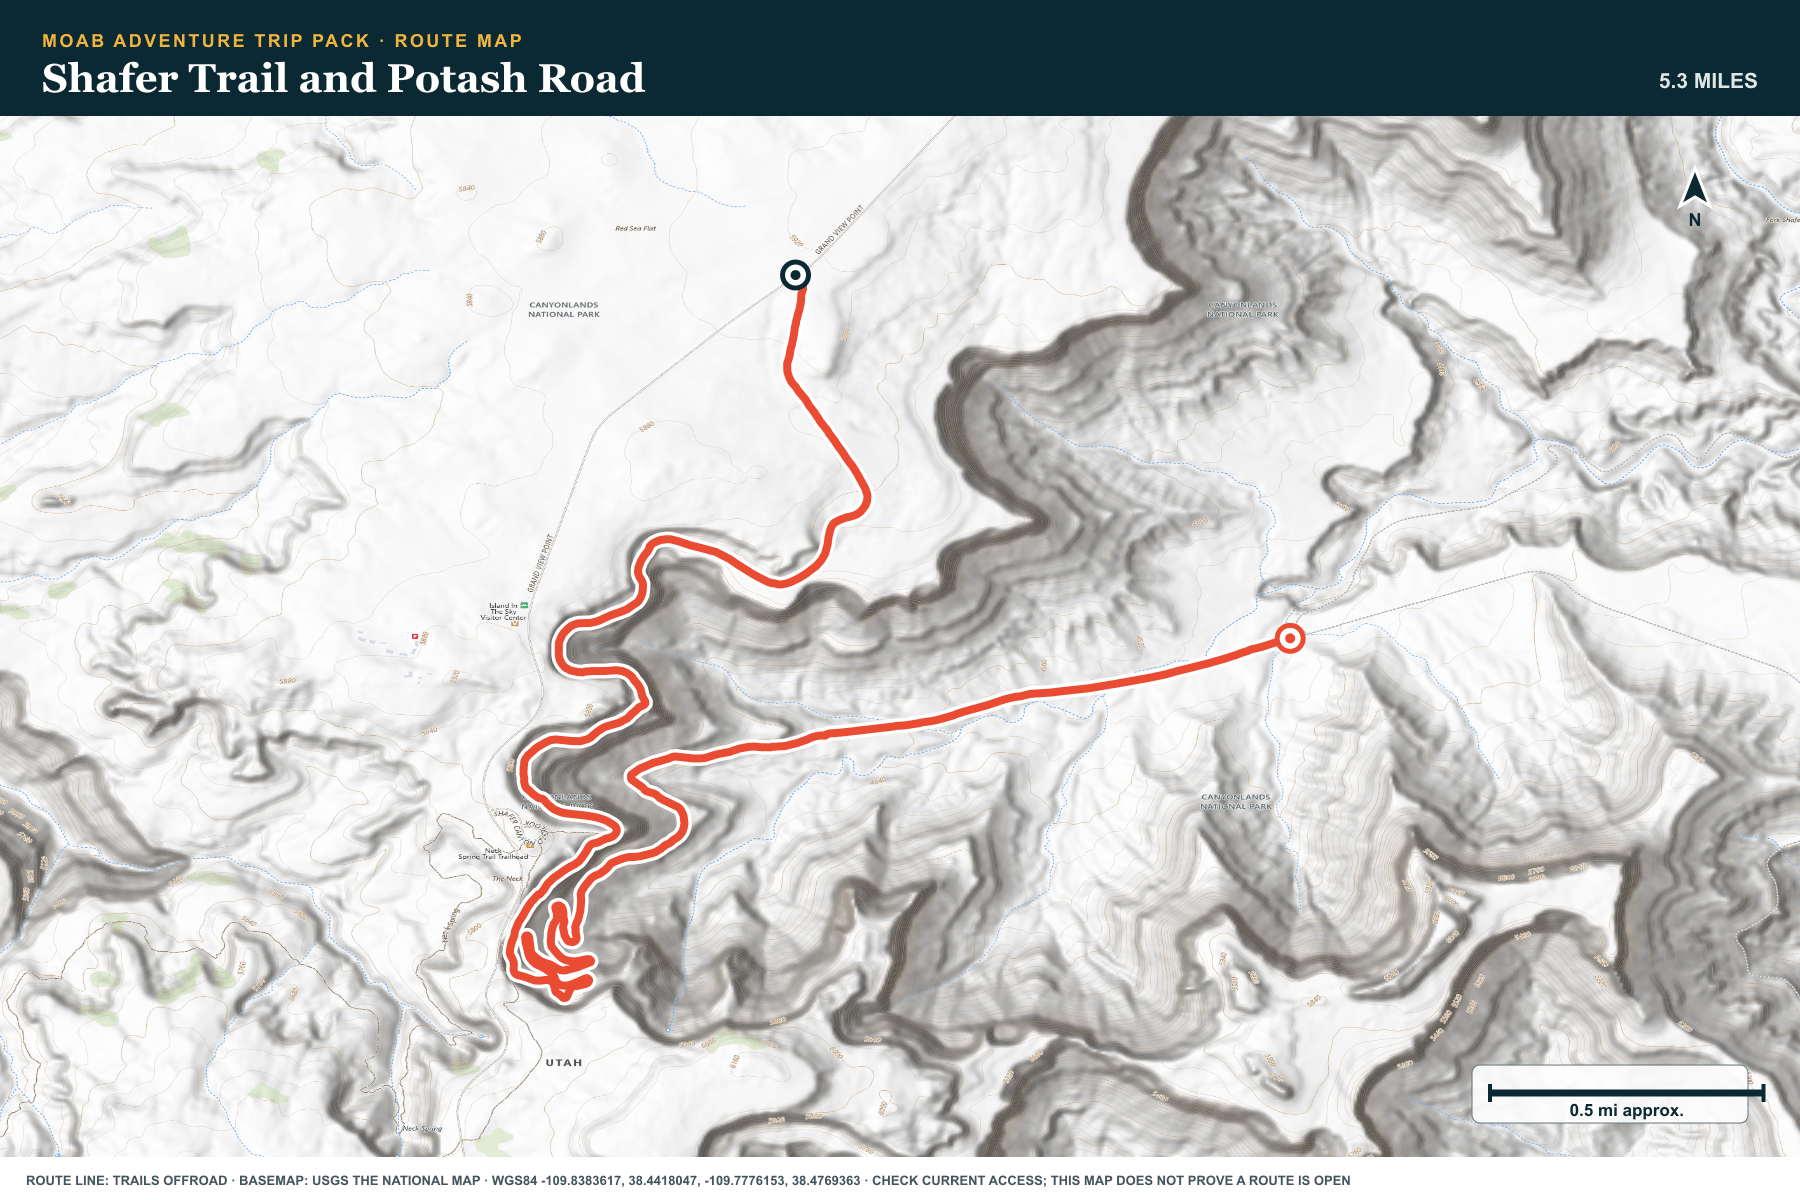
Shafer Trail and Potash Road
- Route distance
- 37.5 mi
- Allow
- 3 hours or more
When Shafer Trail is open, descend the switchbacks below Island in the Sky and return to Moab by Potash Road. The route adds sustained exposure and a long unpaved exit.
Access note: Shafer Trail is CLOSED for washout and flood repairs at publication. Potash Road is open but rough. Do not bypass the closure.
TOPOGRAPHIC PROFILE
Shafer Trail and Potash Road, from start to finish
- Climb
- +281 ft
- Descent
- −1,713 ft
Elevation sampled from AWS Terrain Tiles along the published route. Small terrain and GPS differences are normal.
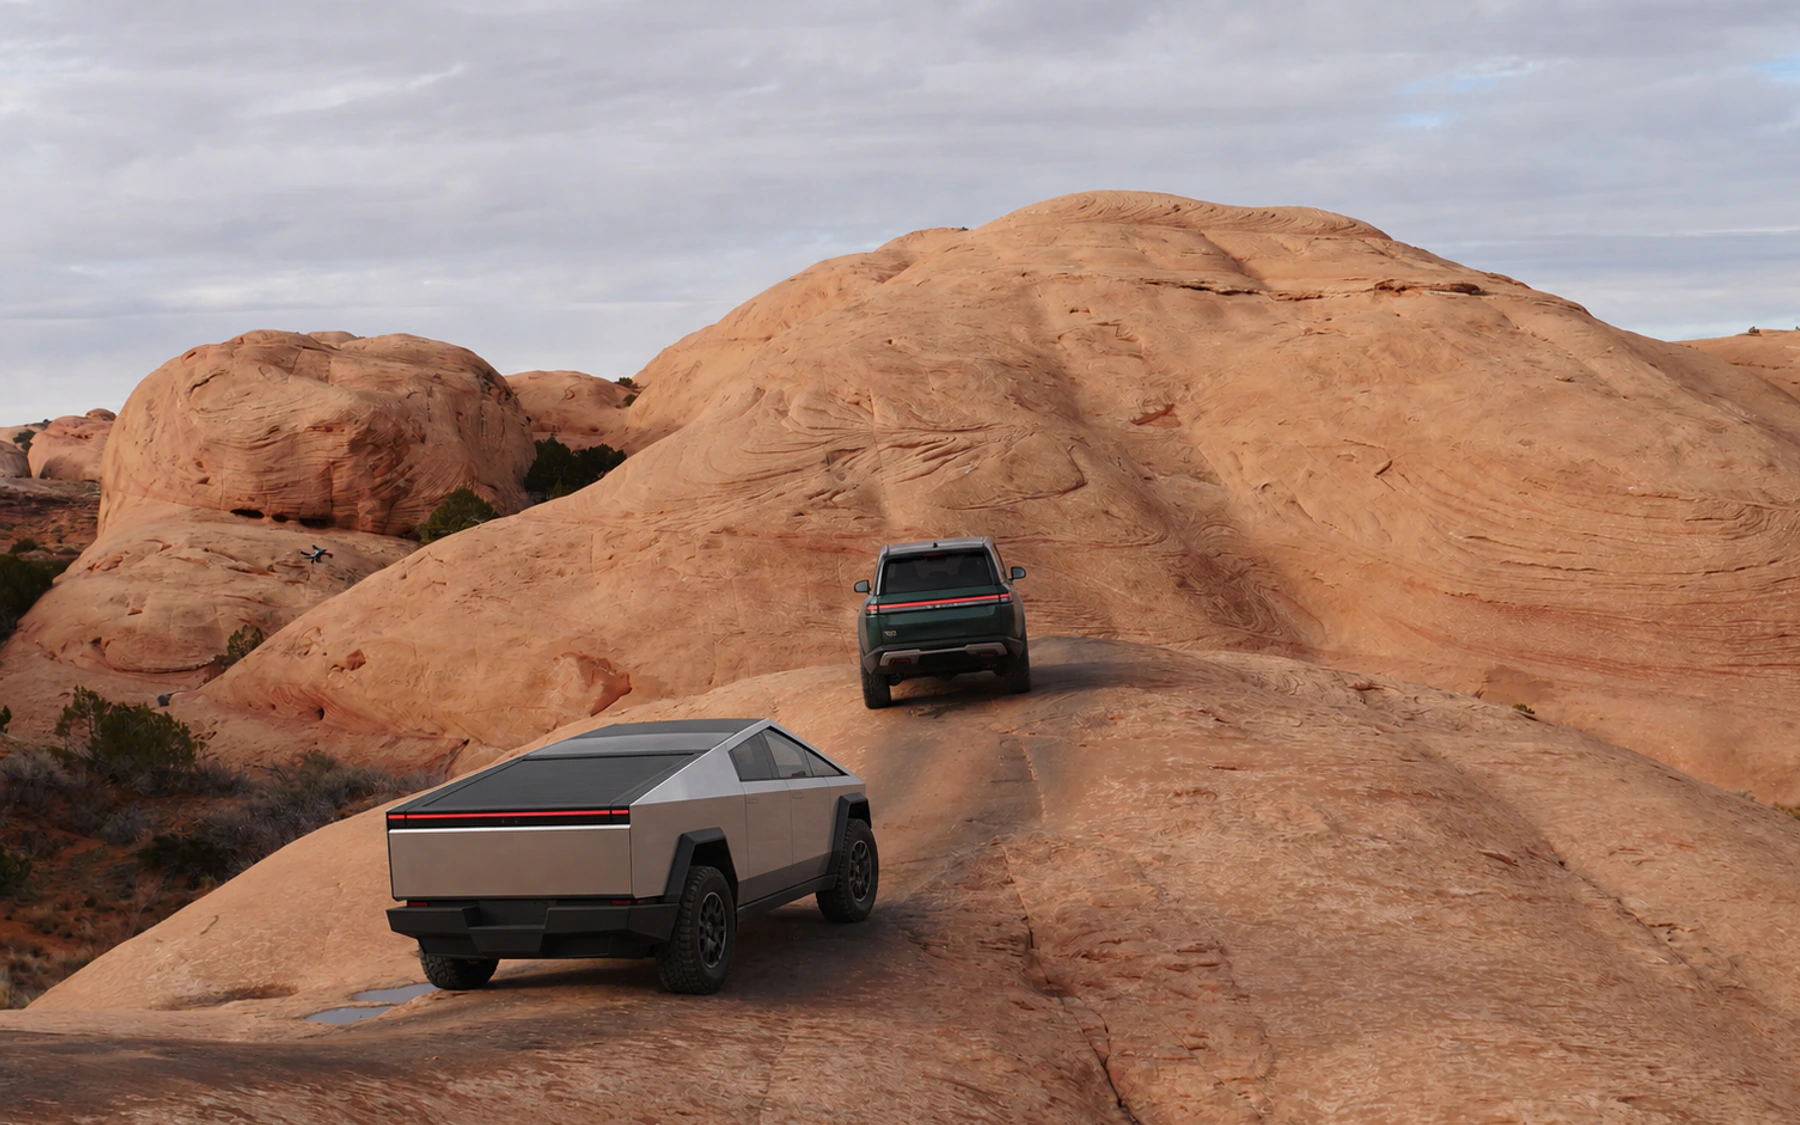
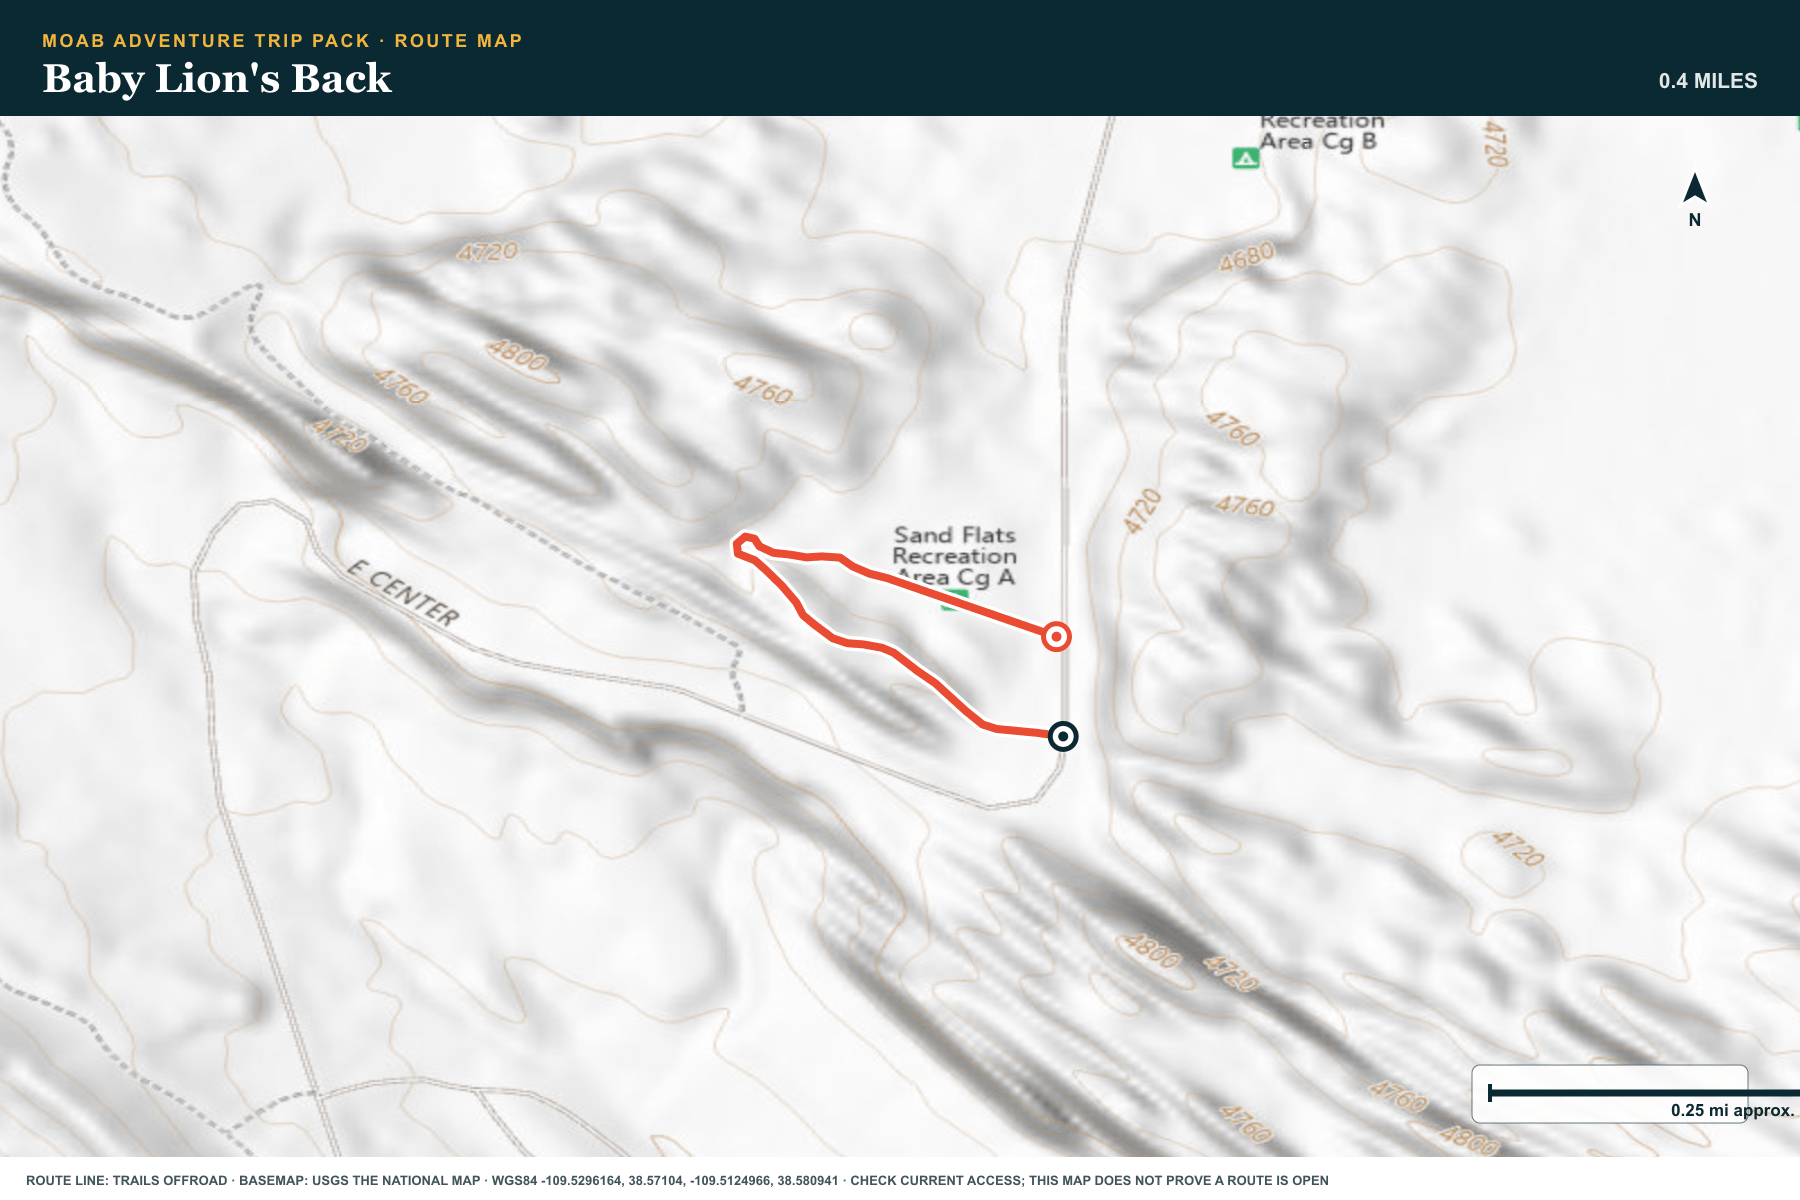
Baby Lion's Back
- Route distance
- 0.5 mi
- Allow
- 20–40 minutes
Use this short sandstone climb and descent to practice a straight line, a slow crest, and controlled regenerative braking on a steep grade.
Access note: Confirm that the marked route is open and dry. Do not use an unmarked line.
TOPOGRAPHIC PROFILE
Baby Lion's Back, from start to finish
- Climb
- +29 ft
- Descent
- −33 ft
Elevation sampled from AWS Terrain Tiles along the published route. Small terrain and GPS differences are normal.
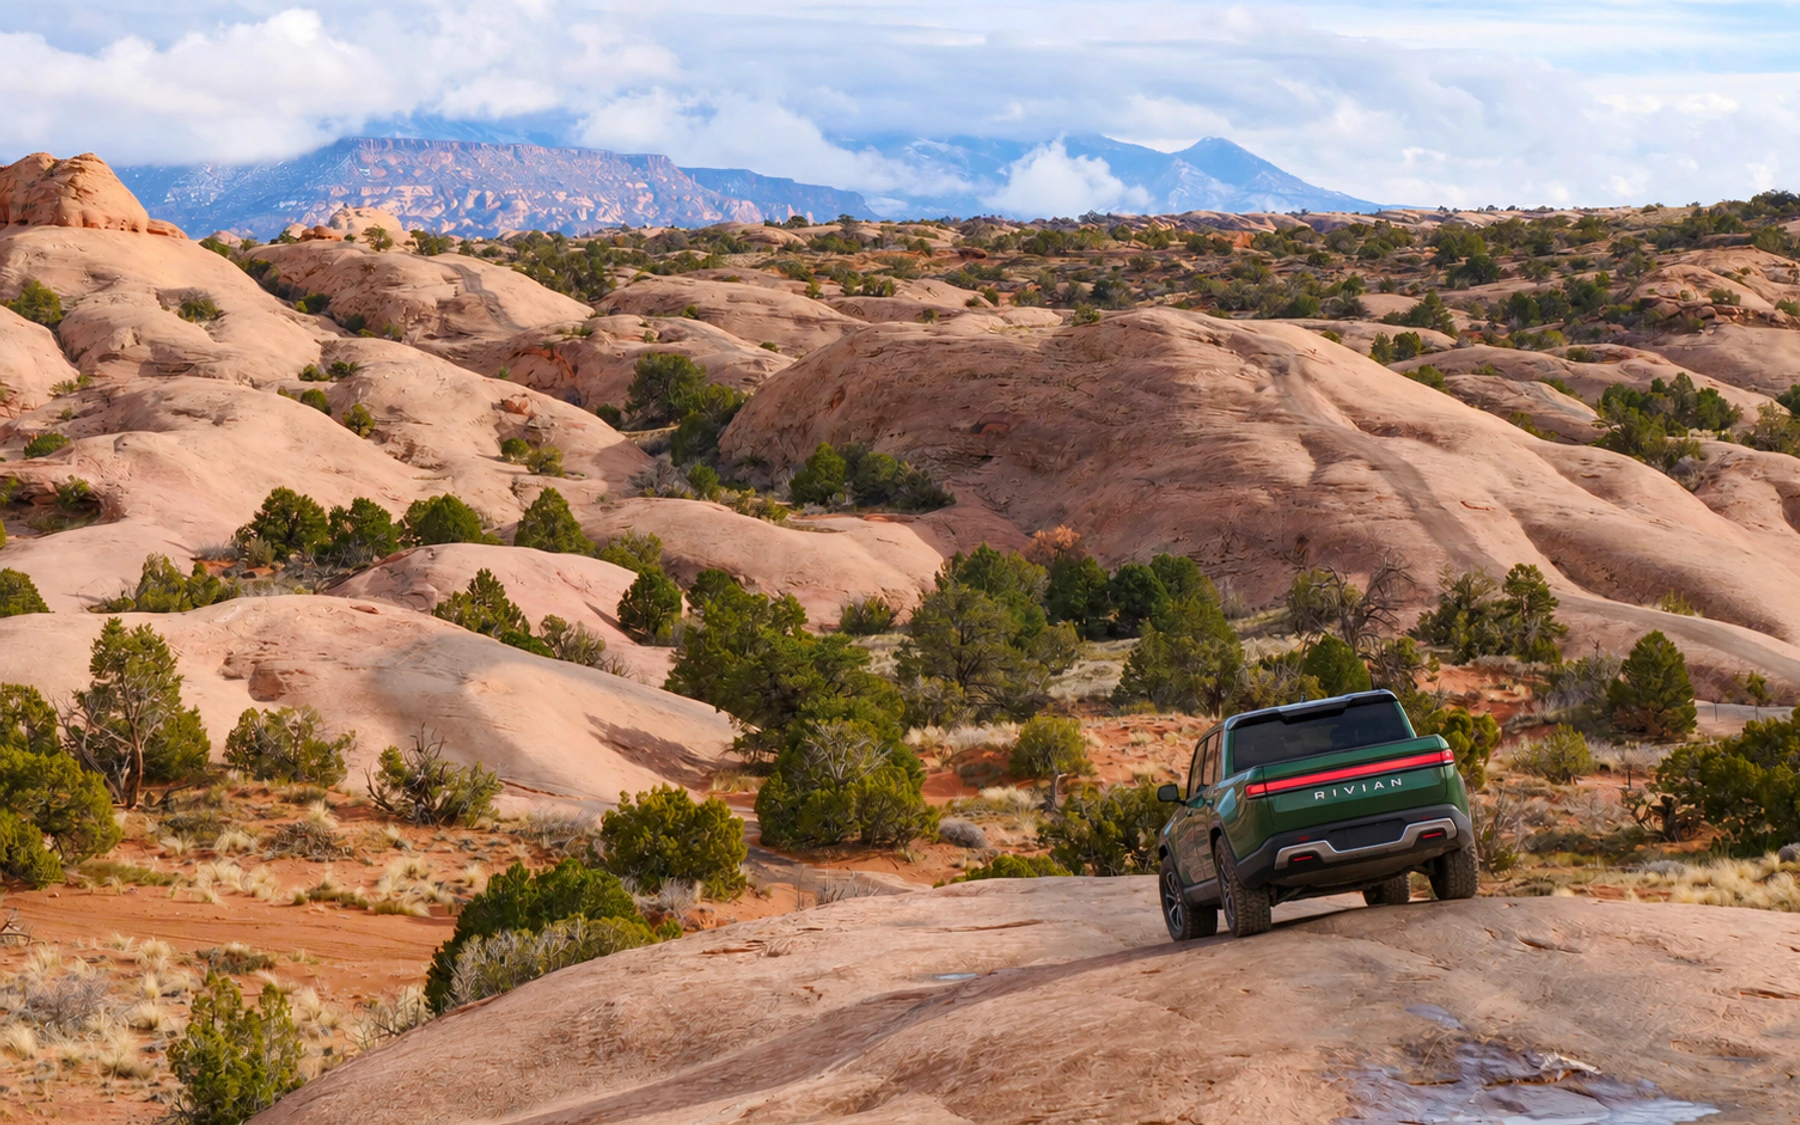
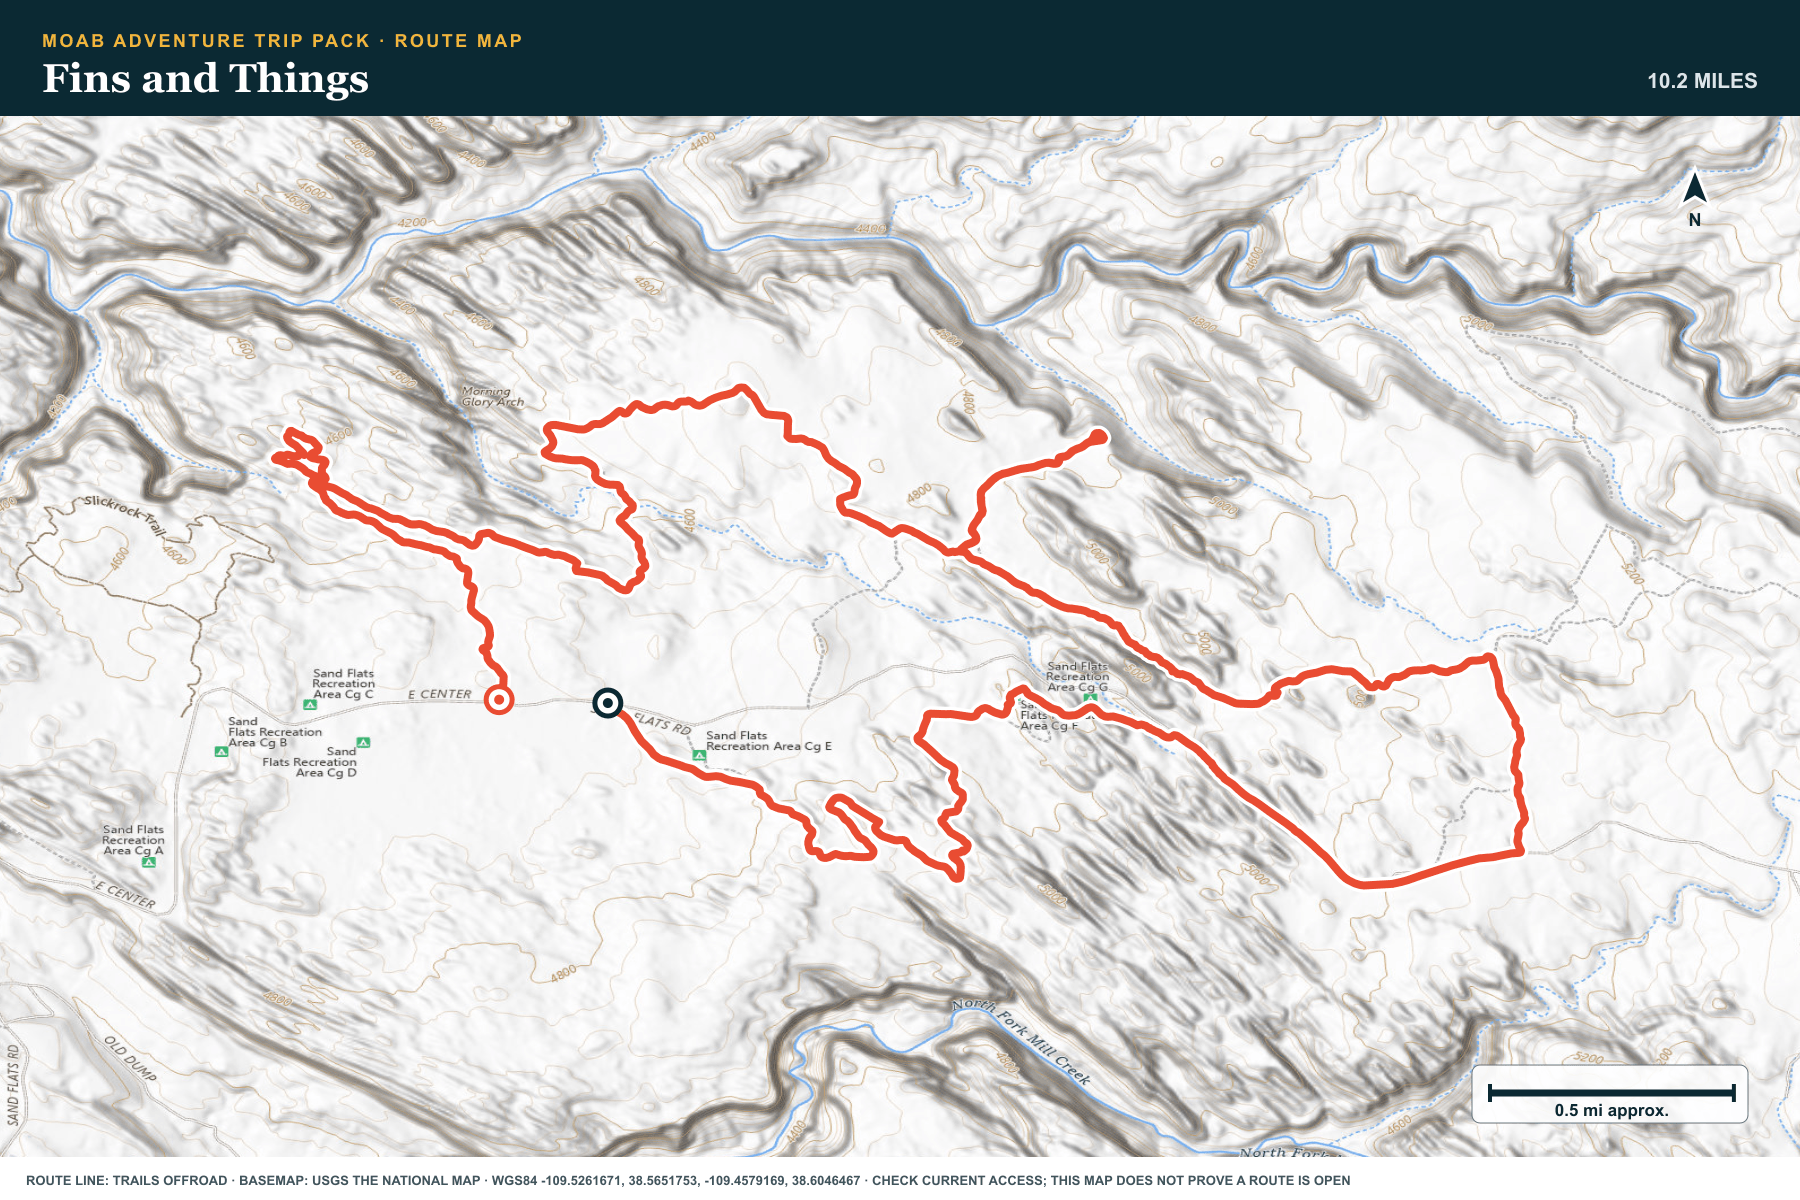
Fins and Things
- Route distance
- 10.2 mi
- Allow
- 3–4 hours
Move to a marked Sand Flats route with repeated slickrock climbs, descents, sand, and ledges. Use the main route. Skip optional lines that do not fit your vehicle or experience.
Access note: Pay the Sand Flats entry fee. Stay on the marked route. There are no open play areas.
TOPOGRAPHIC PROFILE
Fins and Things, from start to finish
- Climb
- +869 ft
- Descent
- −868 ft
Elevation sampled from AWS Terrain Tiles along the published route. Small terrain and GPS differences are normal.
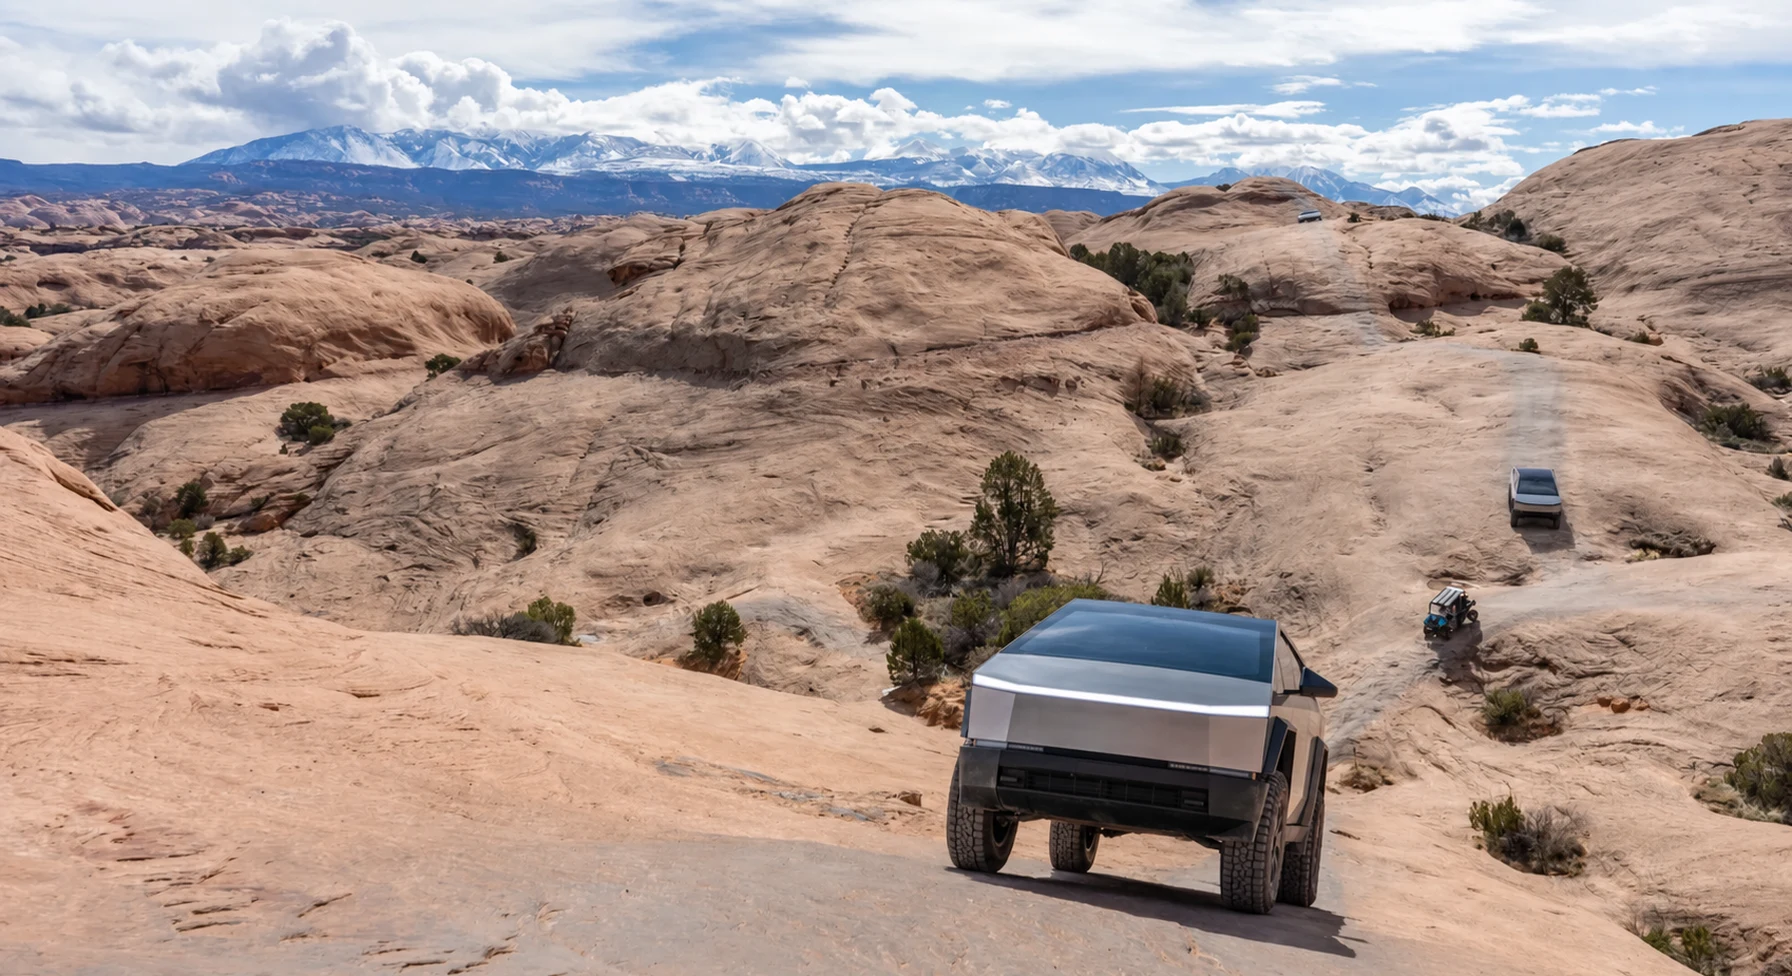
Hell's Revenge
- Route distance
- 6.5 mi
- Allow
- 2–3 hours
This iconic Sand Flats route has steep slickrock climbs, narrow ledges, and optional obstacles. The Bureau of Land Management describes it as extremely difficult and suitable only for very experienced drivers with advanced vehicles.
Access note: The route is day use. The posted speed limit is 15 mph. Stay on the marked route and pay the Sand Flats entry fee.
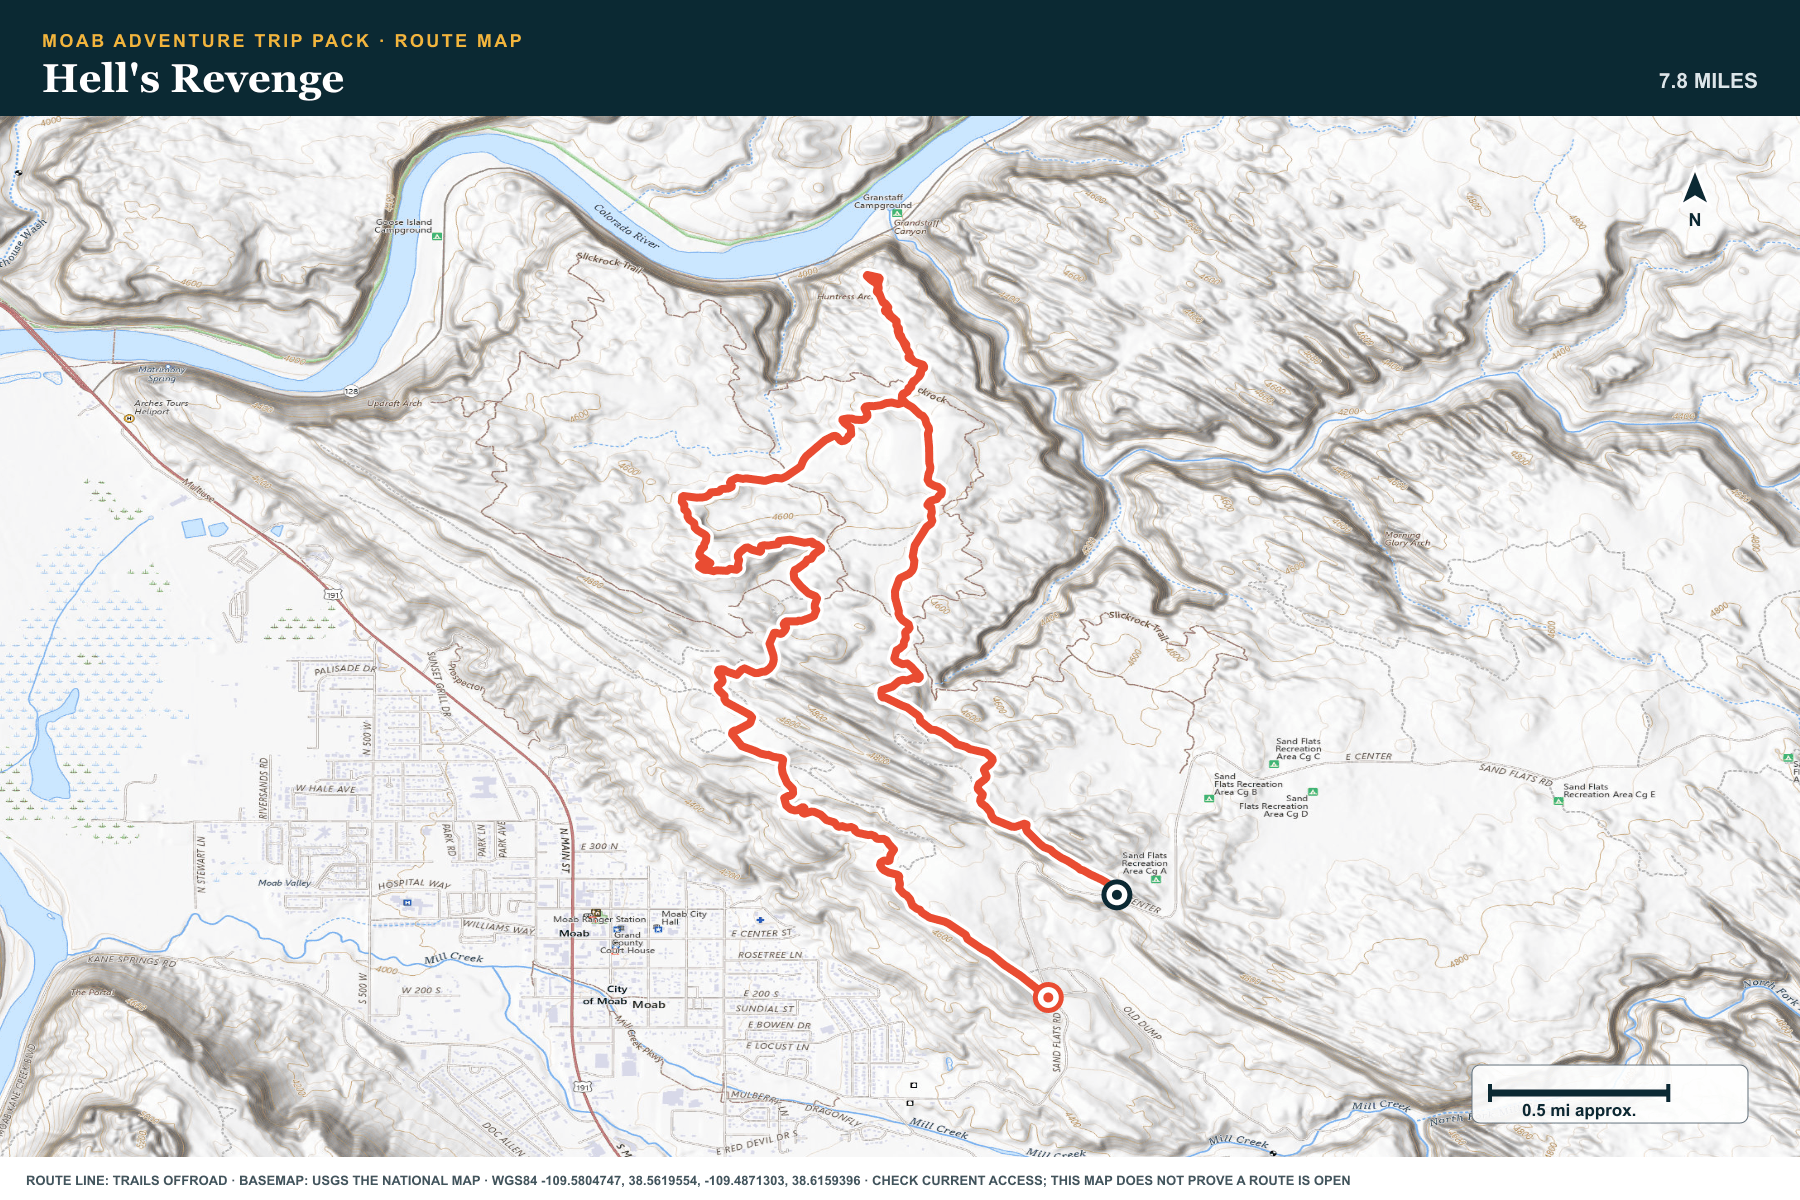
TOPOGRAPHIC PROFILE
Hell's Revenge, from start to finish
- Climb
- +856 ft
- Descent
- −1,051 ft
Elevation sampled from AWS Terrain Tiles along the published route. Small terrain and GPS differences are normal.
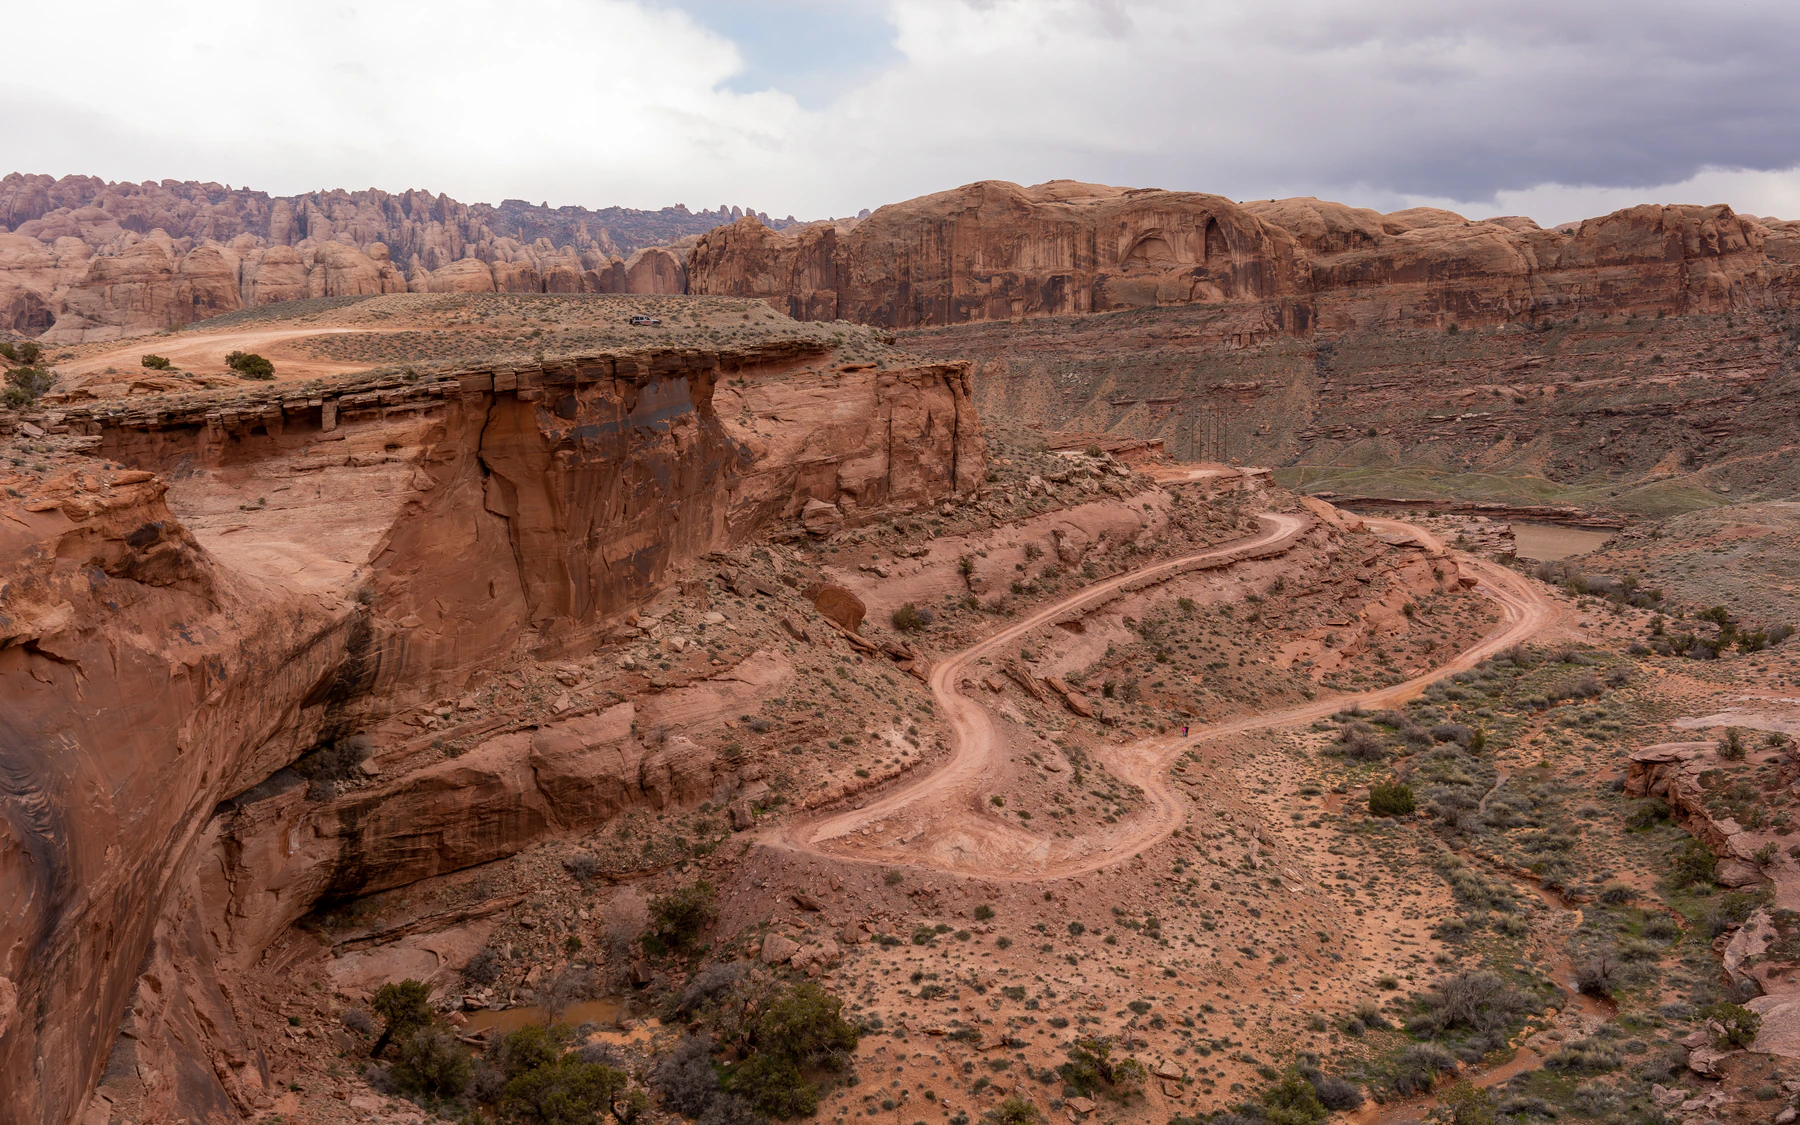
Poison Spider Mesa
- Route distance
- 16 mi
- Allow
- 5–7 hours
Use this as an advanced extension with an experienced group. Expect ledges, sand, slickrock, route finding, and a long series of decisions. This is not a first solo hard trail.
Access note: Use a current route guide. Do not continue to Golden Spike or Gold Bar Rim unless the group planned and equipped for that harder combination.
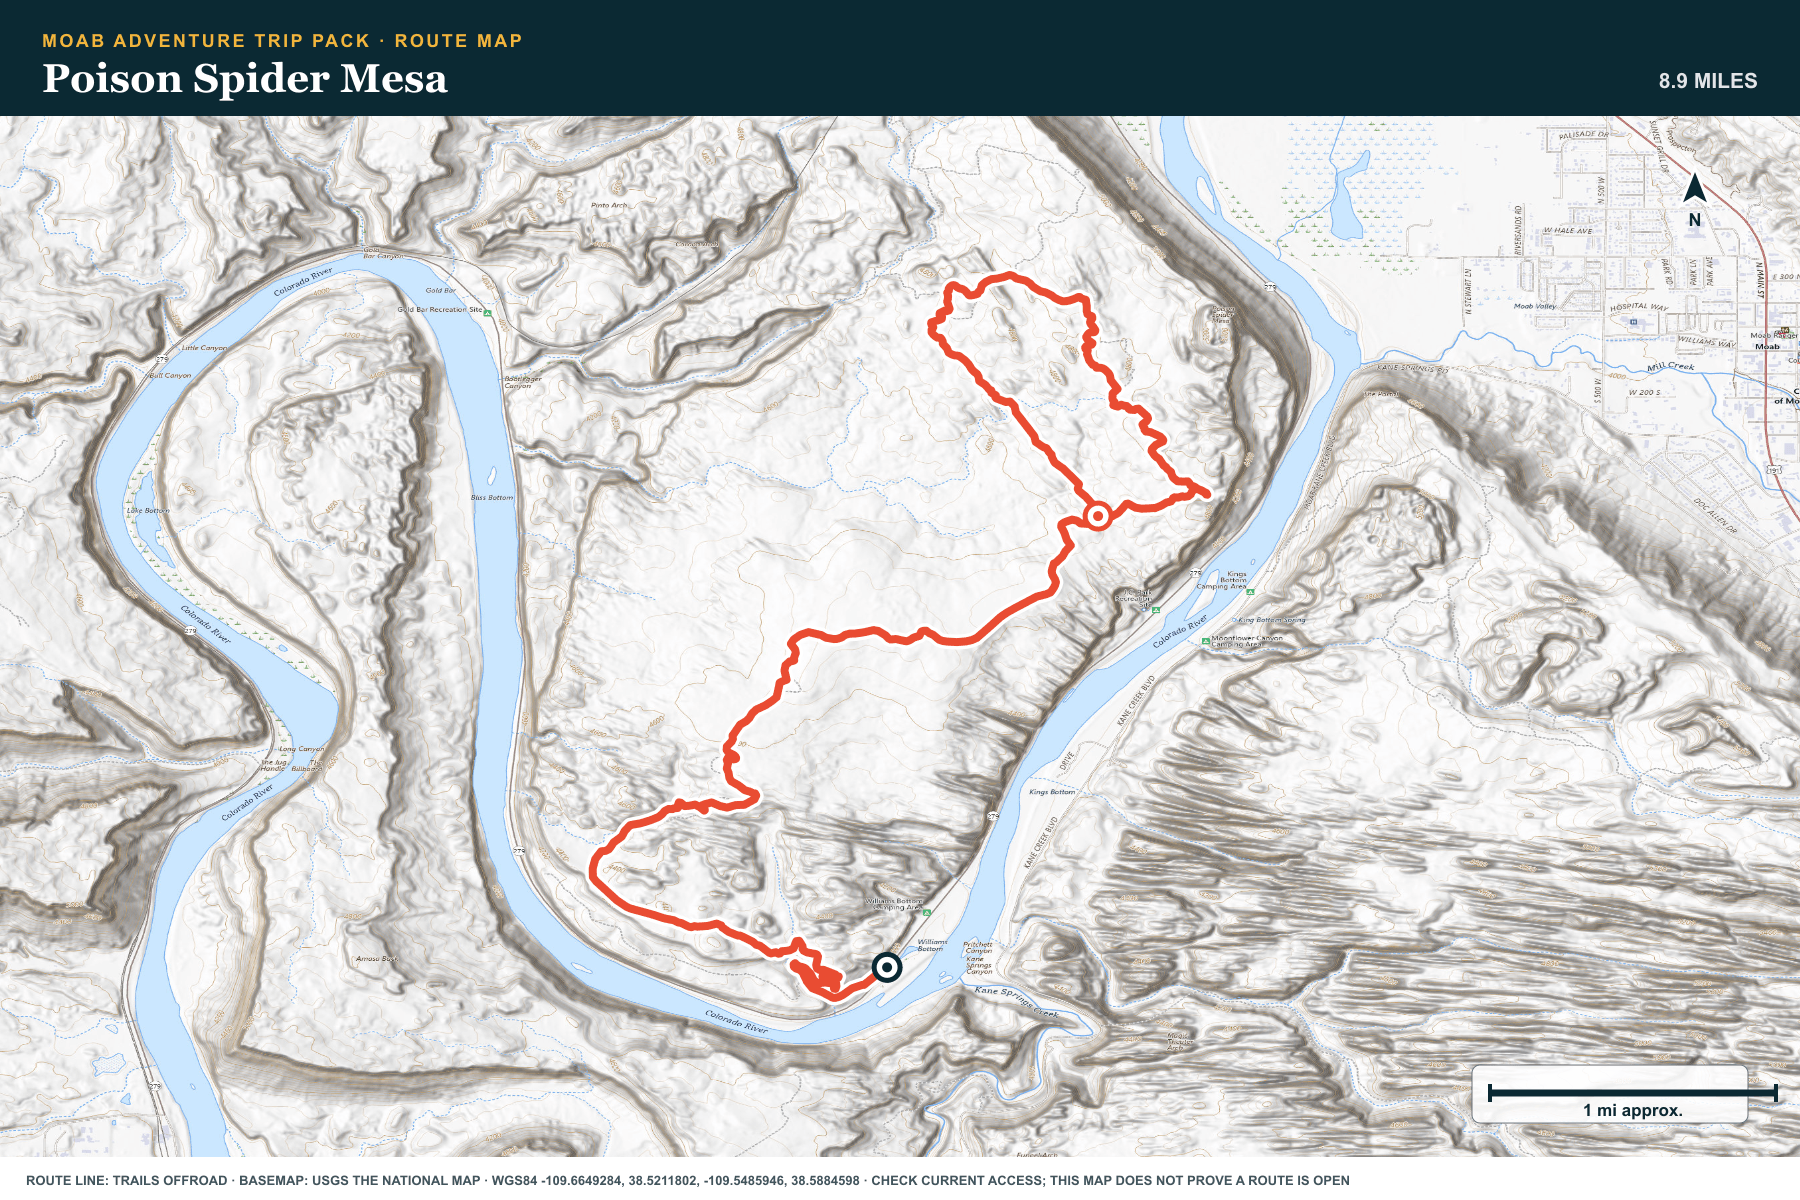
TOPOGRAPHIC PROFILE
Poison Spider Mesa, from start to finish
- Climb
- +1,127 ft
- Descent
- −450 ft
Elevation sampled from AWS Terrain Tiles along the published route. Small terrain and GPS differences are normal.
ROUTE READINESS
Do seven checks before you leave pavement.
surface
Dirt, water crossings, shelf roads, sand, slickrock, and rock ledges
clearance
Use a high-clearance AWD or 4WD EV for the early stages. Later stages need a capable 4WD EV, durable tires, and suitable recovery points.
remoteness
Most stages are near Moab, but a slow recovery can still take hours.
charging
Verify the charge before each route. Keep the return and weather reserve separate from trail energy.
cell Coverage
Download every route and source page. Do not depend on service in a canyon.
weather
Do not enter a wash or shelf road when rain or flash flooding is possible.
turnaround
Stop when the route needs a line, clearance, traction, or exposure that the driver did not plan for.
BEFORE YOU GO
Make these decisions while you have a signal.
- Check every land-manager page and route report on the morning of the drive.
- Choose the required charger and set a return-energy limit before leaving pavement.
- Download the route, map, topographic profile, and contact plan.
- Inspect tires, recovery points, underbody clearance, and the full-size spare or complete repair plan.
TURN AROUND WHEN
Follow the limits that you set.
- A closure, flood warning, wet slickrock, or active wash blocks the route.
- The route needs a line, clearance, or recovery tool that the group did not plan for.
- Battery use, heat, tire damage, driver fatigue, or daylight spends the written reserve.
- The next stage does not feel like a controlled step from the last one.
CARRY
Prepare for common problems.
- Offline maps, a satellite communicator, and the check-in plan
- Tire repair, inflation gear, a suitable spare plan, and rated recovery equipment
- Water, food, sun protection, warm layers, and shelter for a delayed return
- The charge adapters and cables needed for the verified backup charging plan
OPEN THE LIVE MAP
Check the drive home.
See the route with open chargers and road-distance charging gaps. Planned stations do not change current coverage.