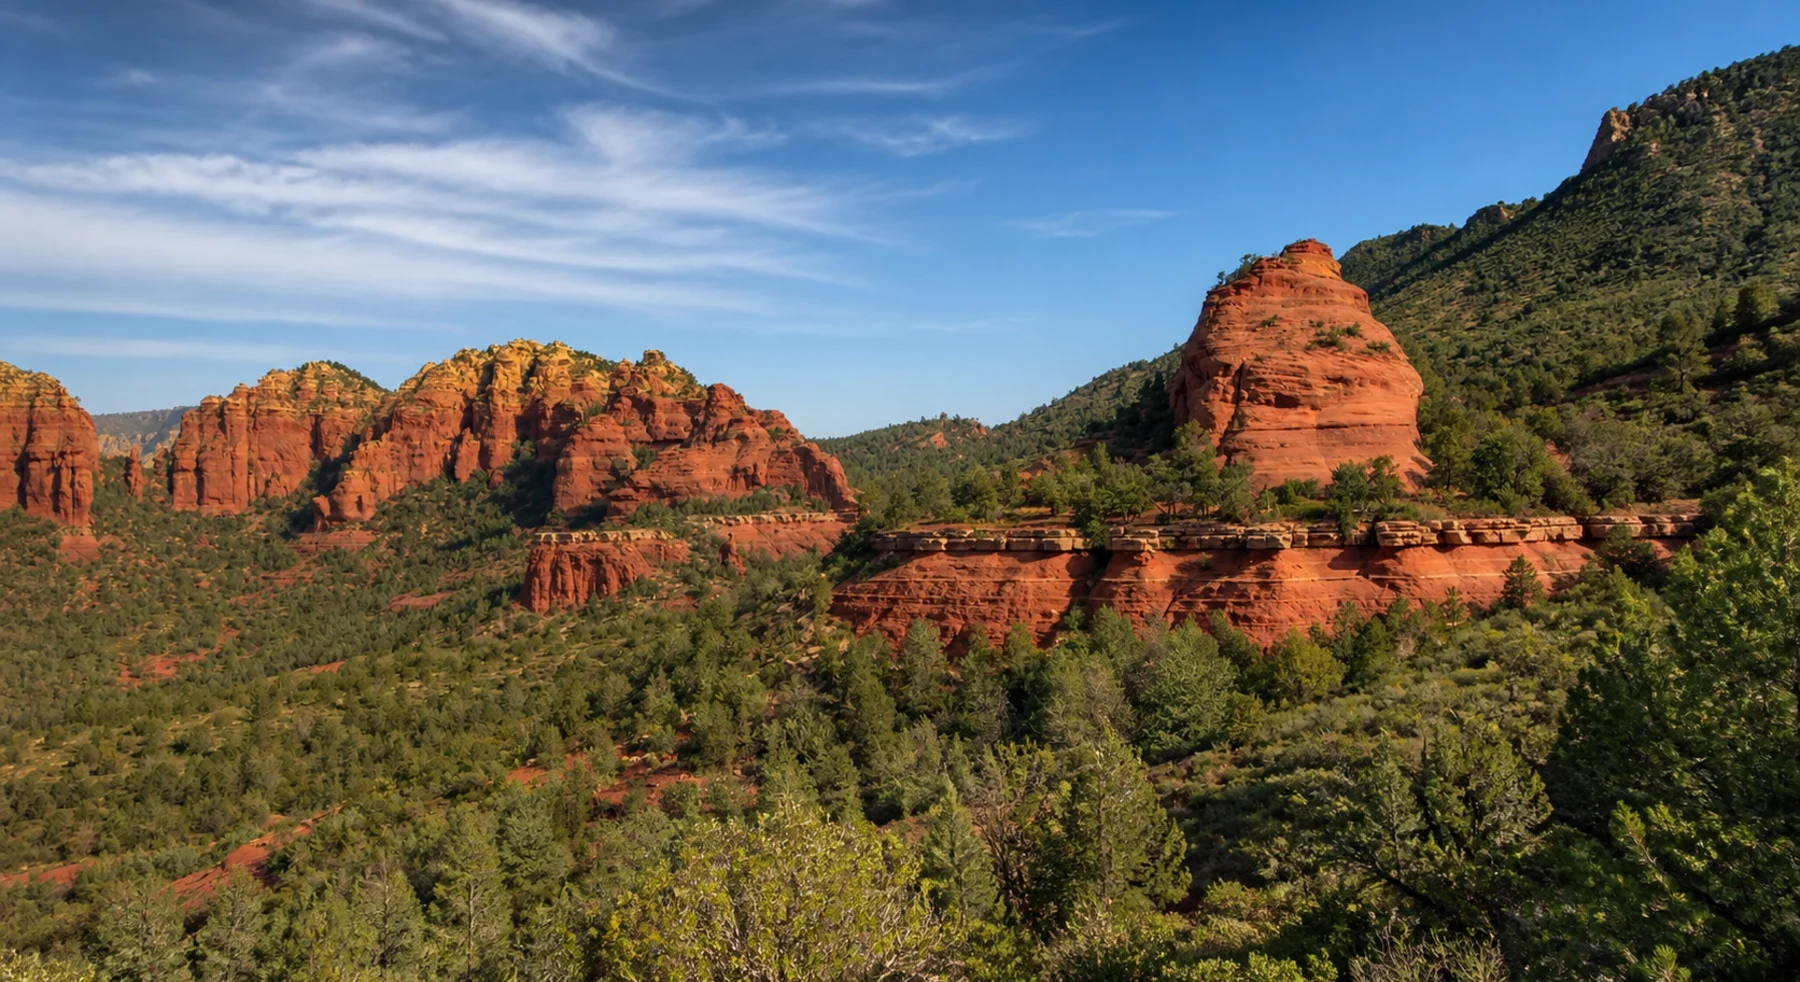

ADVENTURE ROUTE COLLECTION · ARIZONA
Sedona: Red Rock Confidence Ladder
Choose from eight routes near Sedona. Start on easy forest roads. Add rough rock and tighter lines when you are ready.
WHY IT FITS
Why this progression can fit your trip.
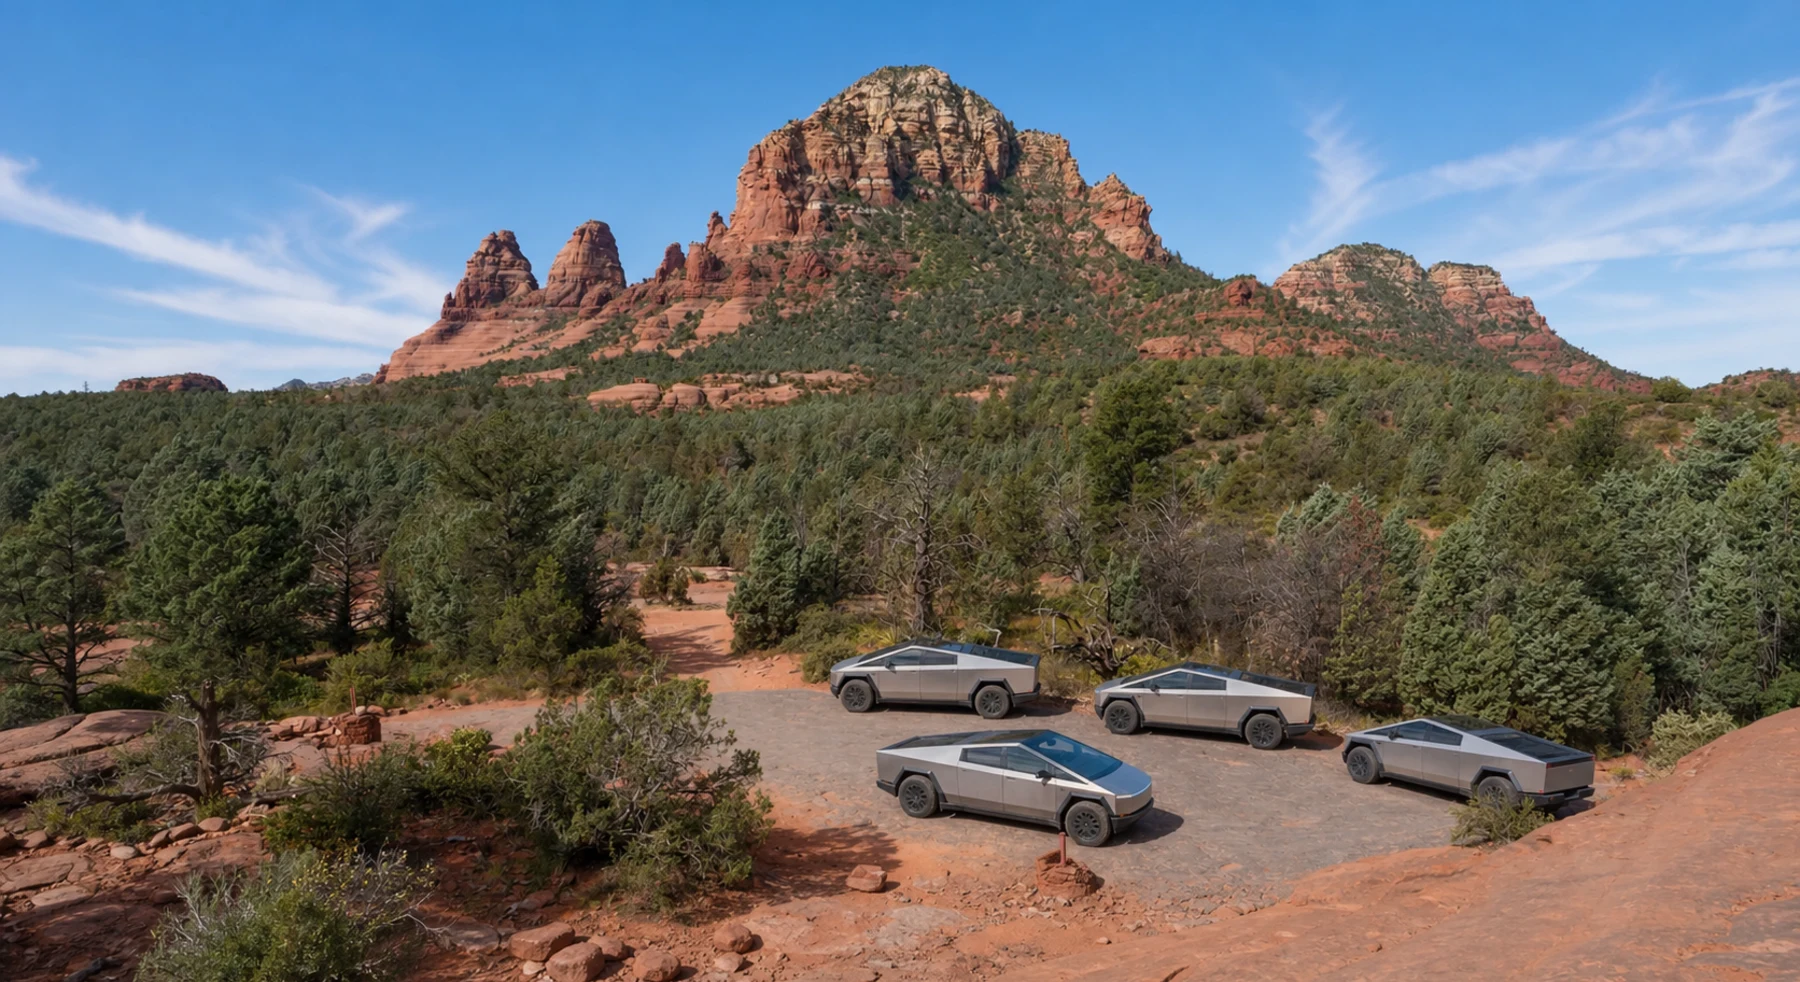
The routes form a compact ladder around Sedona. You can repeat the easy roads, stop after any stage, or add rougher rock without changing base camp.
ROUTE PROGRESSION
Add one skill at a time.
Drive only the stages that fit your vehicle, experience, weather, and current access. A later stage is not a required finish.
Boynton Pass Road
- Route distance
- 2.1 mi
- Allow
- 1–2 hours
Start on a short road west of Sedona. Use it to check tire pressure, map controls, and your turnaround plan.
Access note: Source snapshot: Open. Check the live source before travel.
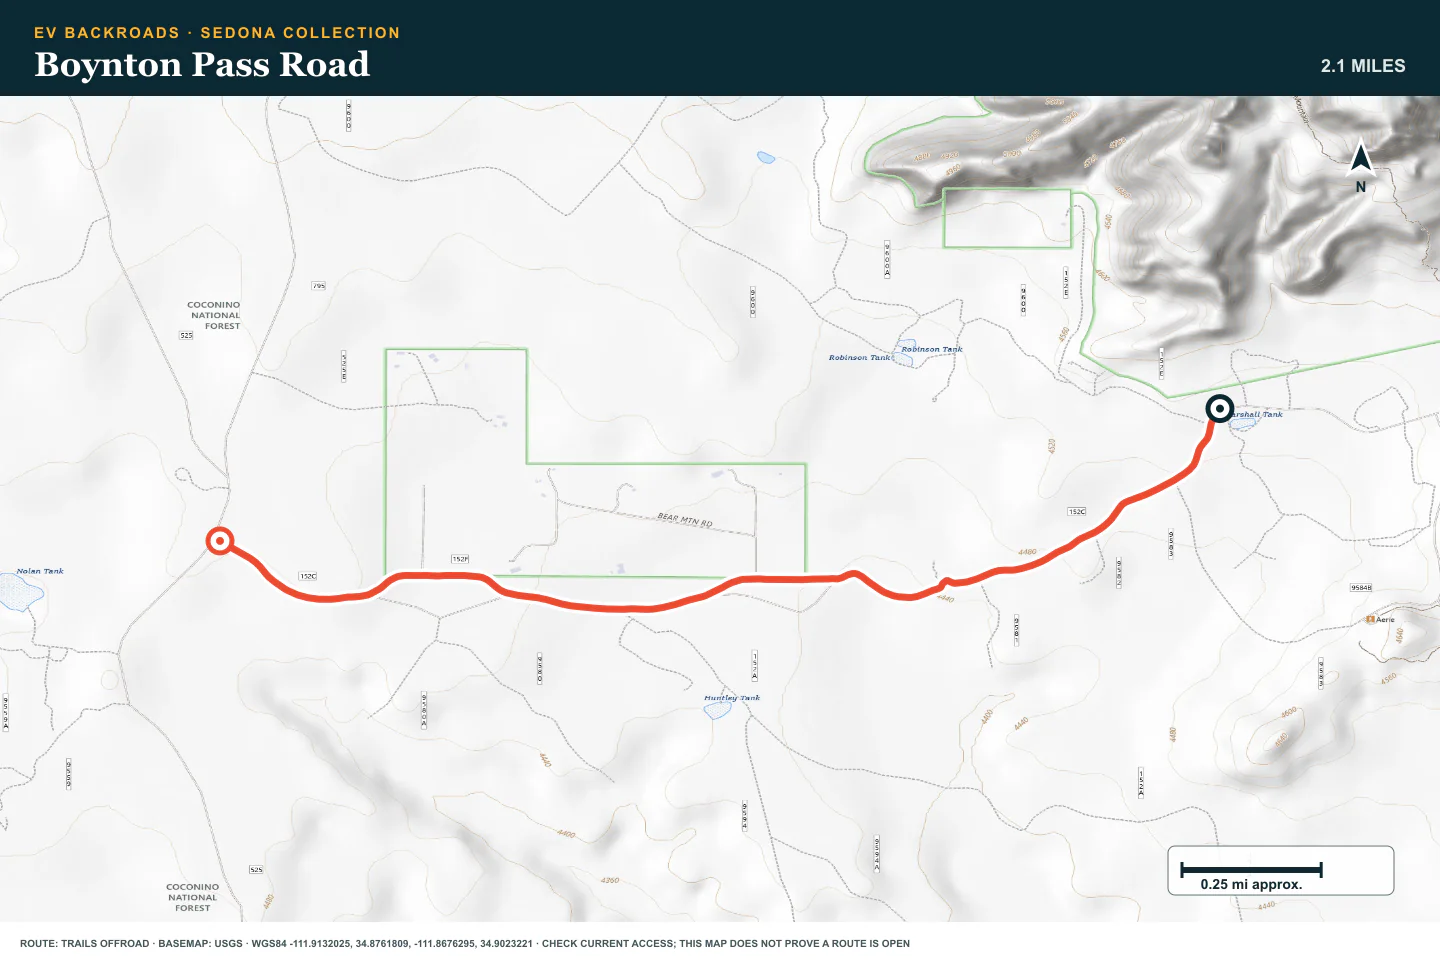
TOPOGRAPHIC PROFILE
Boynton Pass Road, from start to finish
- Climb
- +101 ft
- Descent
- −125 ft
Elevation sampled from AWS Terrain Tiles along the published route. Small terrain and GPS differences are normal.
Casner Park Road
- Route distance
- 10 mi
- Allow
- 1–2 hours
Add a second easy forest road. Compare ride quality and energy use before you choose rougher ground.
Access note: Source snapshot: Open. Check the live source before travel.
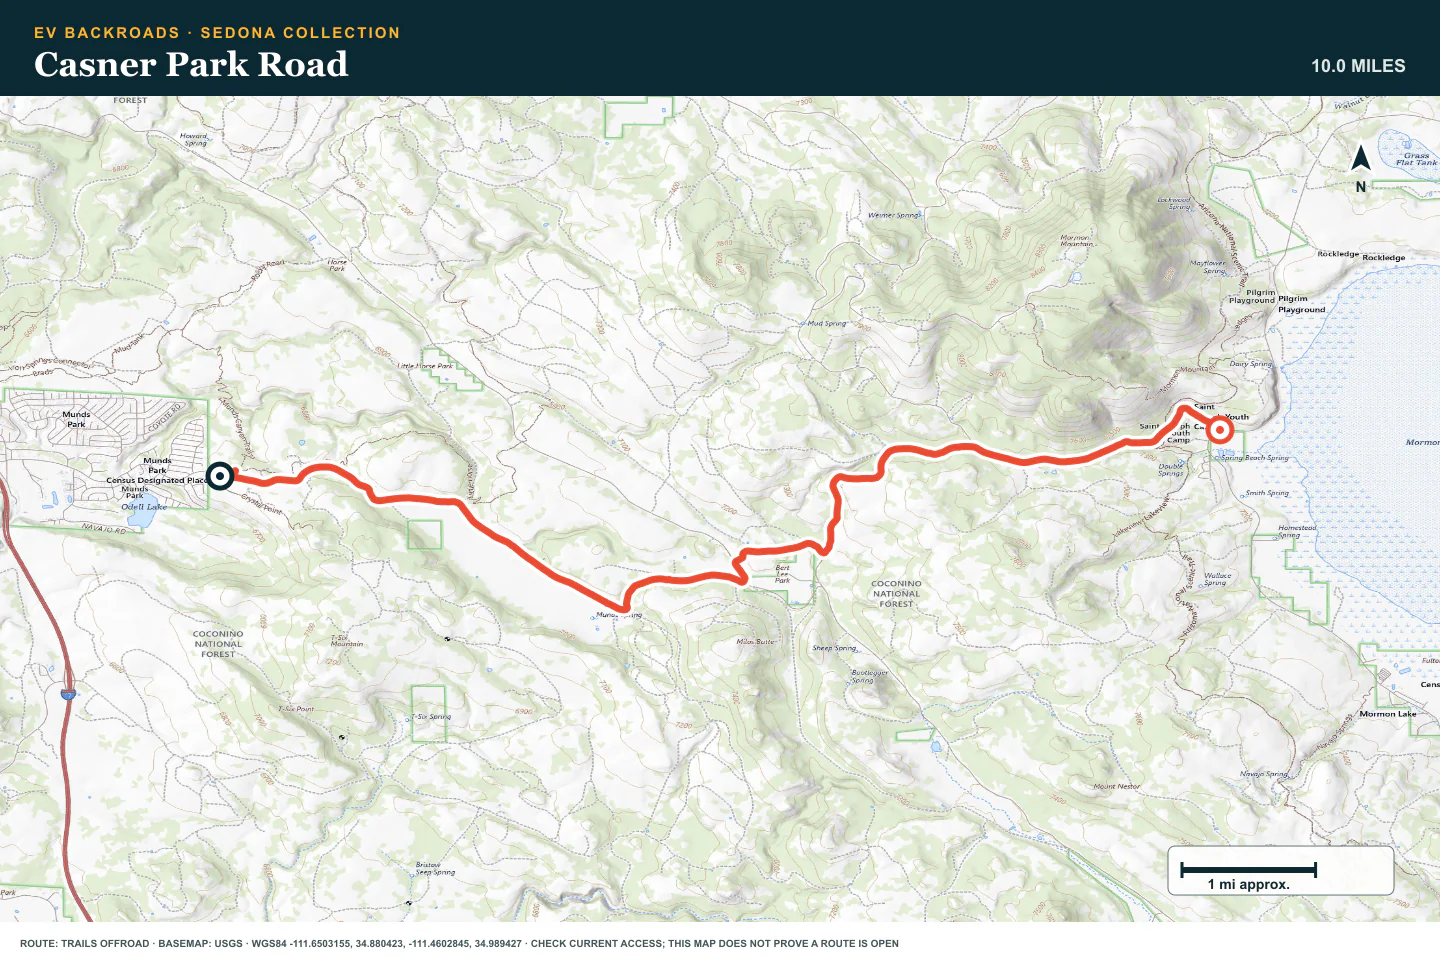
TOPOGRAPHIC PROFILE
Casner Park Road, from start to finish
- Climb
- +775 ft
- Descent
- −471 ft
Elevation sampled from AWS Terrain Tiles along the published route. Small terrain and GPS differences are normal.
FR 226
- Route distance
- 9.5 mi
- Allow
- 1–2 hours
Use this short forest route to practice reading ruts and choosing firm ground without rushing.
Access note: Source snapshot: Open. Check the live source before travel.
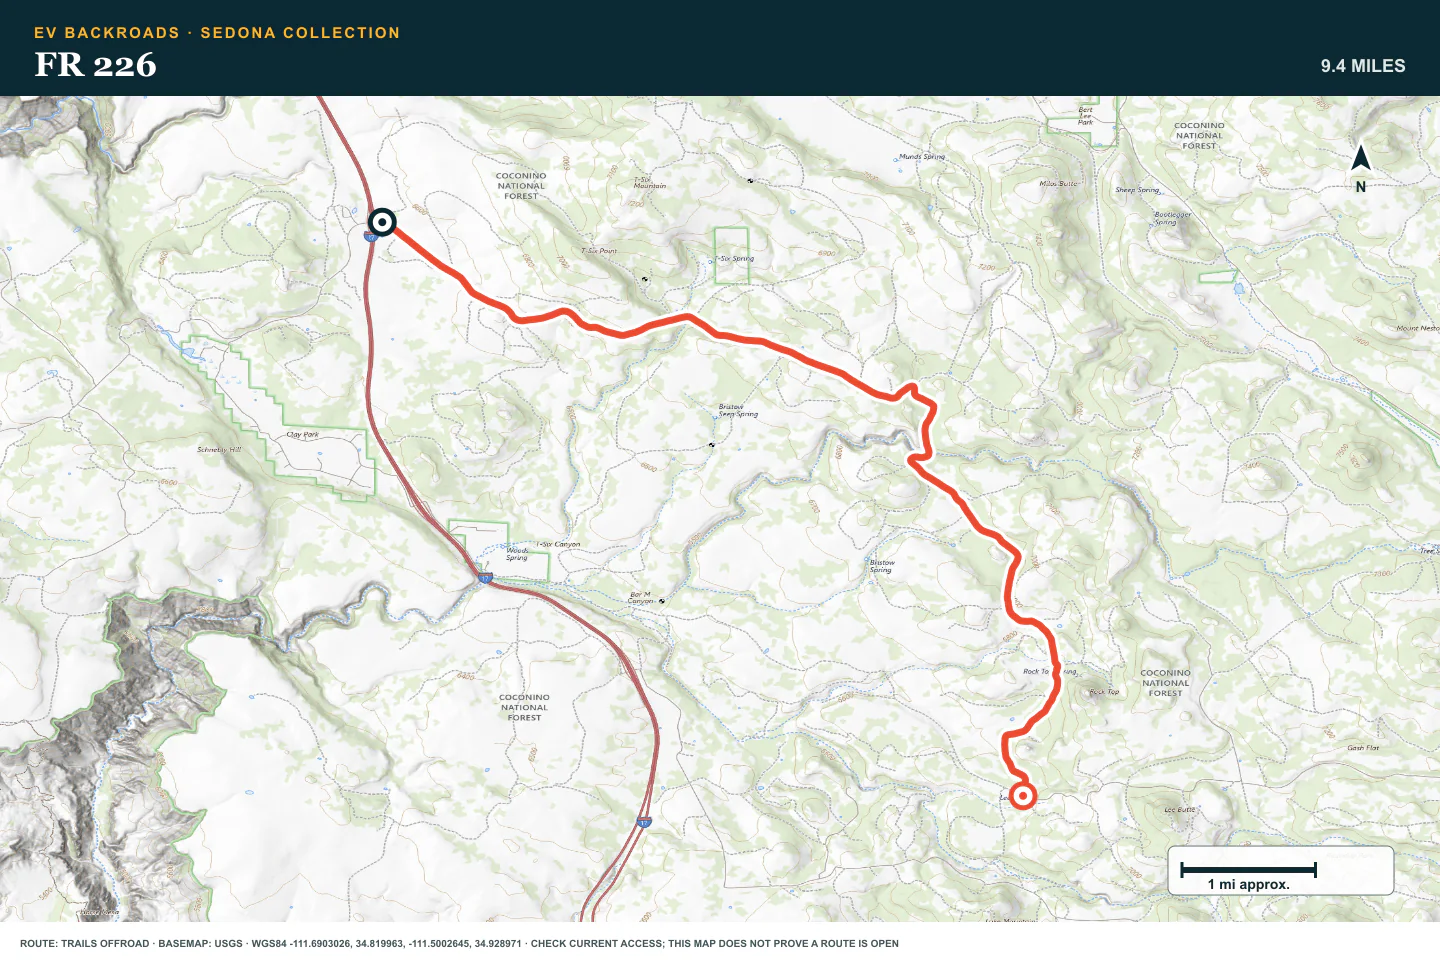
TOPOGRAPHIC PROFILE
FR 226, from start to finish
- Climb
- +787 ft
- Descent
- −484 ft
Elevation sampled from AWS Terrain Tiles along the published route. Small terrain and GPS differences are normal.
FR 228
- Route distance
- 3.1 mi
- Allow
- 1–2 hours
Move to a rougher forest road. Stop and inspect any wash or rock that hides the safe line.
Access note: Source snapshot: Open. Check the live source before travel.
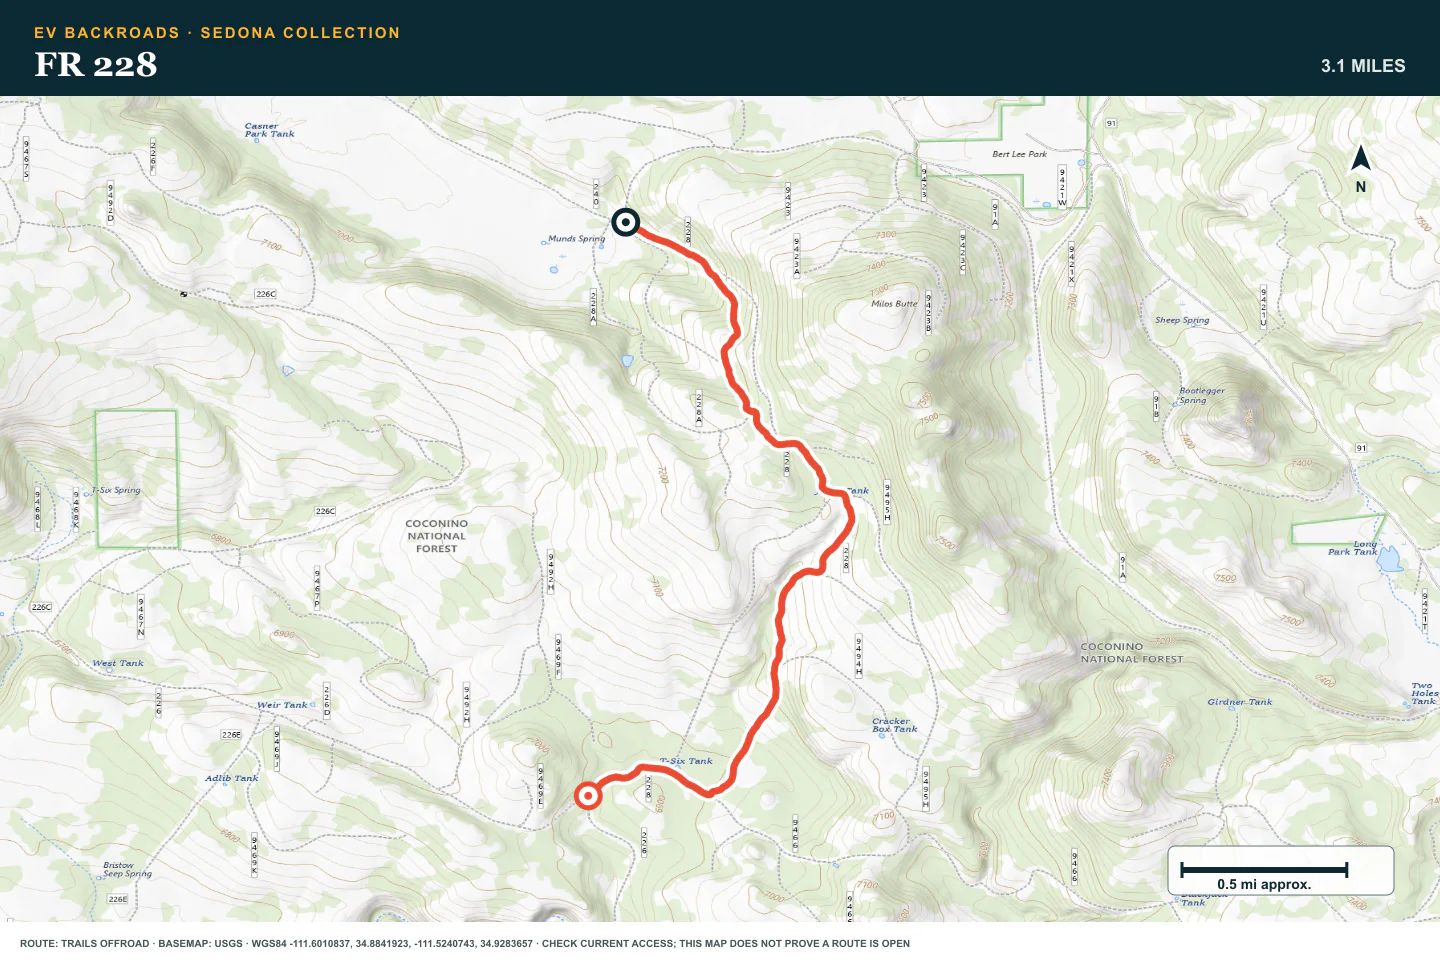
TOPOGRAPHIC PROFILE
FR 228, from start to finish
- Climb
- +314 ft
- Descent
- −403 ft
Elevation sampled from AWS Terrain Tiles along the published route. Small terrain and GPS differences are normal.
Schnebly Hill Road
- Route distance
- 11.1 mi
- Allow
- Half day
Use the west side of Schnebly Hill Road to learn slow speed, wheel placement, and clearance checks. The major views arrive before the full route ends.
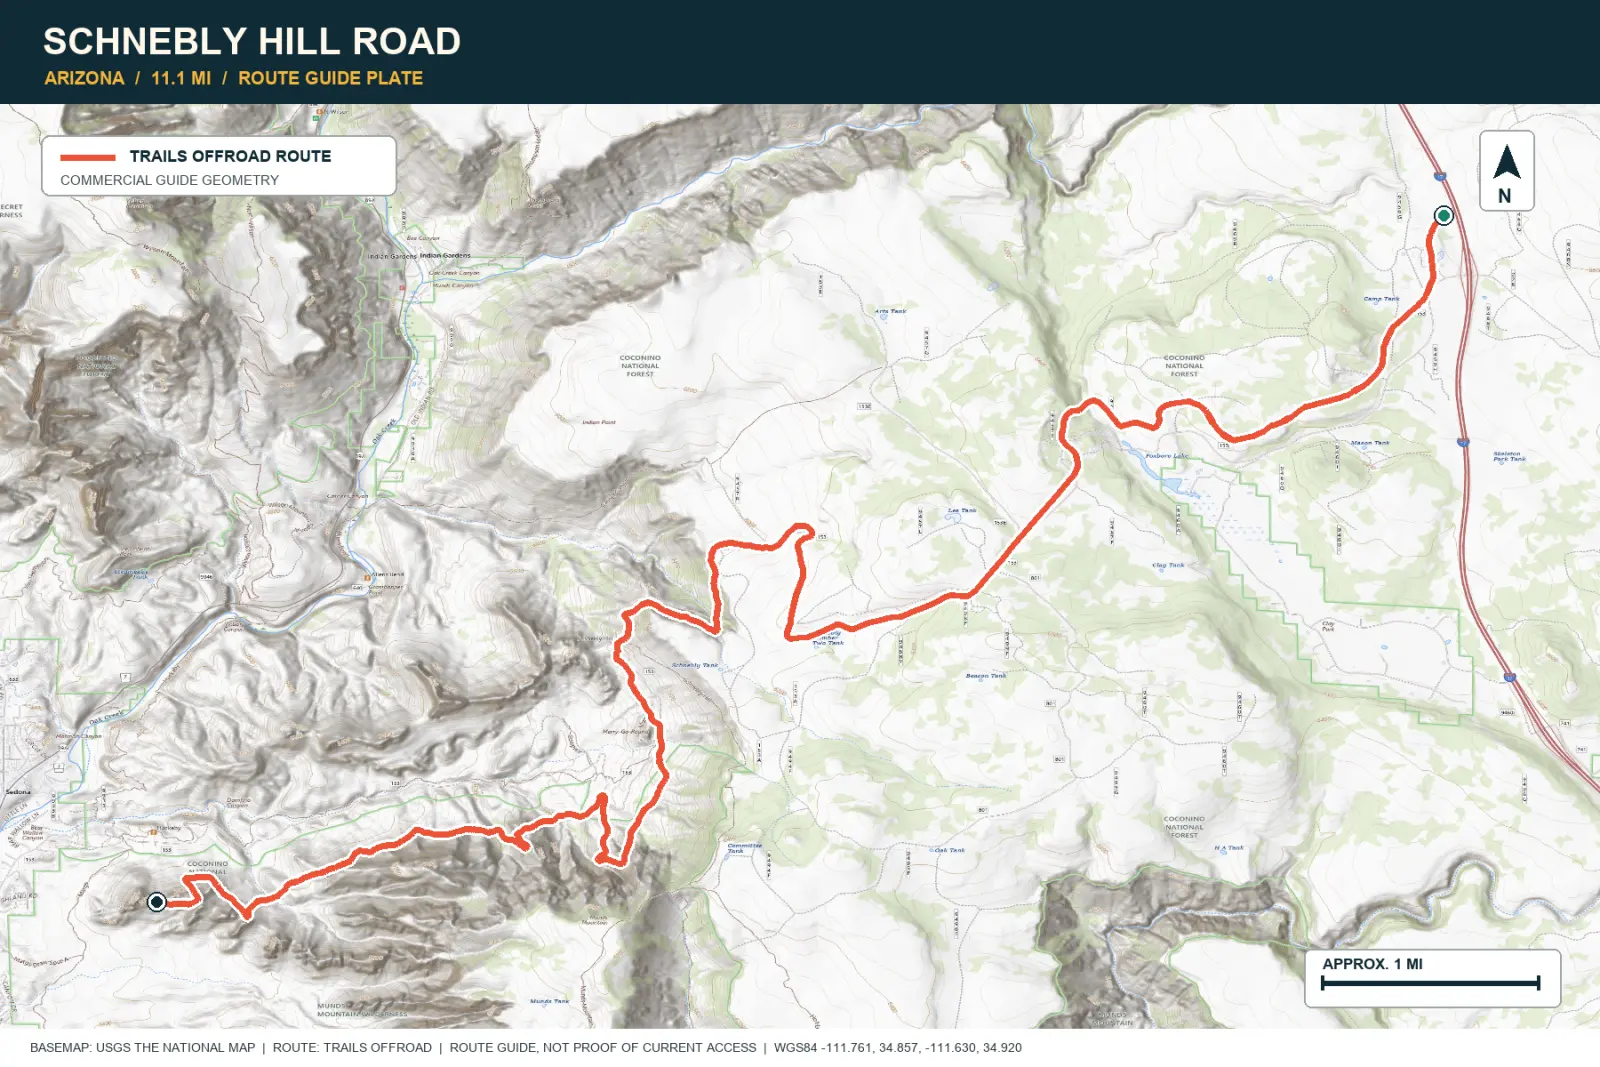
TOPOGRAPHIC PROFILE
Schnebly Hill Road, from start to finish
- Climb
- +263 ft
- Descent
- −2,259 ft
Elevation sampled from AWS Terrain Tiles along the published route. Small terrain and GPS differences are normal.
Soldier's Pass Trail
- Route distance
- 1.5 mi
- Allow
- 2–3 hours
Use this compact route to practice controlled rock placement. Respect permit and access rules before you enter.
Access note: Source snapshot: Open. Check the live source before travel.
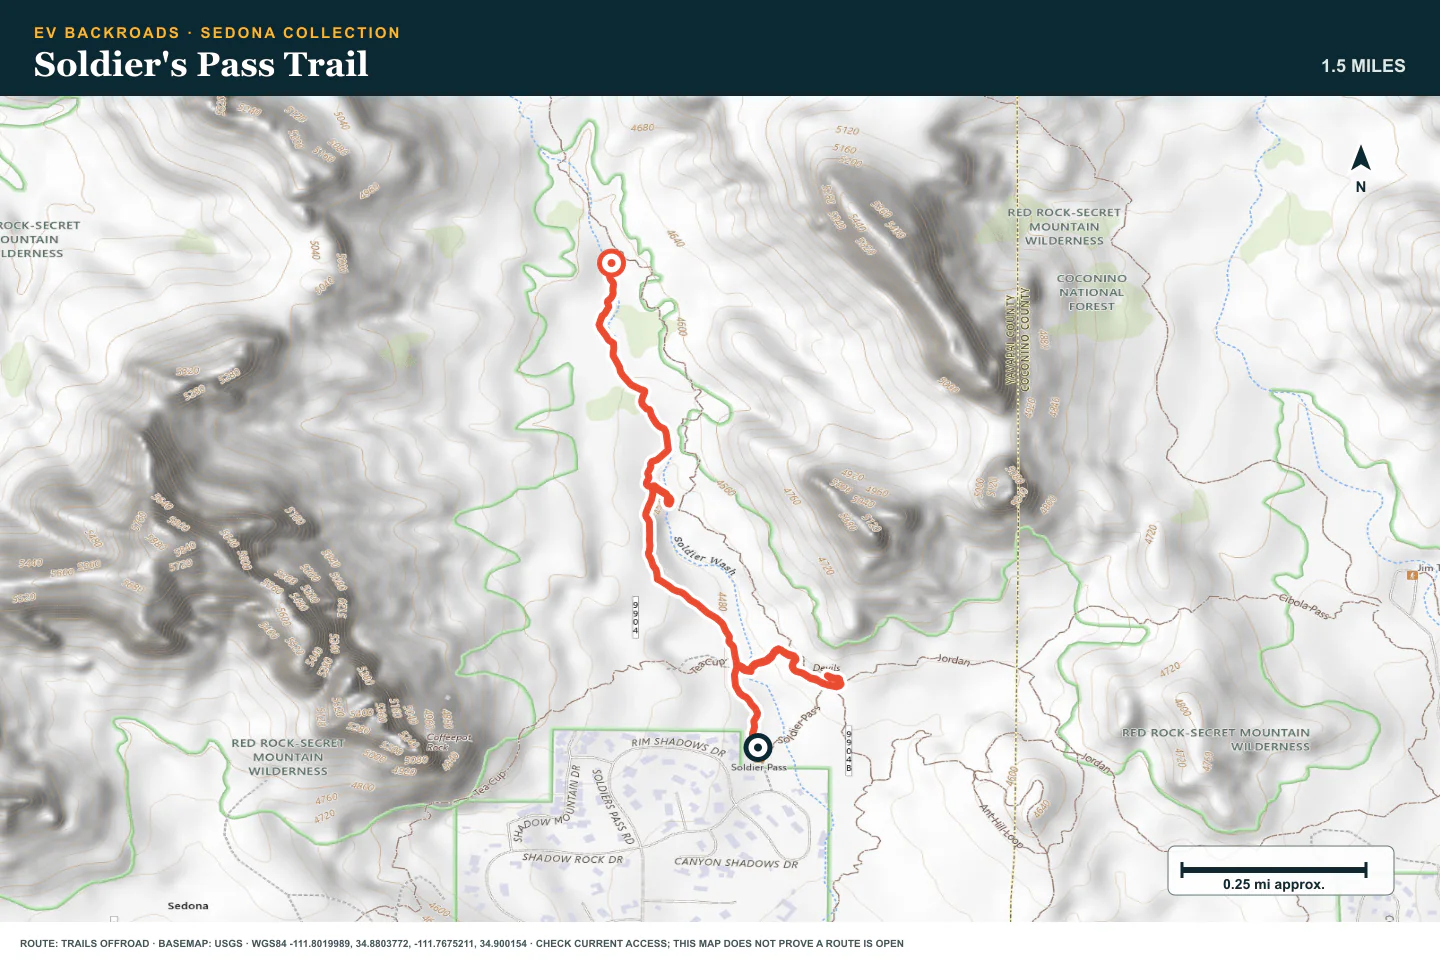
TOPOGRAPHIC PROFILE
Soldier's Pass Trail, from start to finish
- Climb
- +166 ft
- Descent
- −61 ft
Elevation sampled from AWS Terrain Tiles along the published route. Small terrain and GPS differences are normal.
Vultee Arch
- Route distance
- 5 mi
- Allow
- 2–3 hours
Add a longer out-and-back with rough sections. Keep enough time and energy for the return.
Access note: Source snapshot: Open. Check the live source before travel.
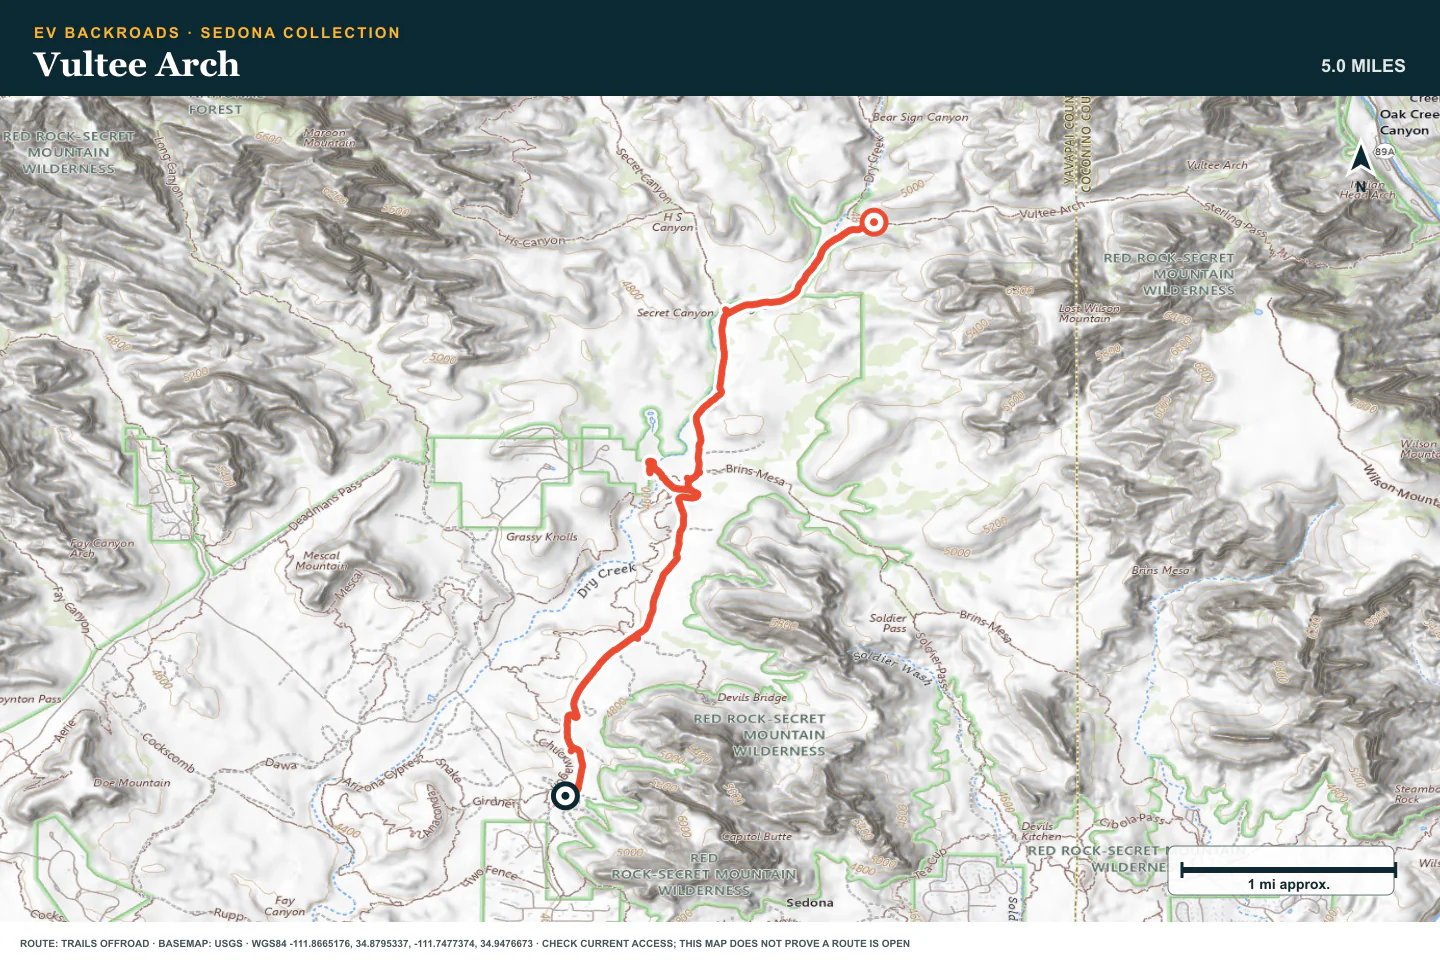
TOPOGRAPHIC PROFILE
Vultee Arch, from start to finish
- Climb
- +309 ft
- Descent
- −172 ft
Elevation sampled from AWS Terrain Tiles along the published route. Small terrain and GPS differences are normal.
Broken Arrow
- Route distance
- 3.1 mi
- Allow
- 2–4 hours
Move to Broken Arrow only when the first drive felt controlled. Walk each rock step before you commit the vehicle.
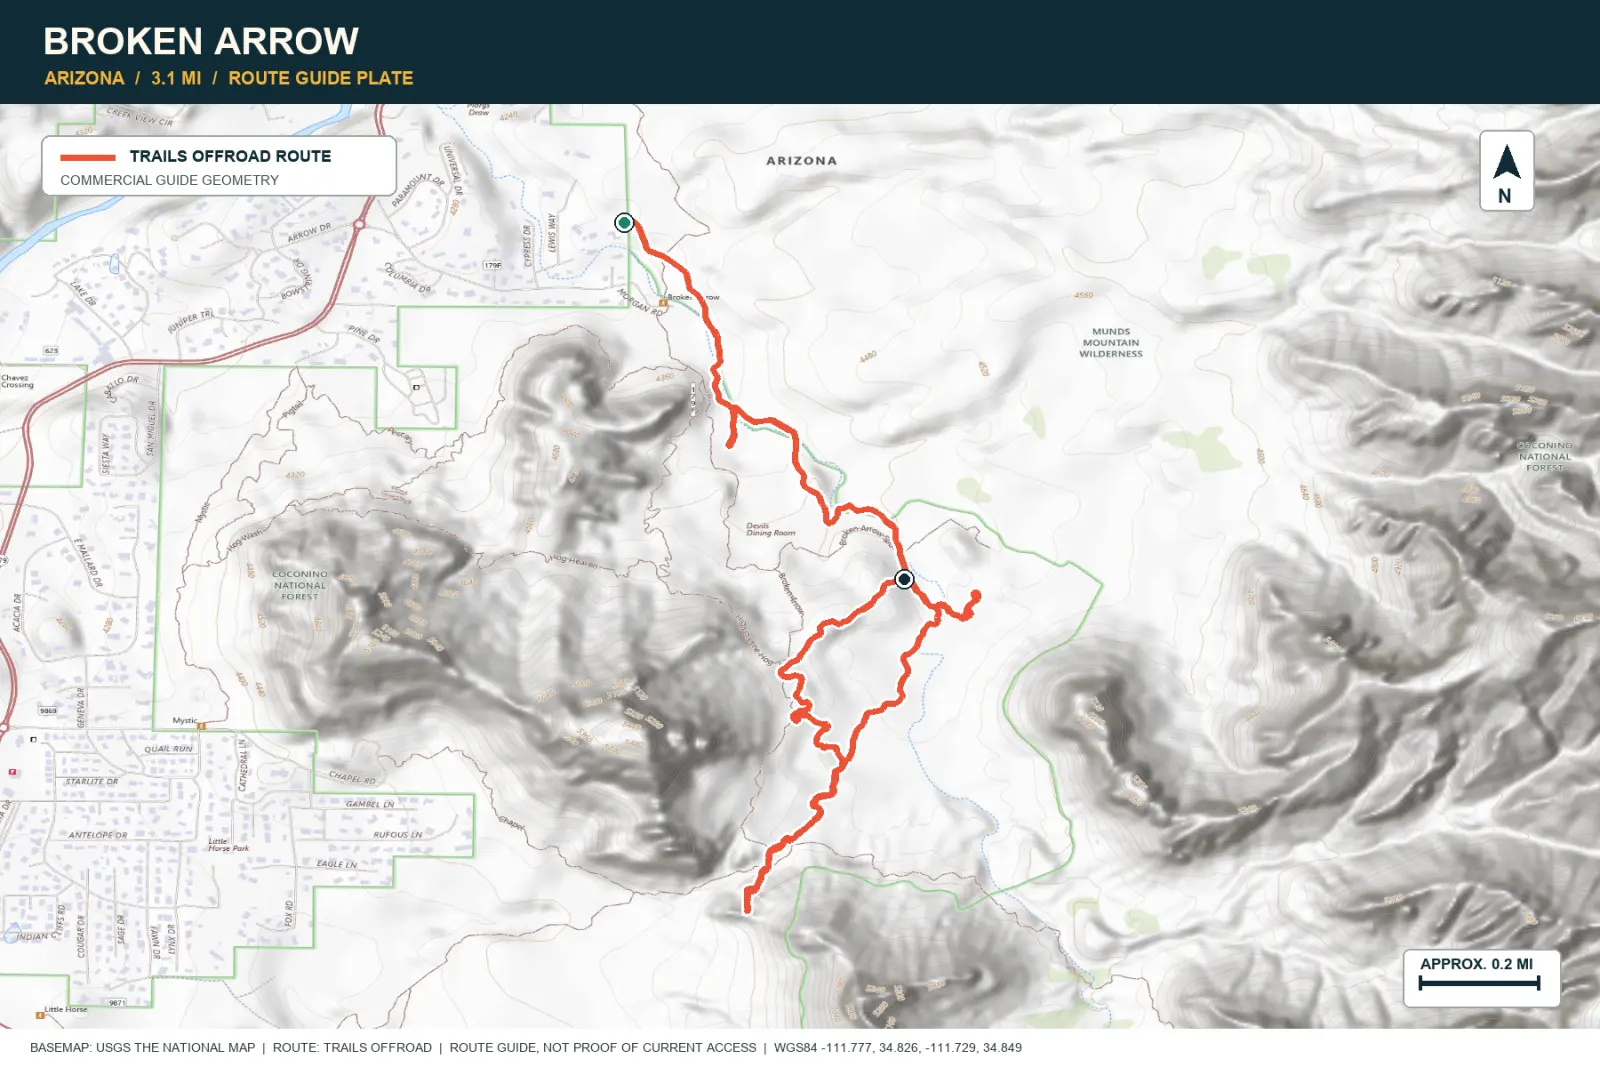
TOPOGRAPHIC PROFILE
Broken Arrow, from start to finish
- Climb
- +384 ft
- Descent
- −187 ft
Elevation sampled from AWS Terrain Tiles along the published route. Small terrain and GPS differences are normal.
ROUTE READINESS
Do seven checks before you leave pavement.
surface
Rough dirt, embedded rock, and short slickrock sections
clearance
Extra clearance and durable all-terrain tires
remoteness
Services are close, but terrain can block help and cell service
charging
Verify a Sedona-area fast charger and keep the return reserve
cell Coverage
Download the selected routes before you leave town
weather
Do not enter during heavy rain or a flash-flood warning
turnaround
Use a wide pullout before the next ledge or steep rock line
BEFORE YOU GO
Make these decisions while you have a signal.
- Check the Coconino National Forest road notice
- Download the selected routes and the return to charging
- Set a battery and daylight limit
TURN AROUND WHEN
Follow the limits that you set.
- The vehicle touches rock or needs wheelspin
- Rain approaches the red-rock shelf
- You reach the battery or daylight limit
CARRY
Prepare for common problems.
- Tire repair kit and compressor
- Water and sun protection
- Offline maps
OPEN THE LIVE MAP
Check the drive home.
See the route with open chargers and road-distance charging gaps. Planned stations do not change current coverage.